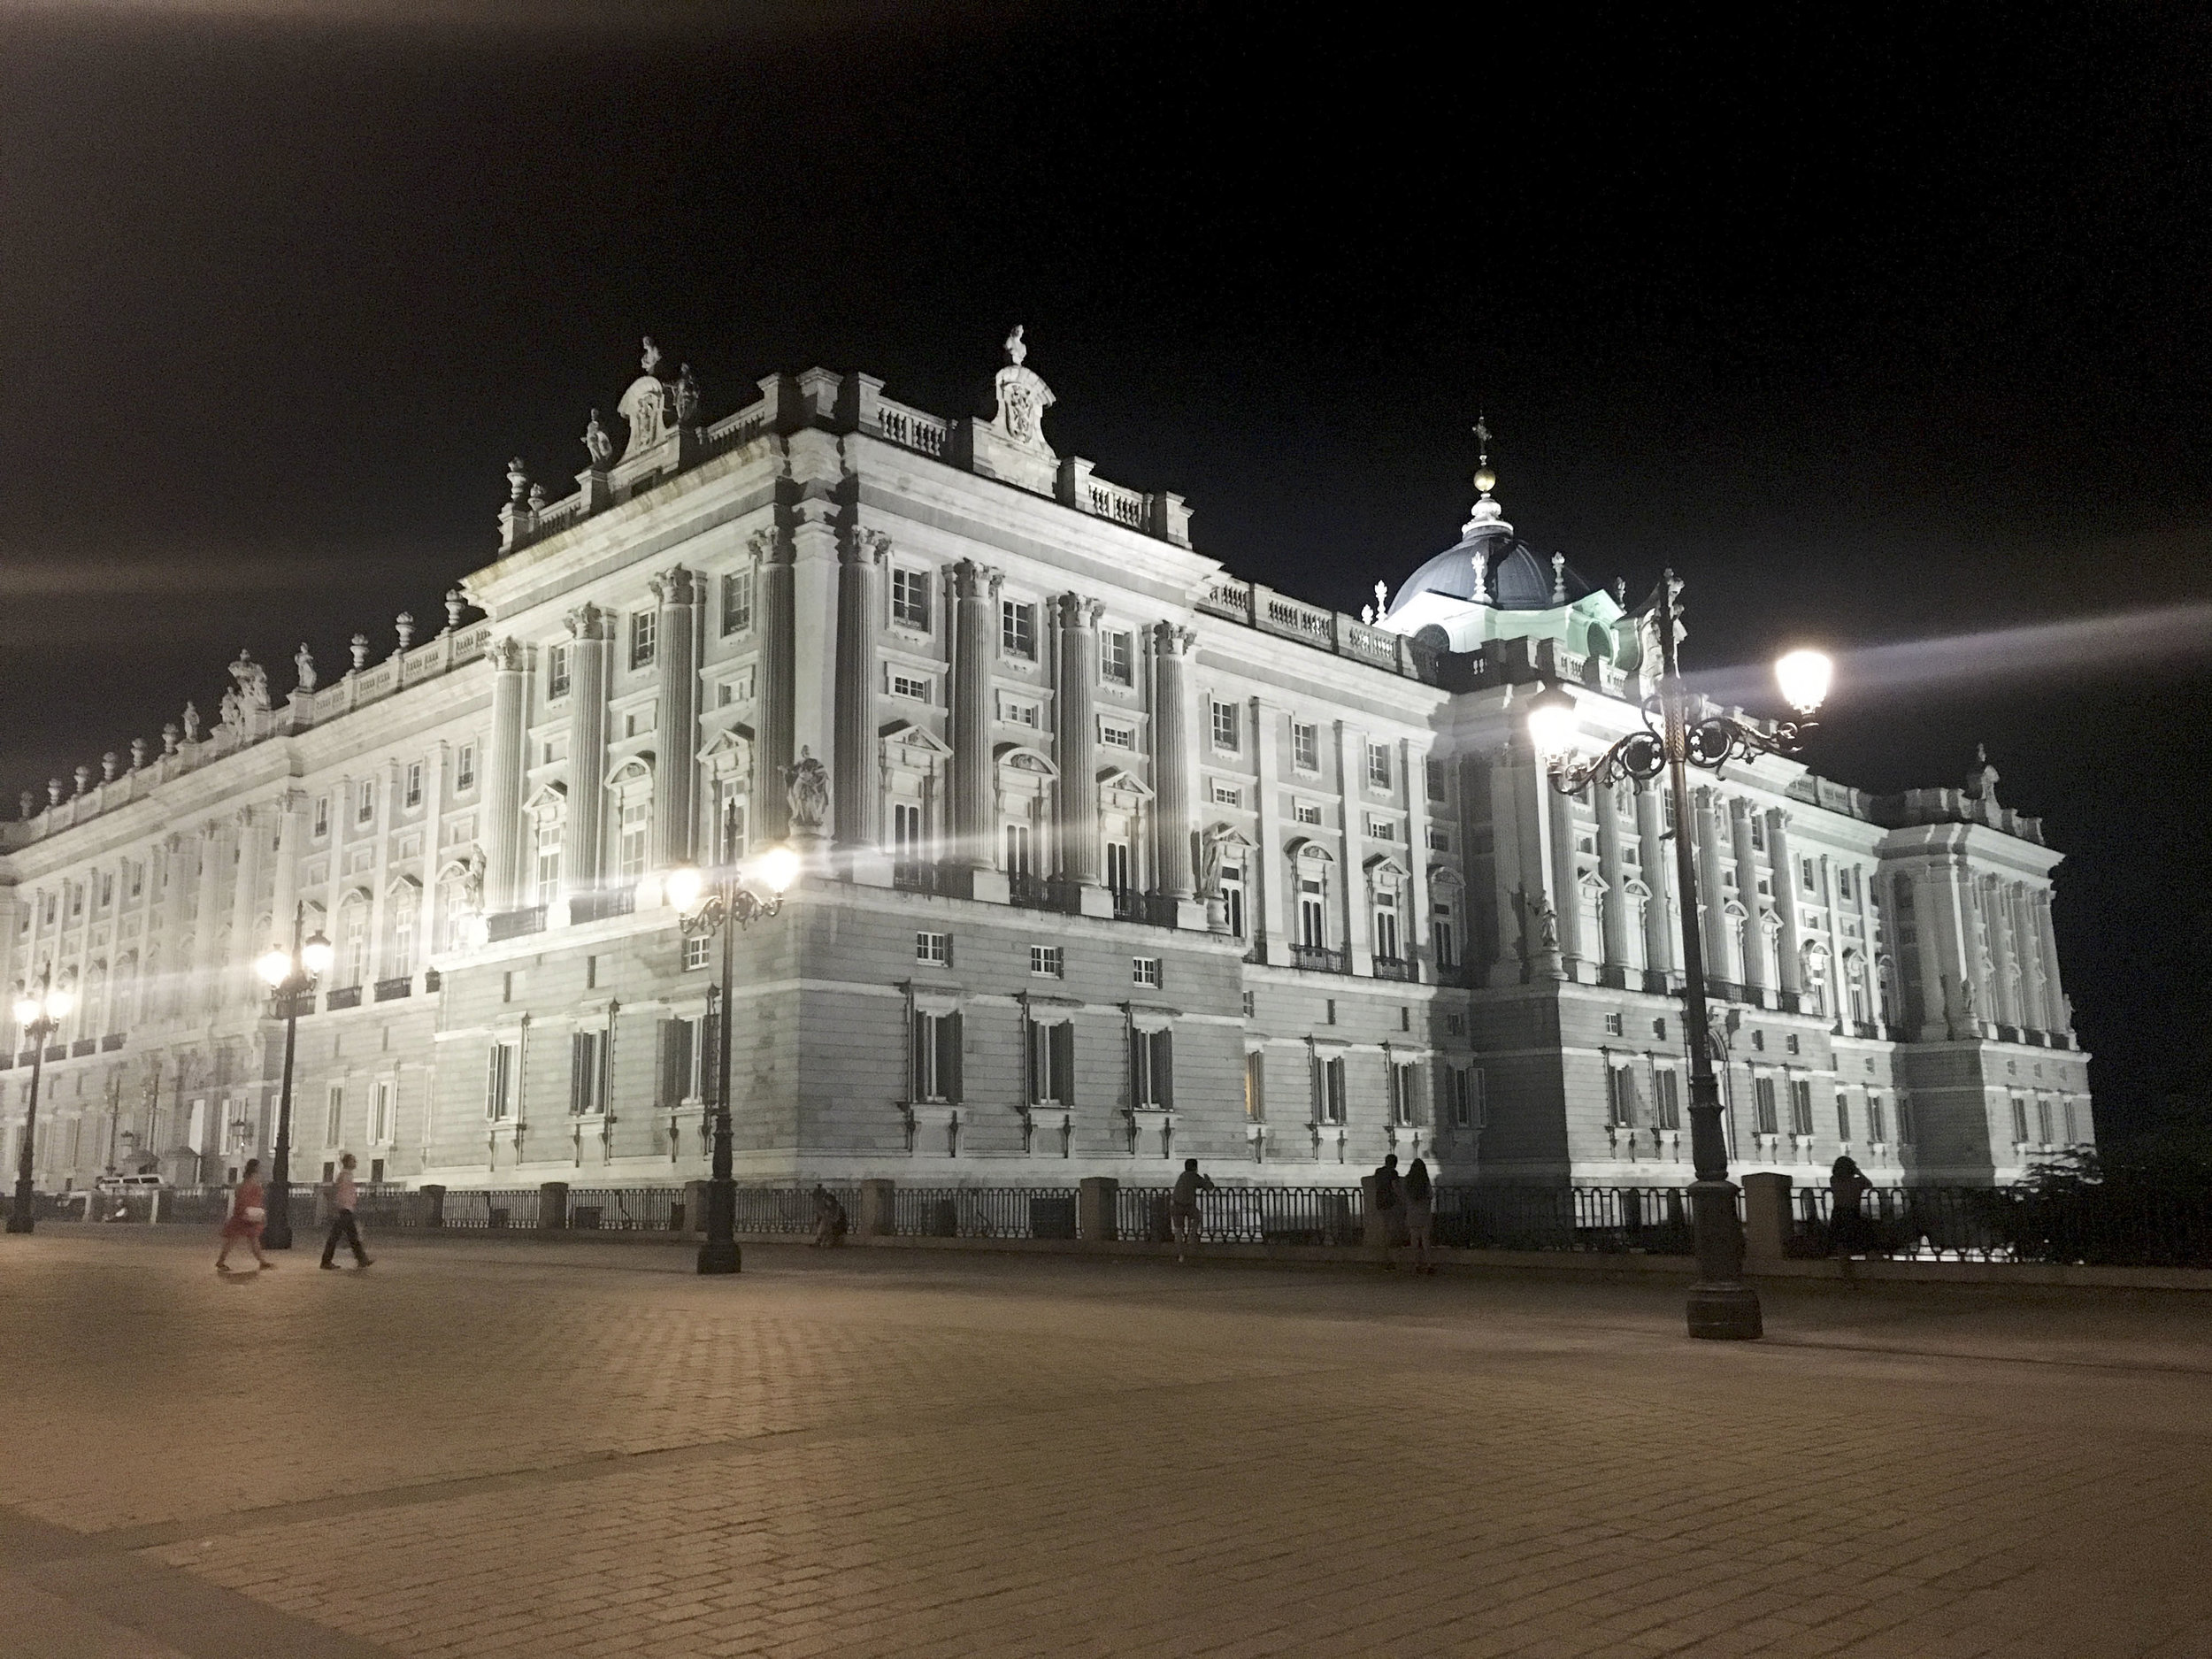
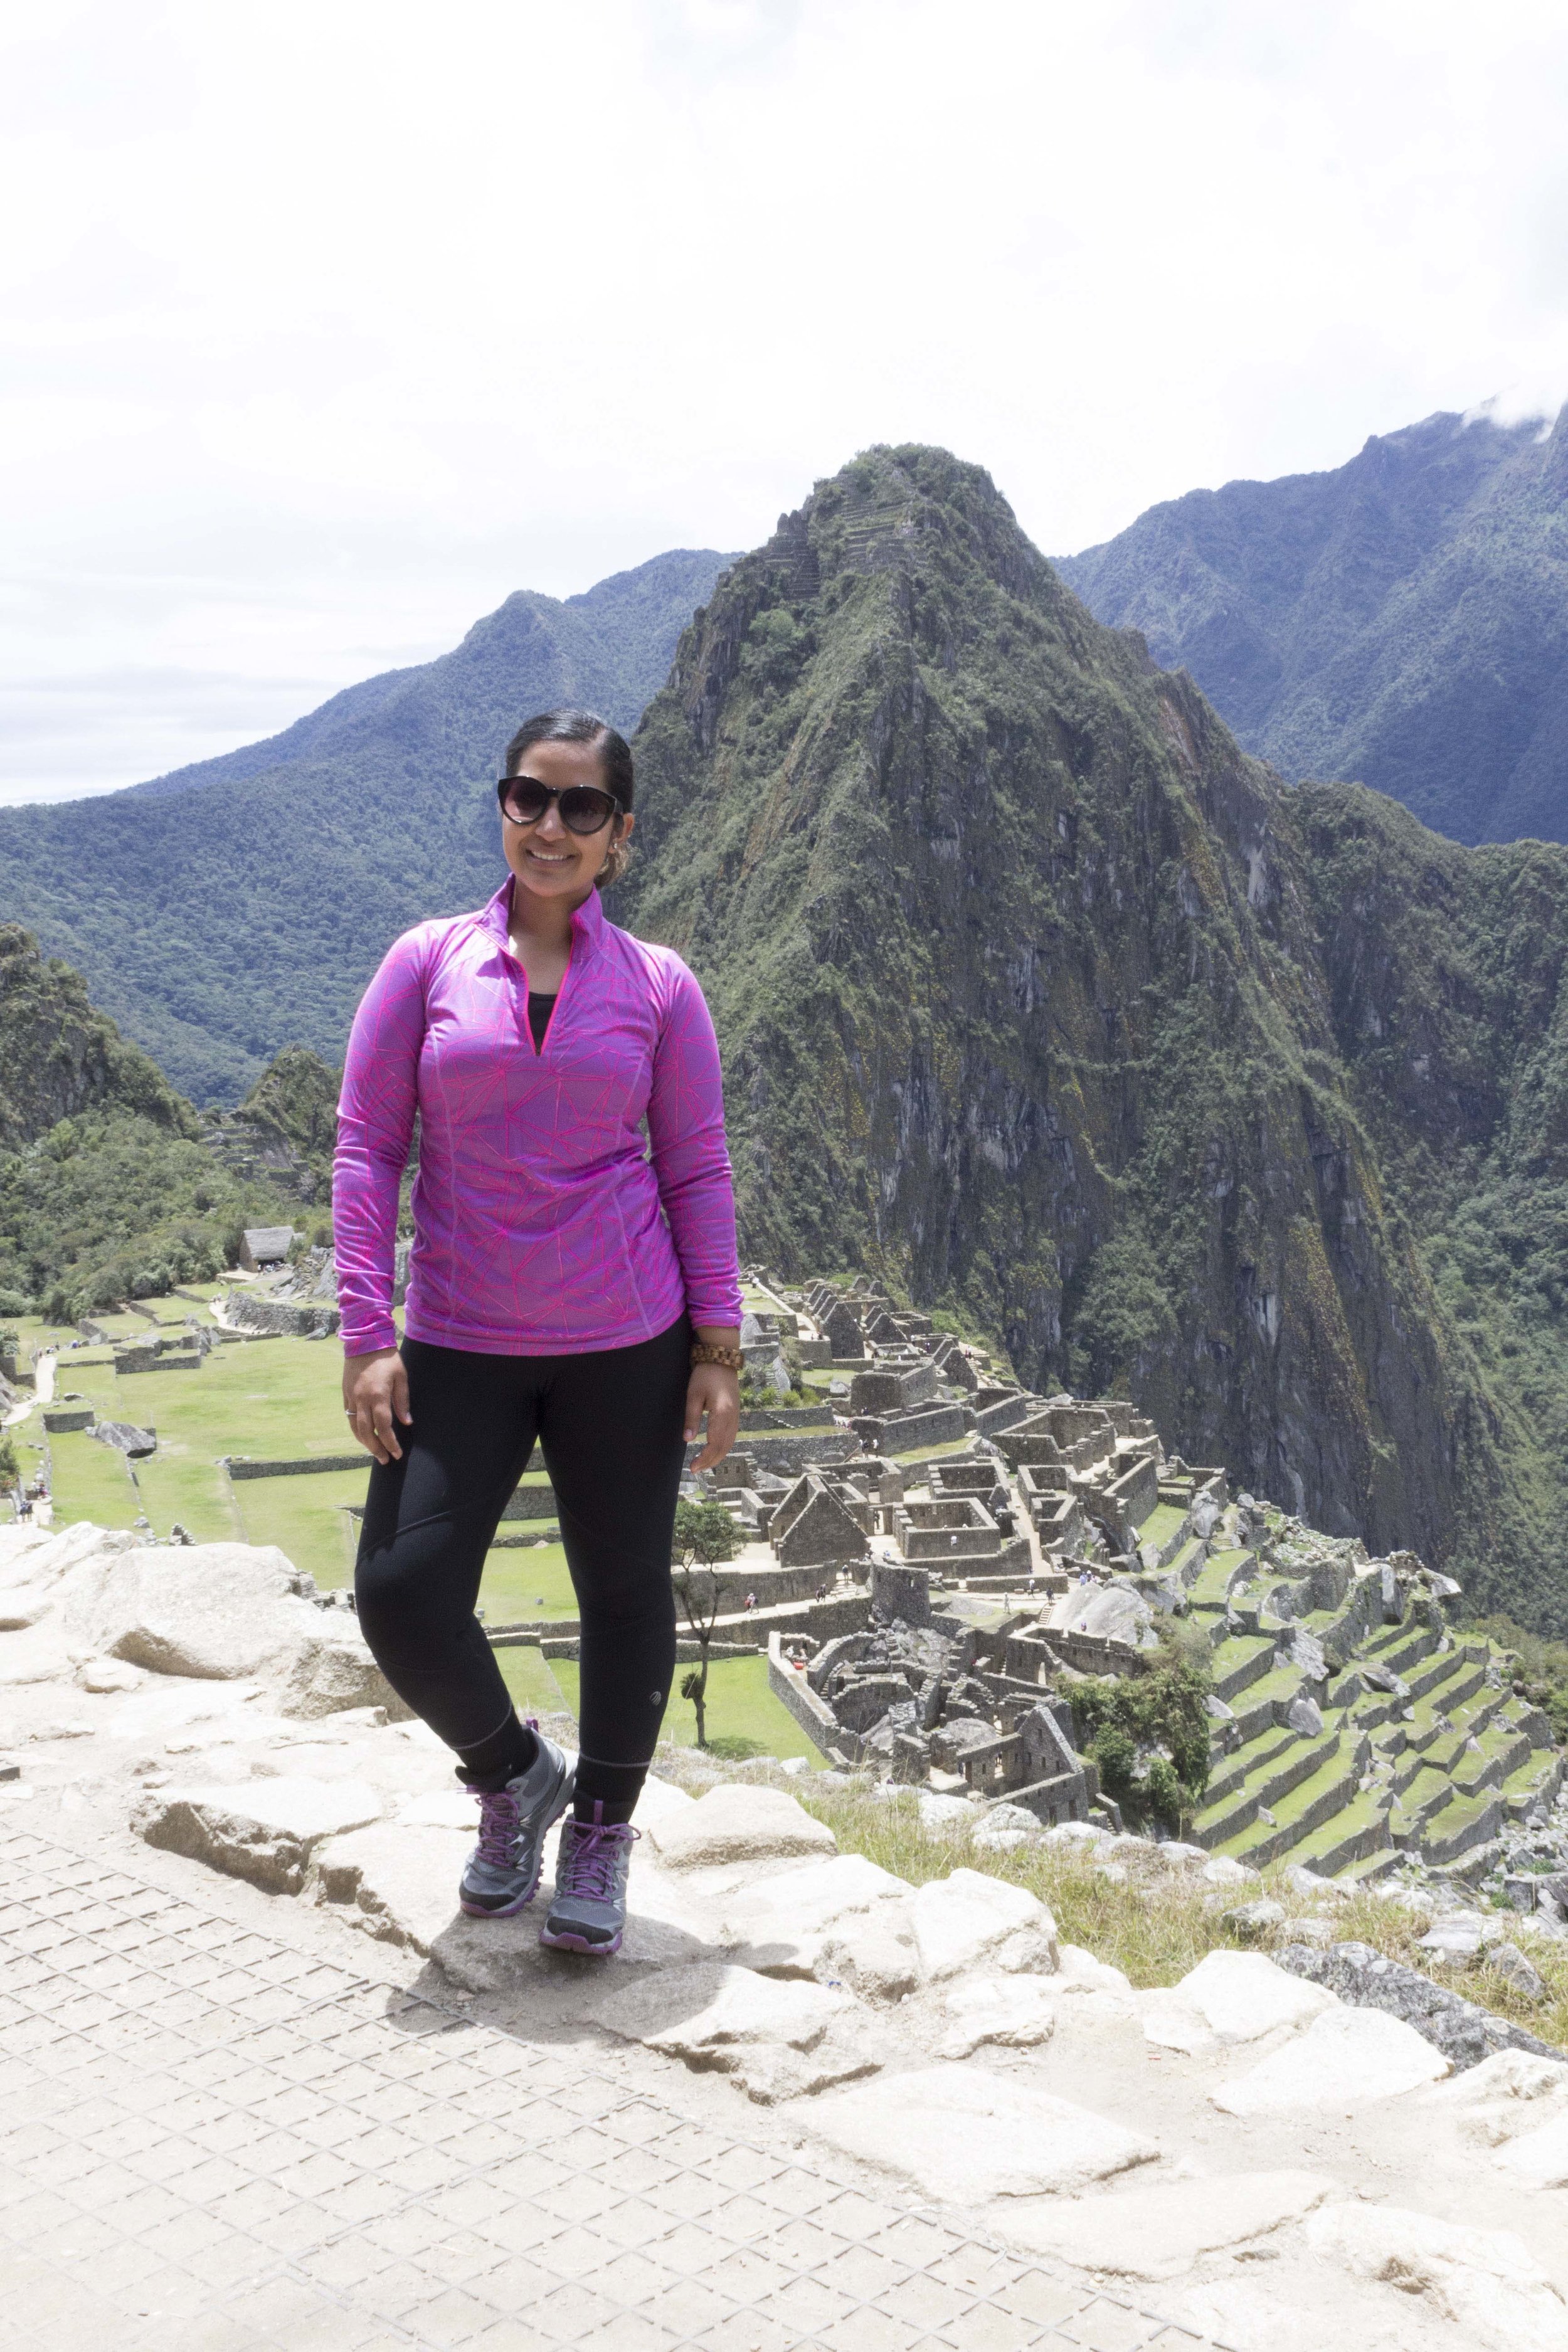
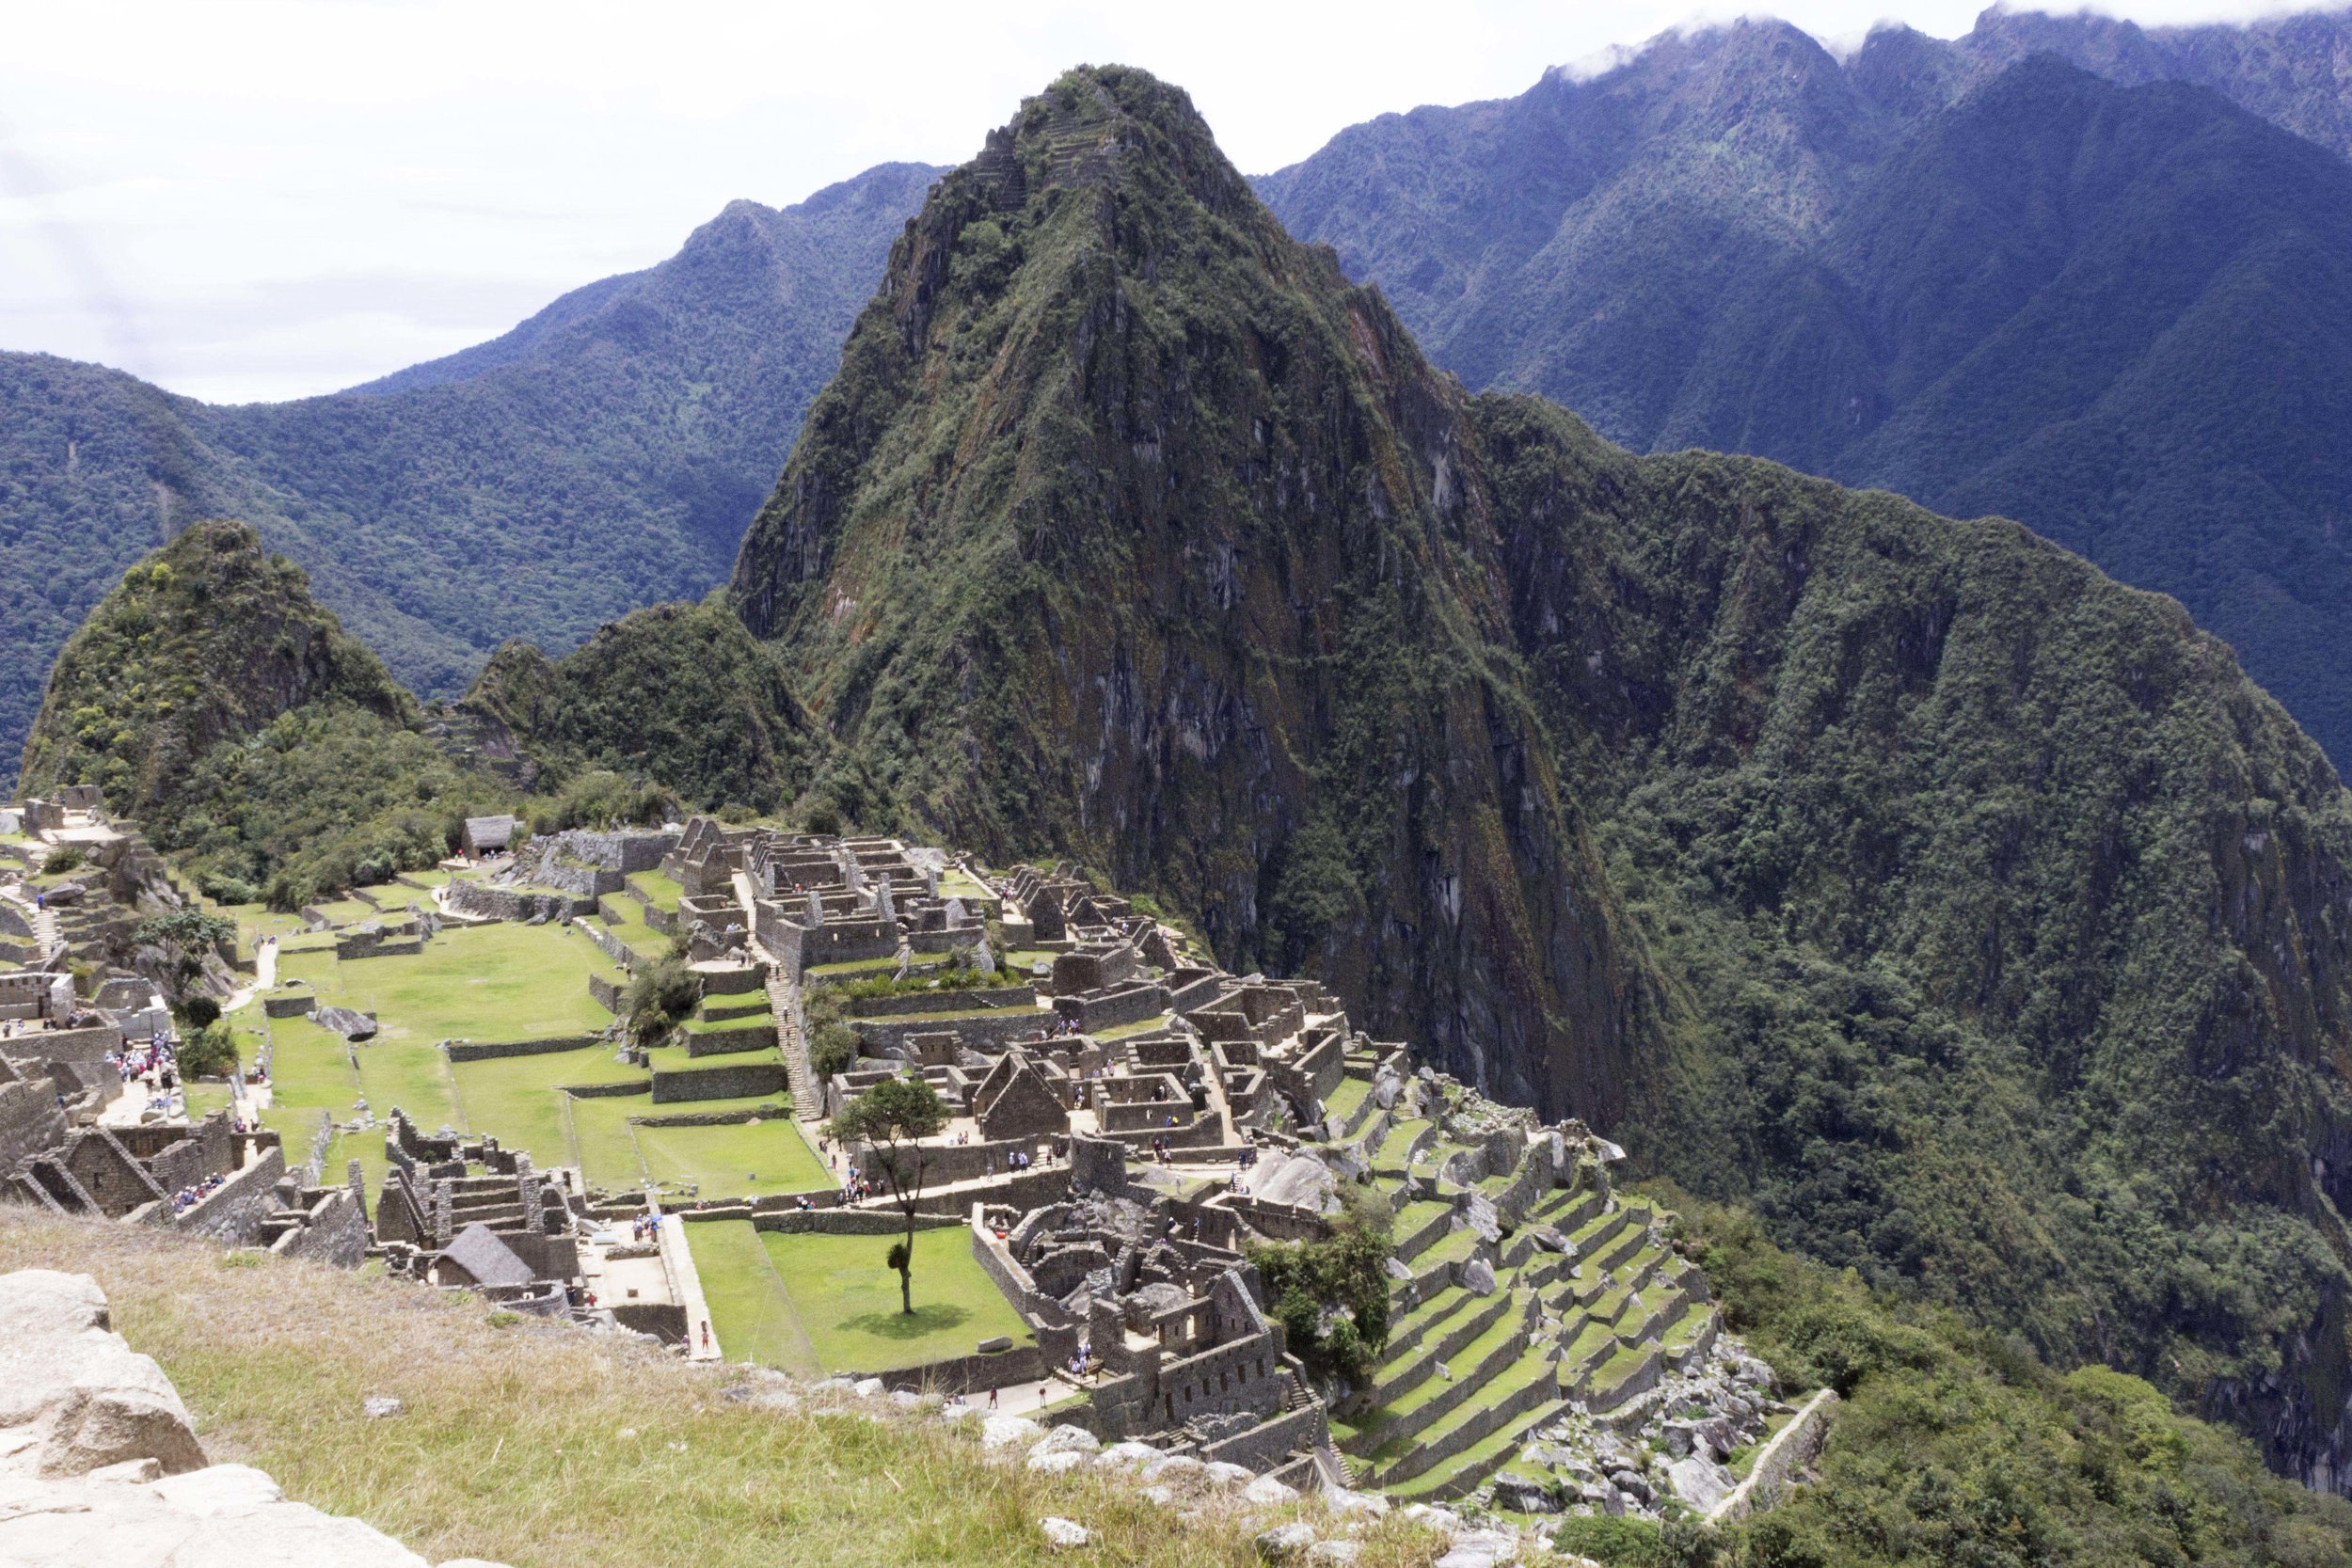
Iceland had been on my bucket list of places to visit for years! I heard so many amazing things from friends, family, and blogs and the photos were always so unreal. I had to see it for myself. So in September, I bit the bullet and bought tickets to finally go to Iceland with my girlfriends. Best decision ever!
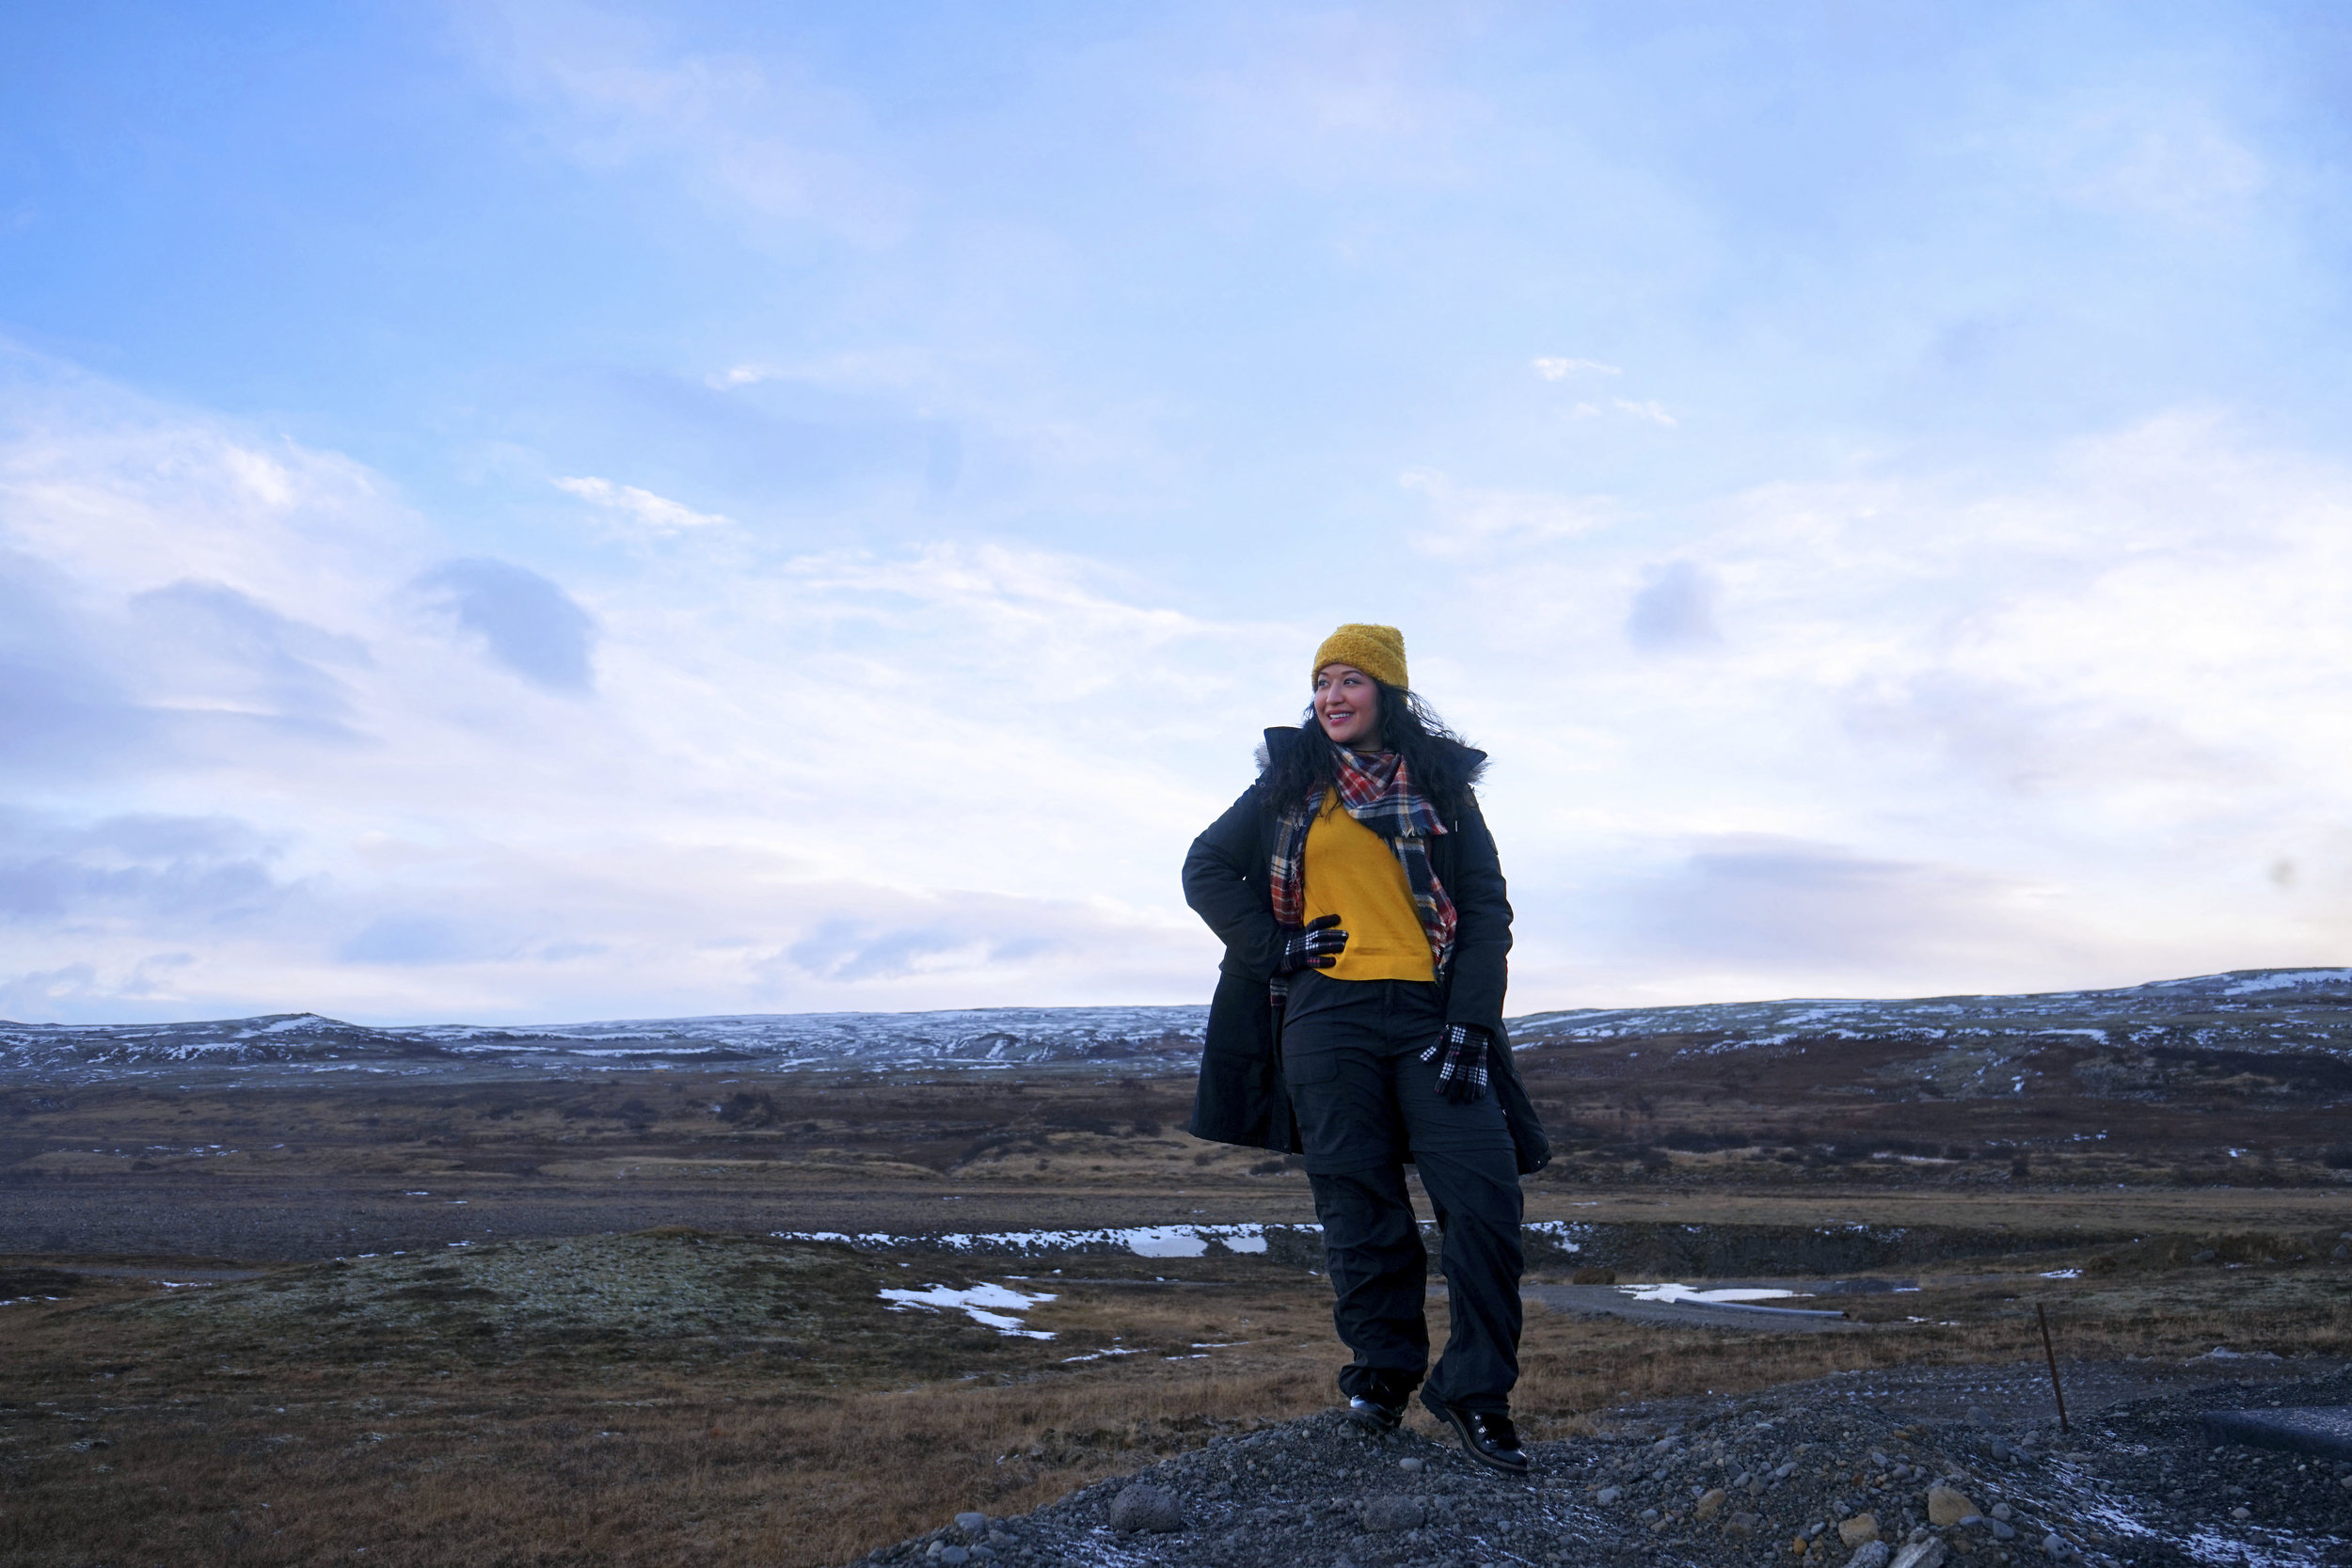
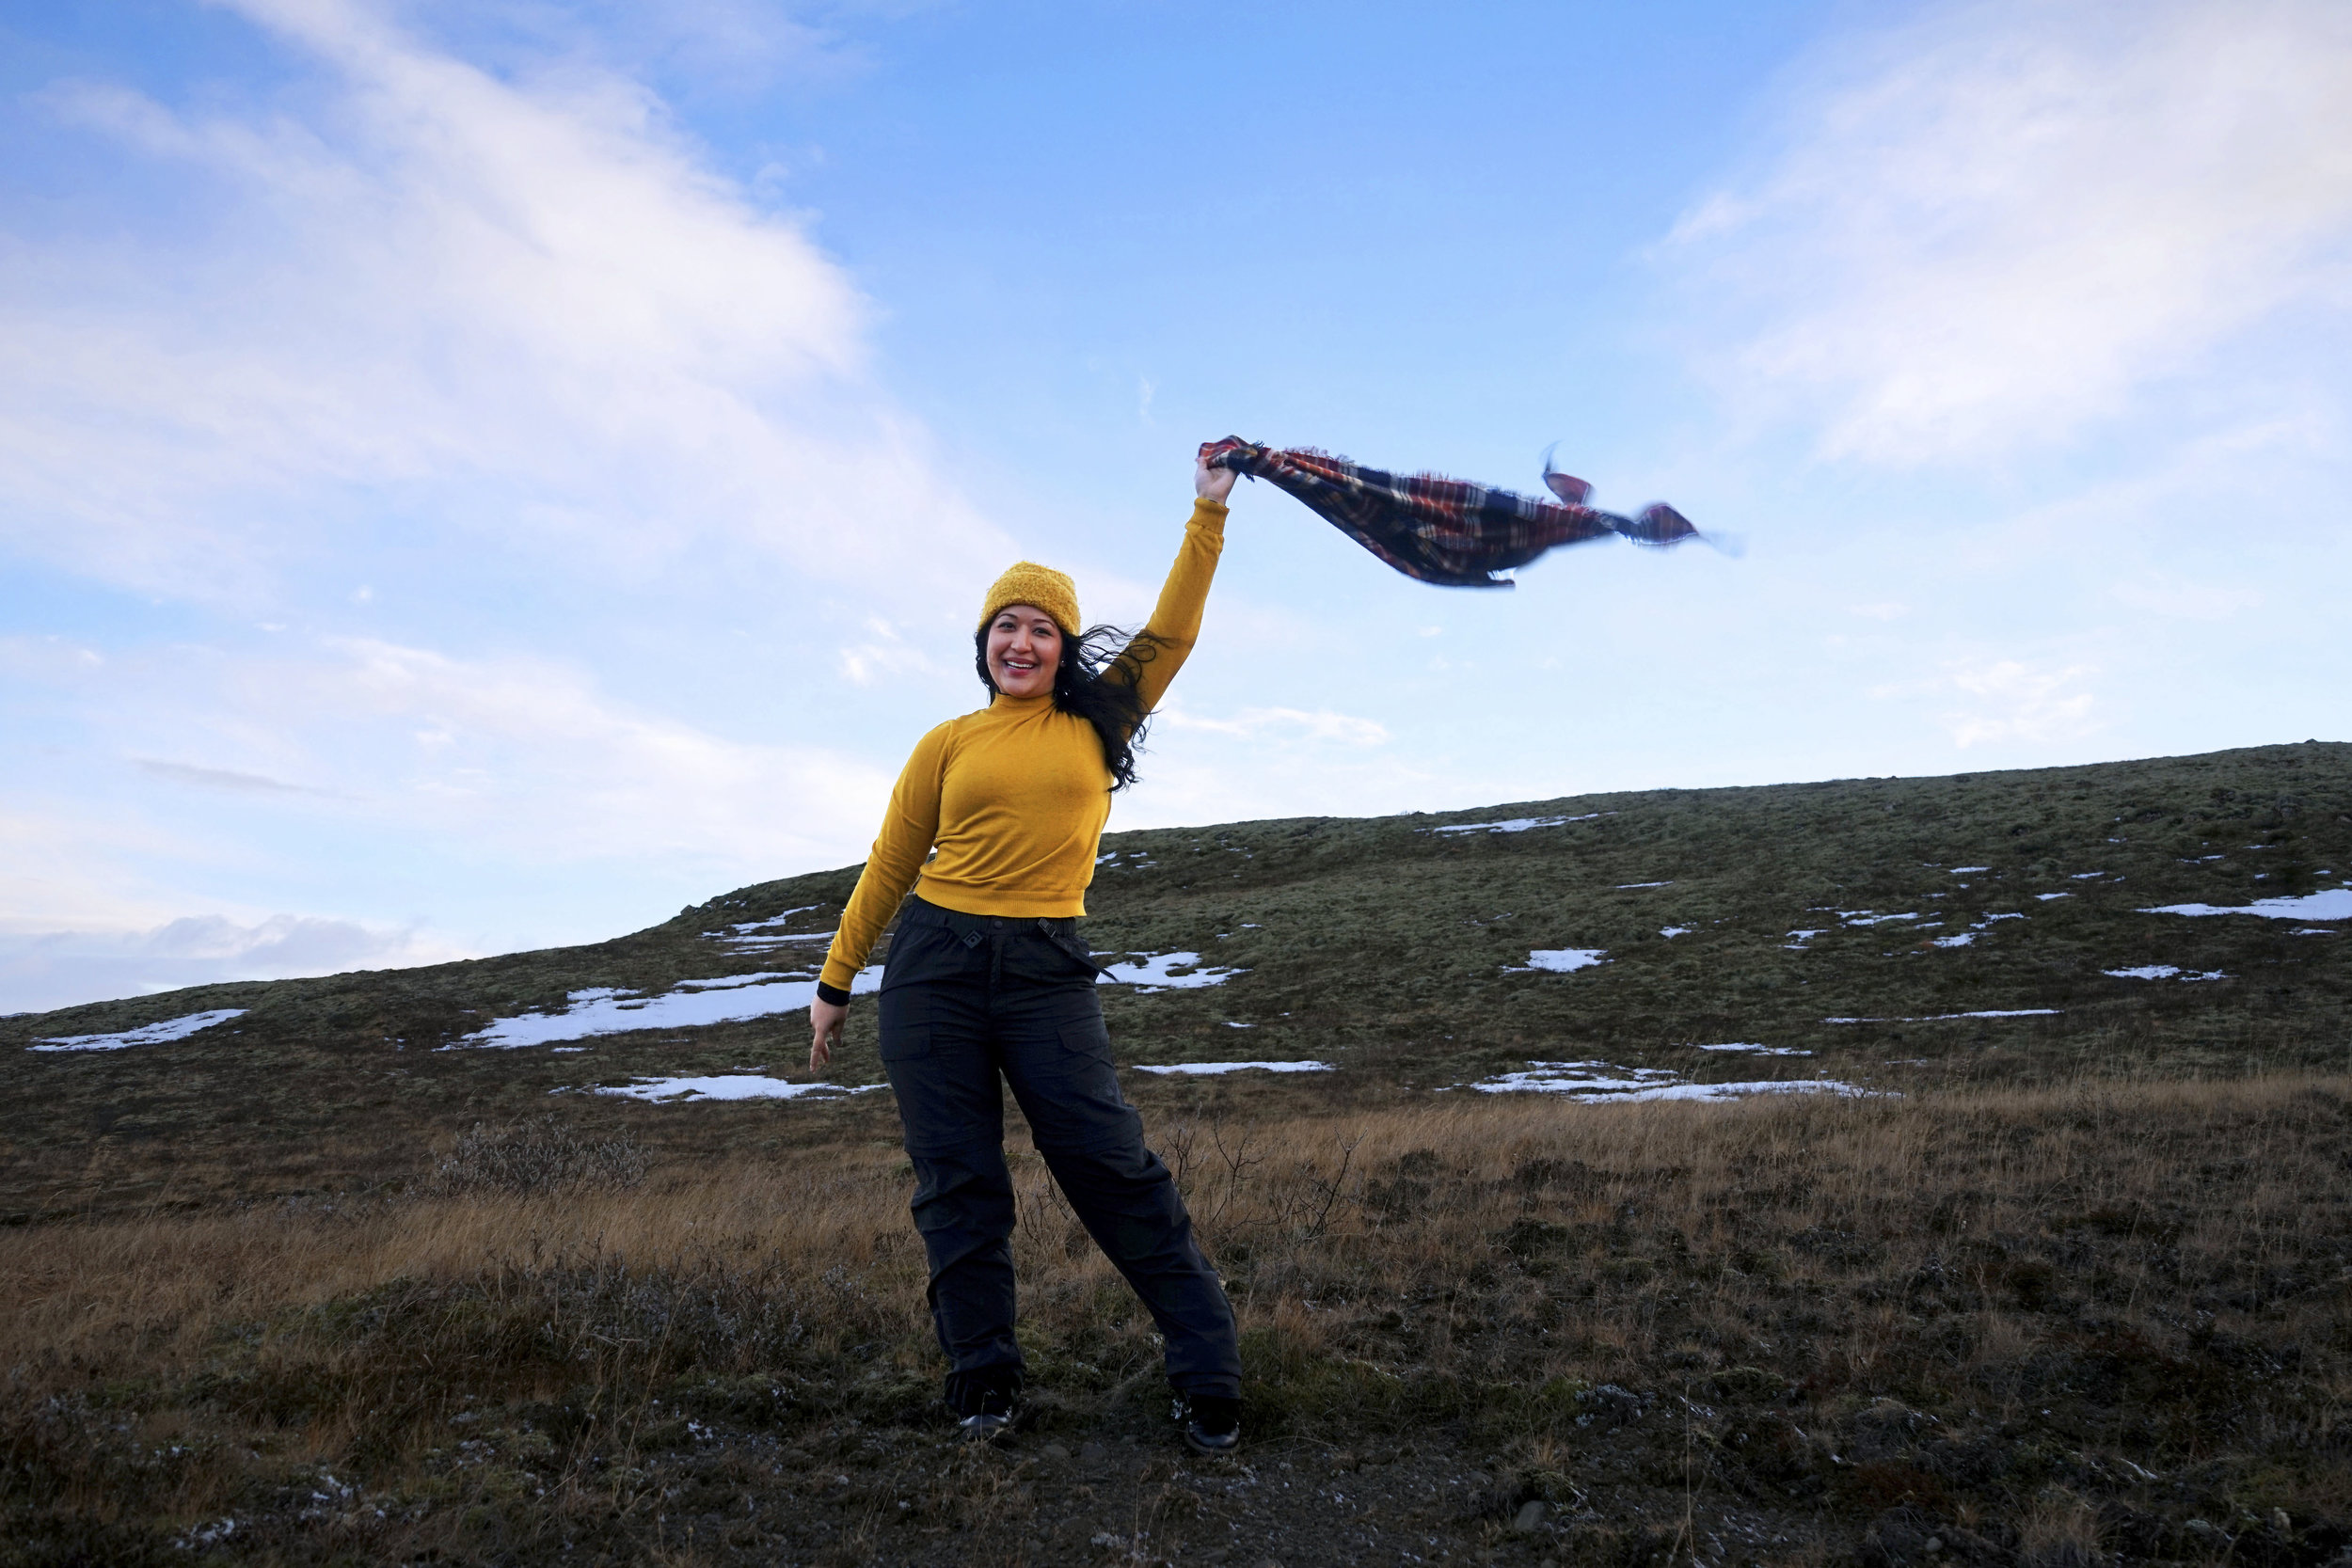
I spent 5 days and 4 nights in Iceland this December and brought in the New year in Reykjavik. Honestly, I wish I could’ve spent a full week there because there is so much to see! If you have the time, I recommend driving the whole Ring Road and spending at least a week there.
My few days in Iceland were jammed pack and so fun! See below on the areas I went to (Golden Circle and South Iceland) and tips I have.
Arriving in Iceland
Driving/ Renting vs. Tours
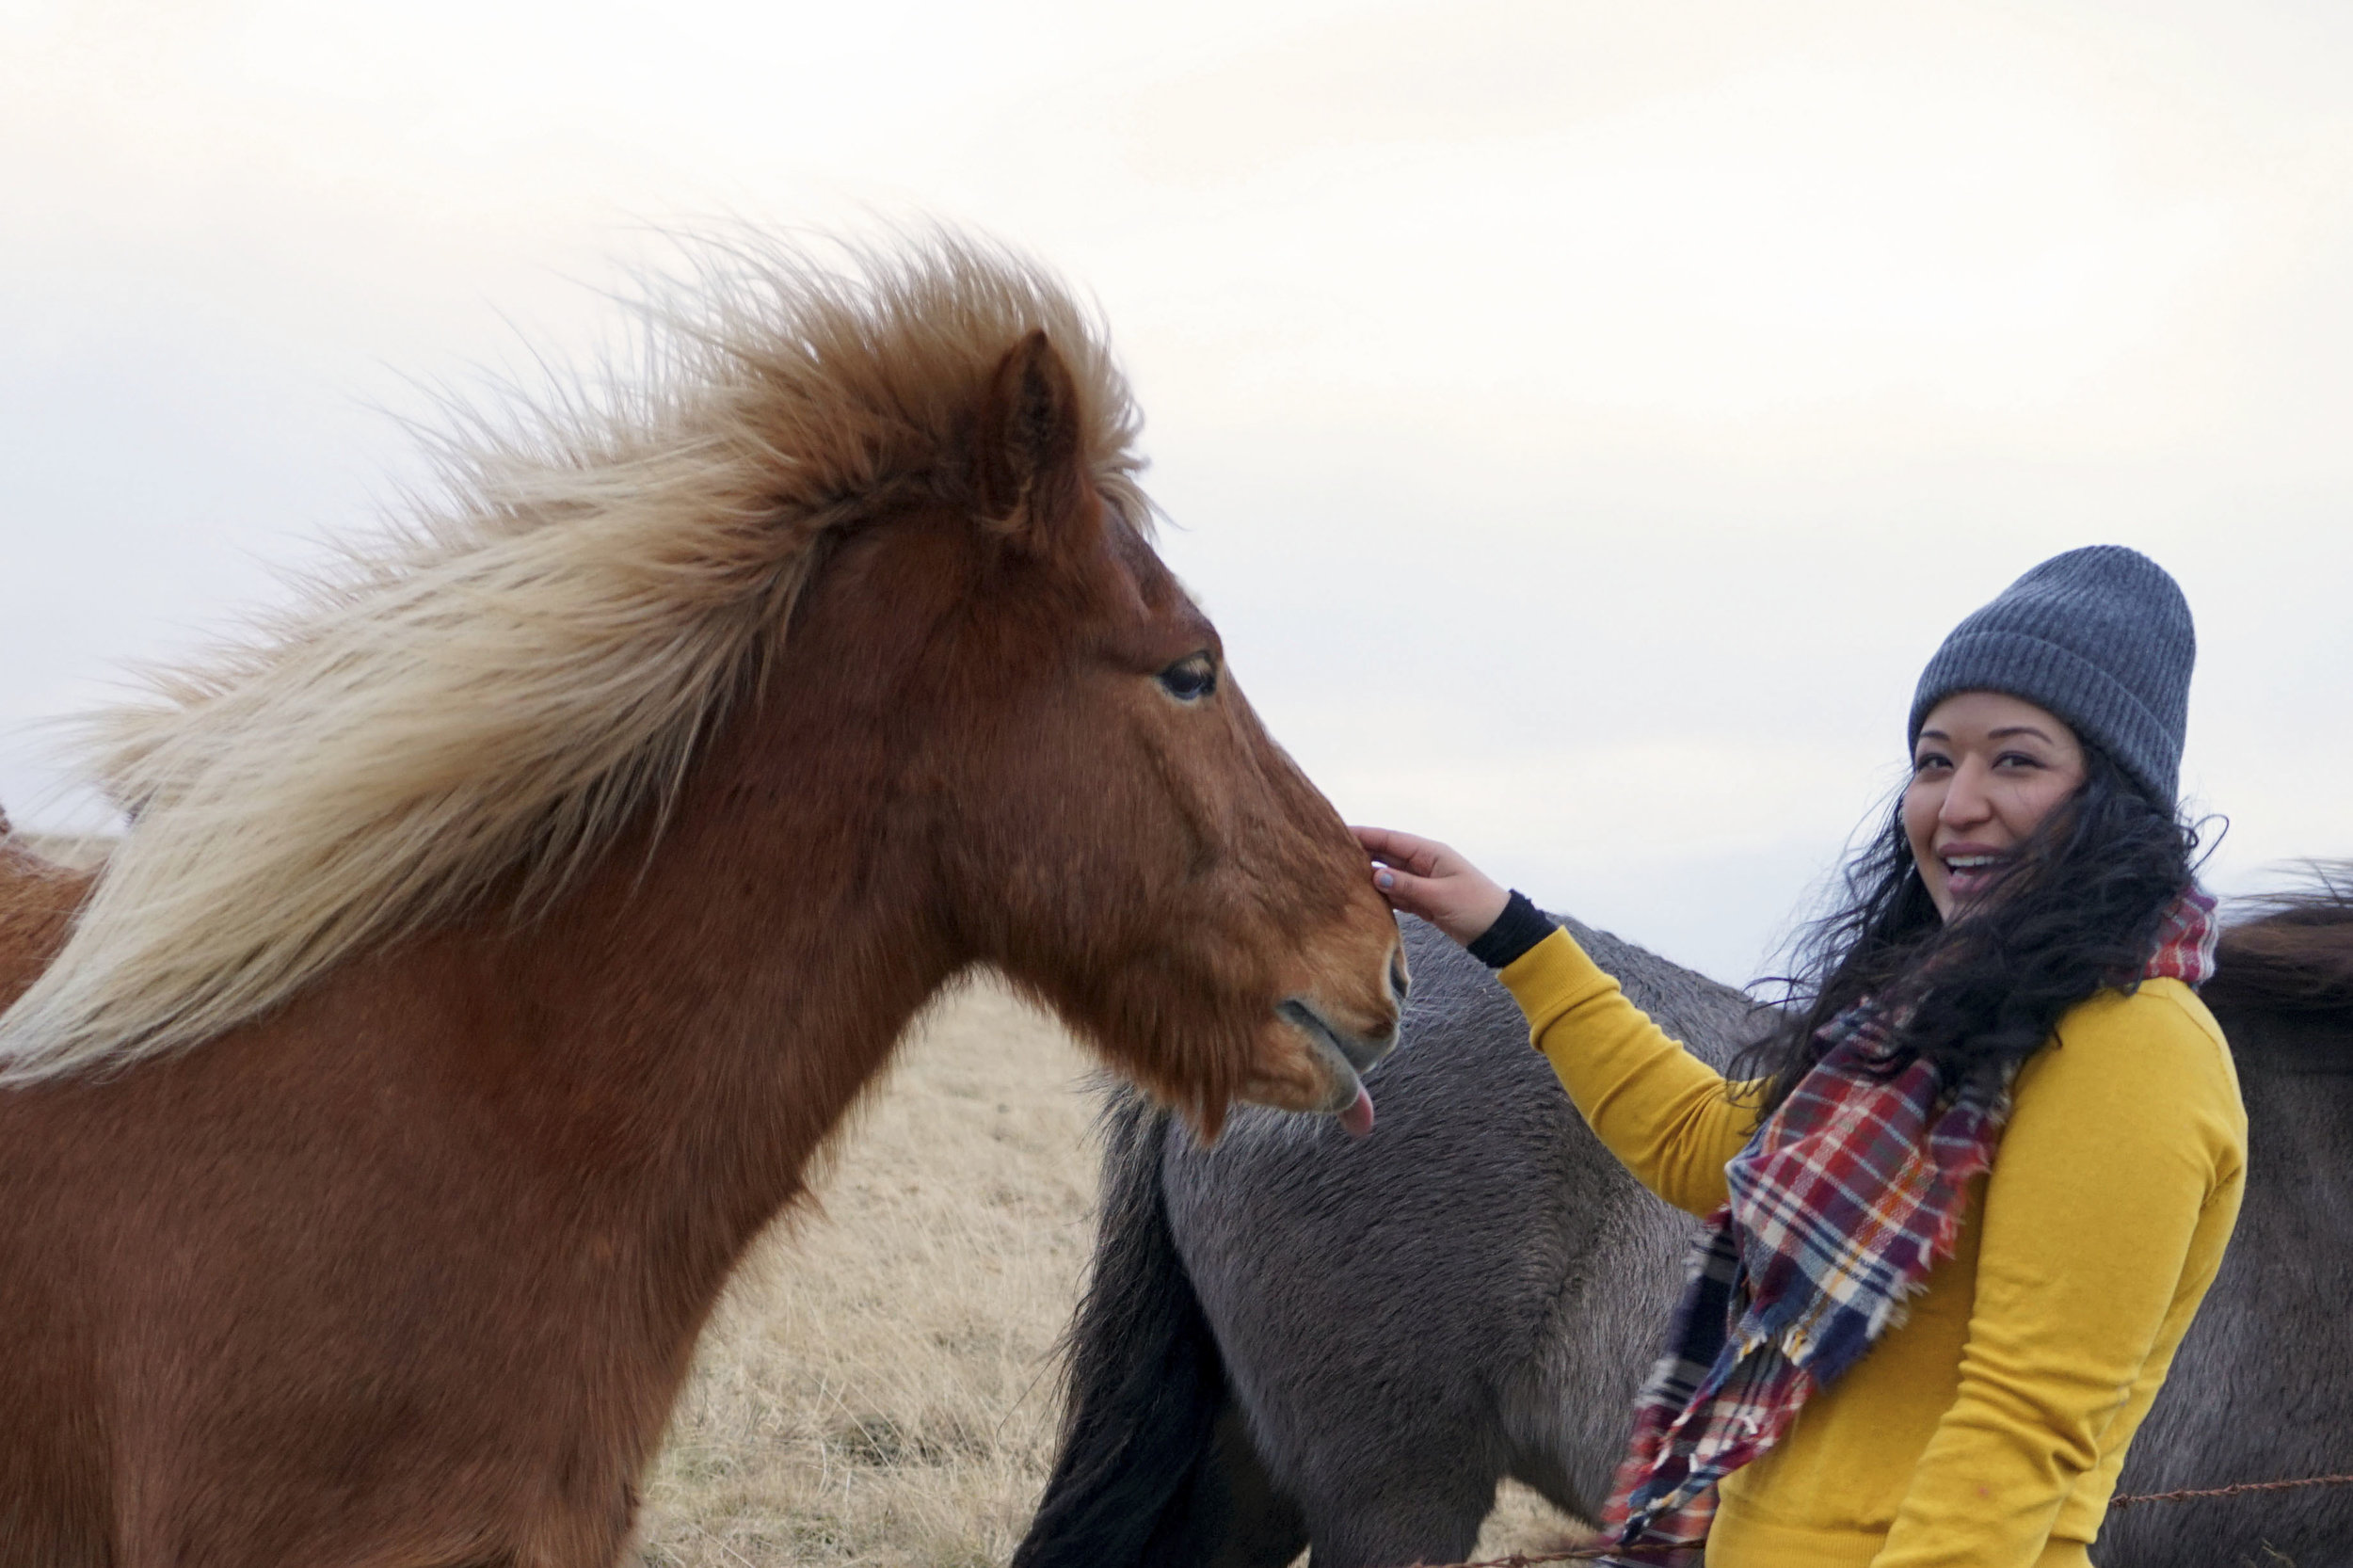
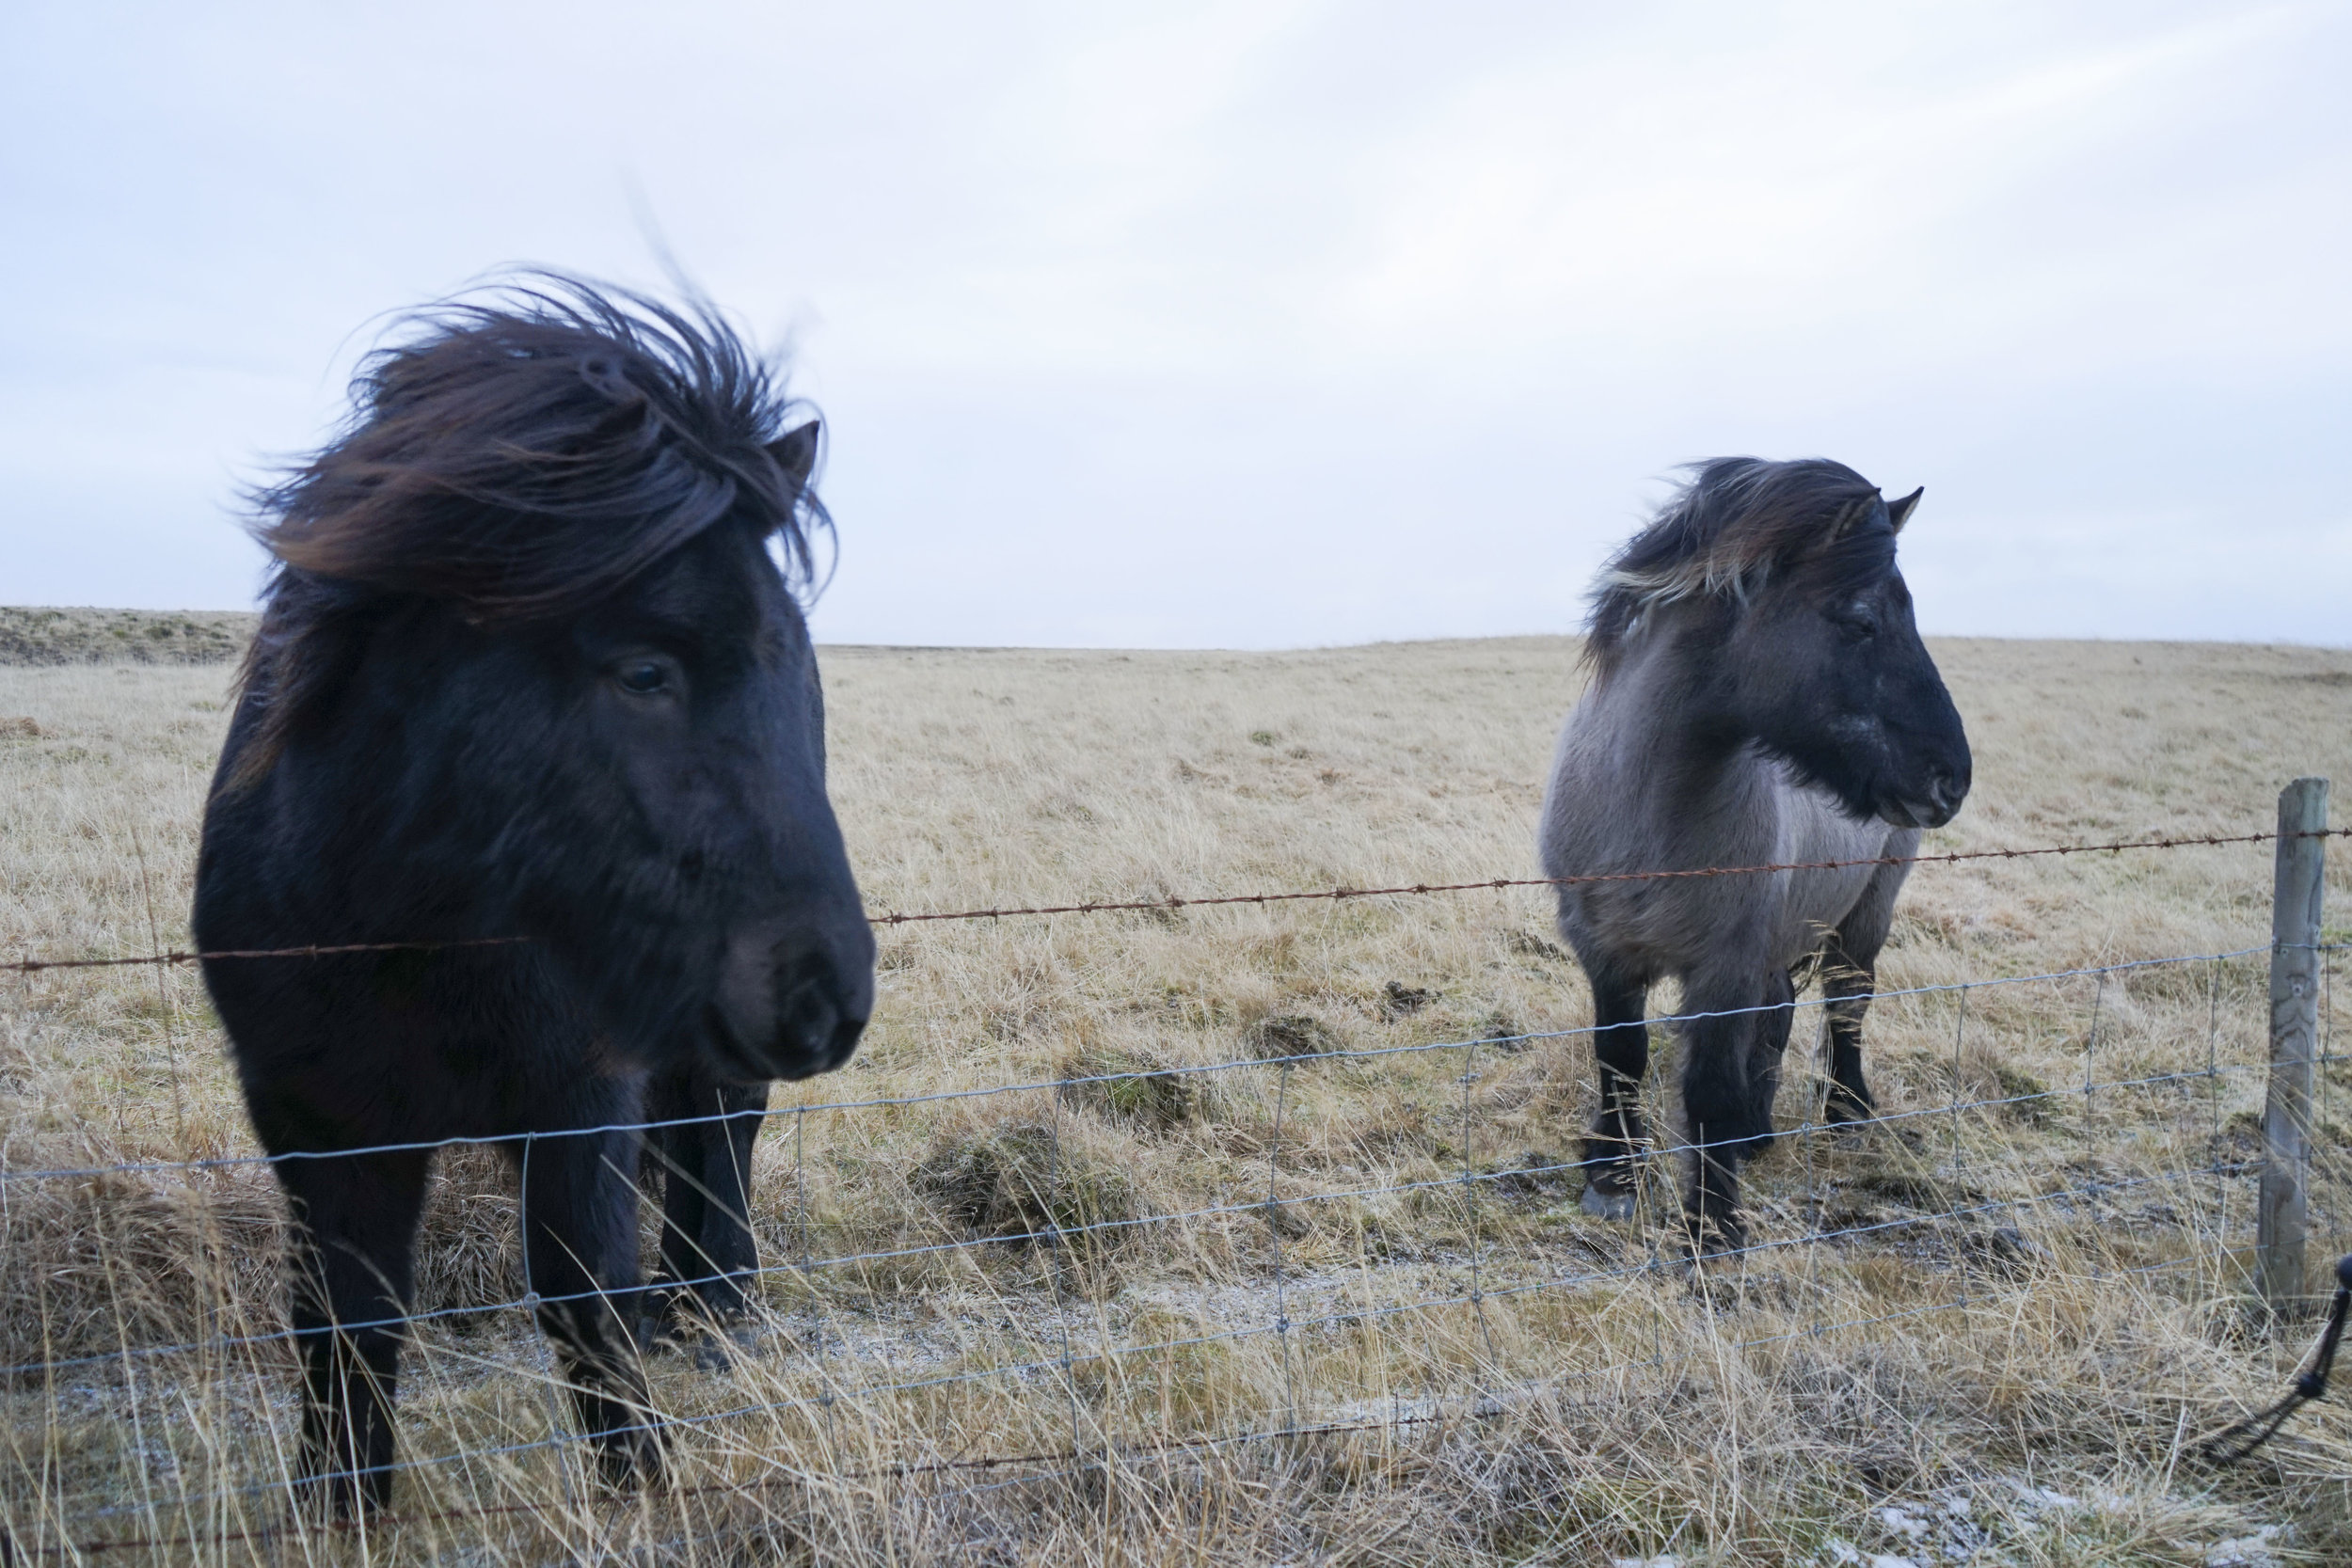
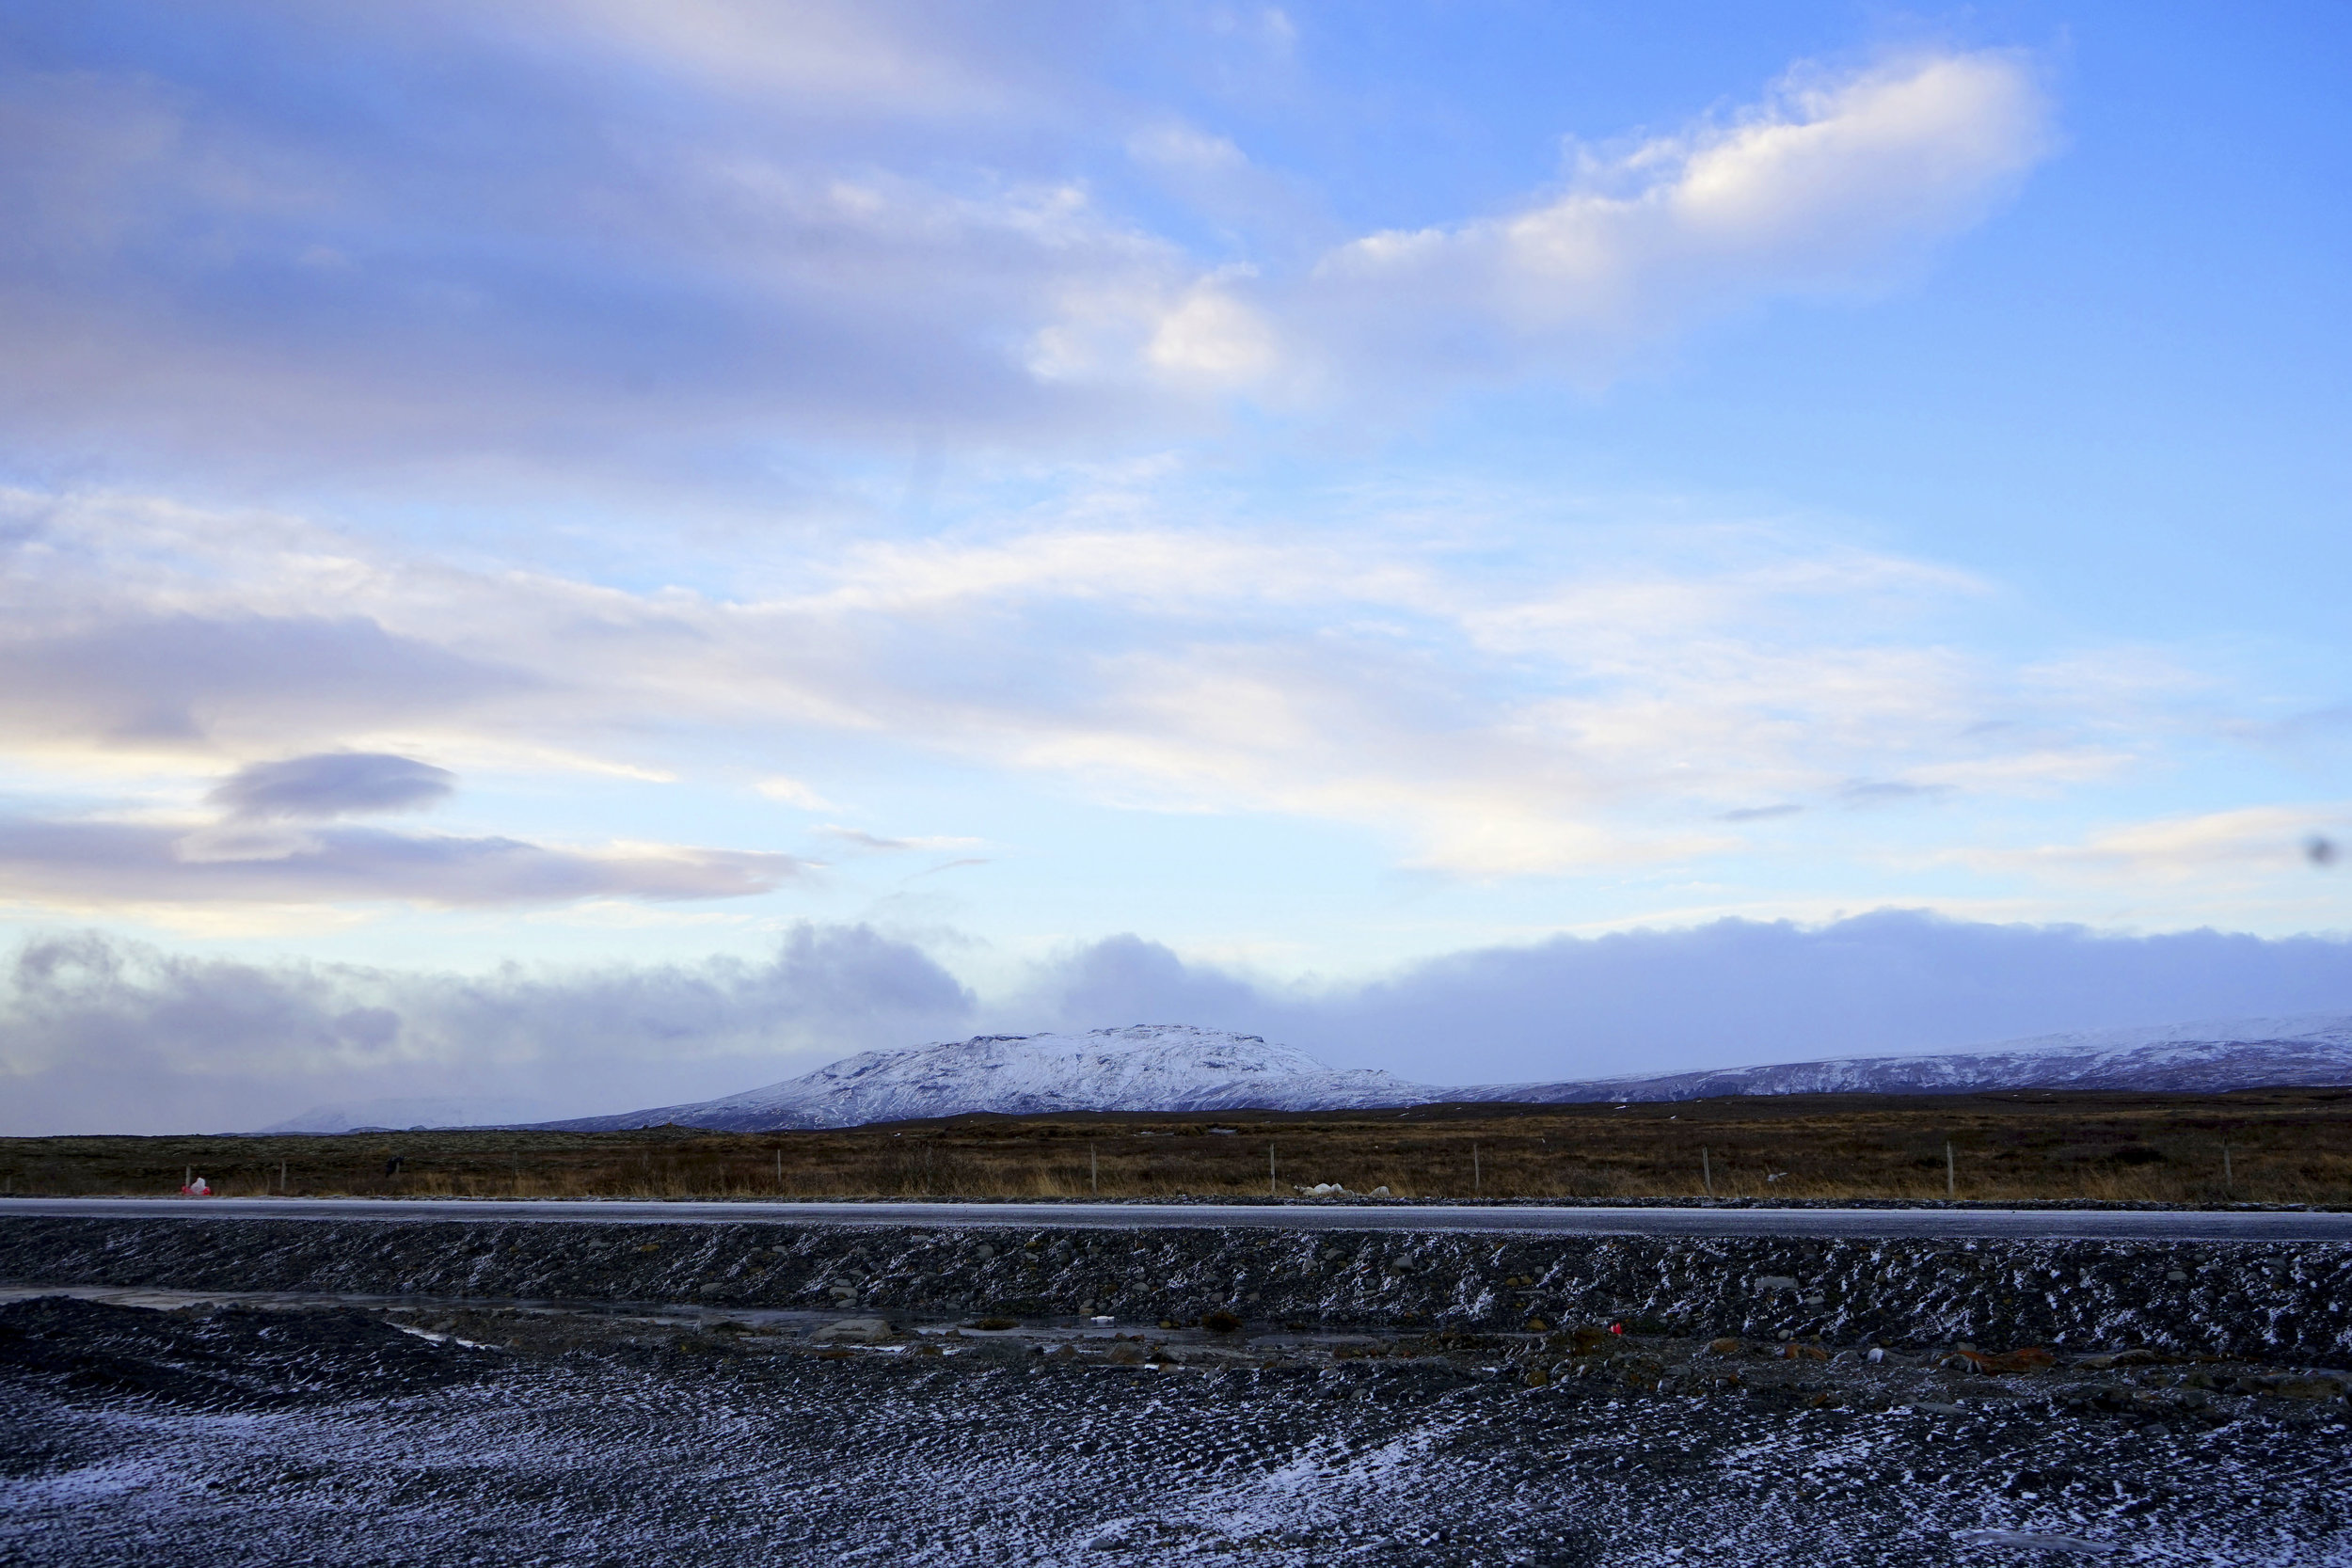
We opted to rent a car and drive ourselves which I think was the best decision at the end. I will say, it was NOT easy. We went in December and the weather was not great. Lots of snow, heavy winds, icy roads, and rain. The driving conditions were rough and at times we only drove 20 mph. Another thing to remember is that you will be driving a lot! I mean 5-10 hours a day depending what you want to accomplish. It is not an easy task but the scenery you see will make up for it. On the plus side, there are lot of signs and directions from Google maps are very easy to follow. The roads are also maintained very well- not as many pot holes as I was expecting. Renting a car cost us about $500 a day with insurance and gas (filled up two full tanks of gas). Overall, a car was the cheaper and more efficient thing to do. It was also nice to be able to create our own route and get out as we pleased. This allowed us to feed wild horses in the middle of the fields (I honestly don’t even know where we were ahah).
Tip: get insurance! Our car got damaged by a person’s door flying into our rear-view mirror due to the heavy winds. Do not risk it!
Tip: get gas when you see a gas station! You may not see another gas station for another 90 miles. Remember gas is also quite expensive in Iceland.
Tours are a great way to go if you have a really large party and do not want to take the chances of driving. However, they also take a lot more planning. The tours in Iceland are fairly reasonable ($50-$150). I recommend doing the tour in the day as you will see so much more. When it gets dark, you cannot see the beautiful mountains that you may see just driving on the highways.
Tip: Most tours leave from the city center so I highly recommend staying in Reykjavik.
Tip: Book at least a month in advance!

Day Trip 1: Southern Iceland
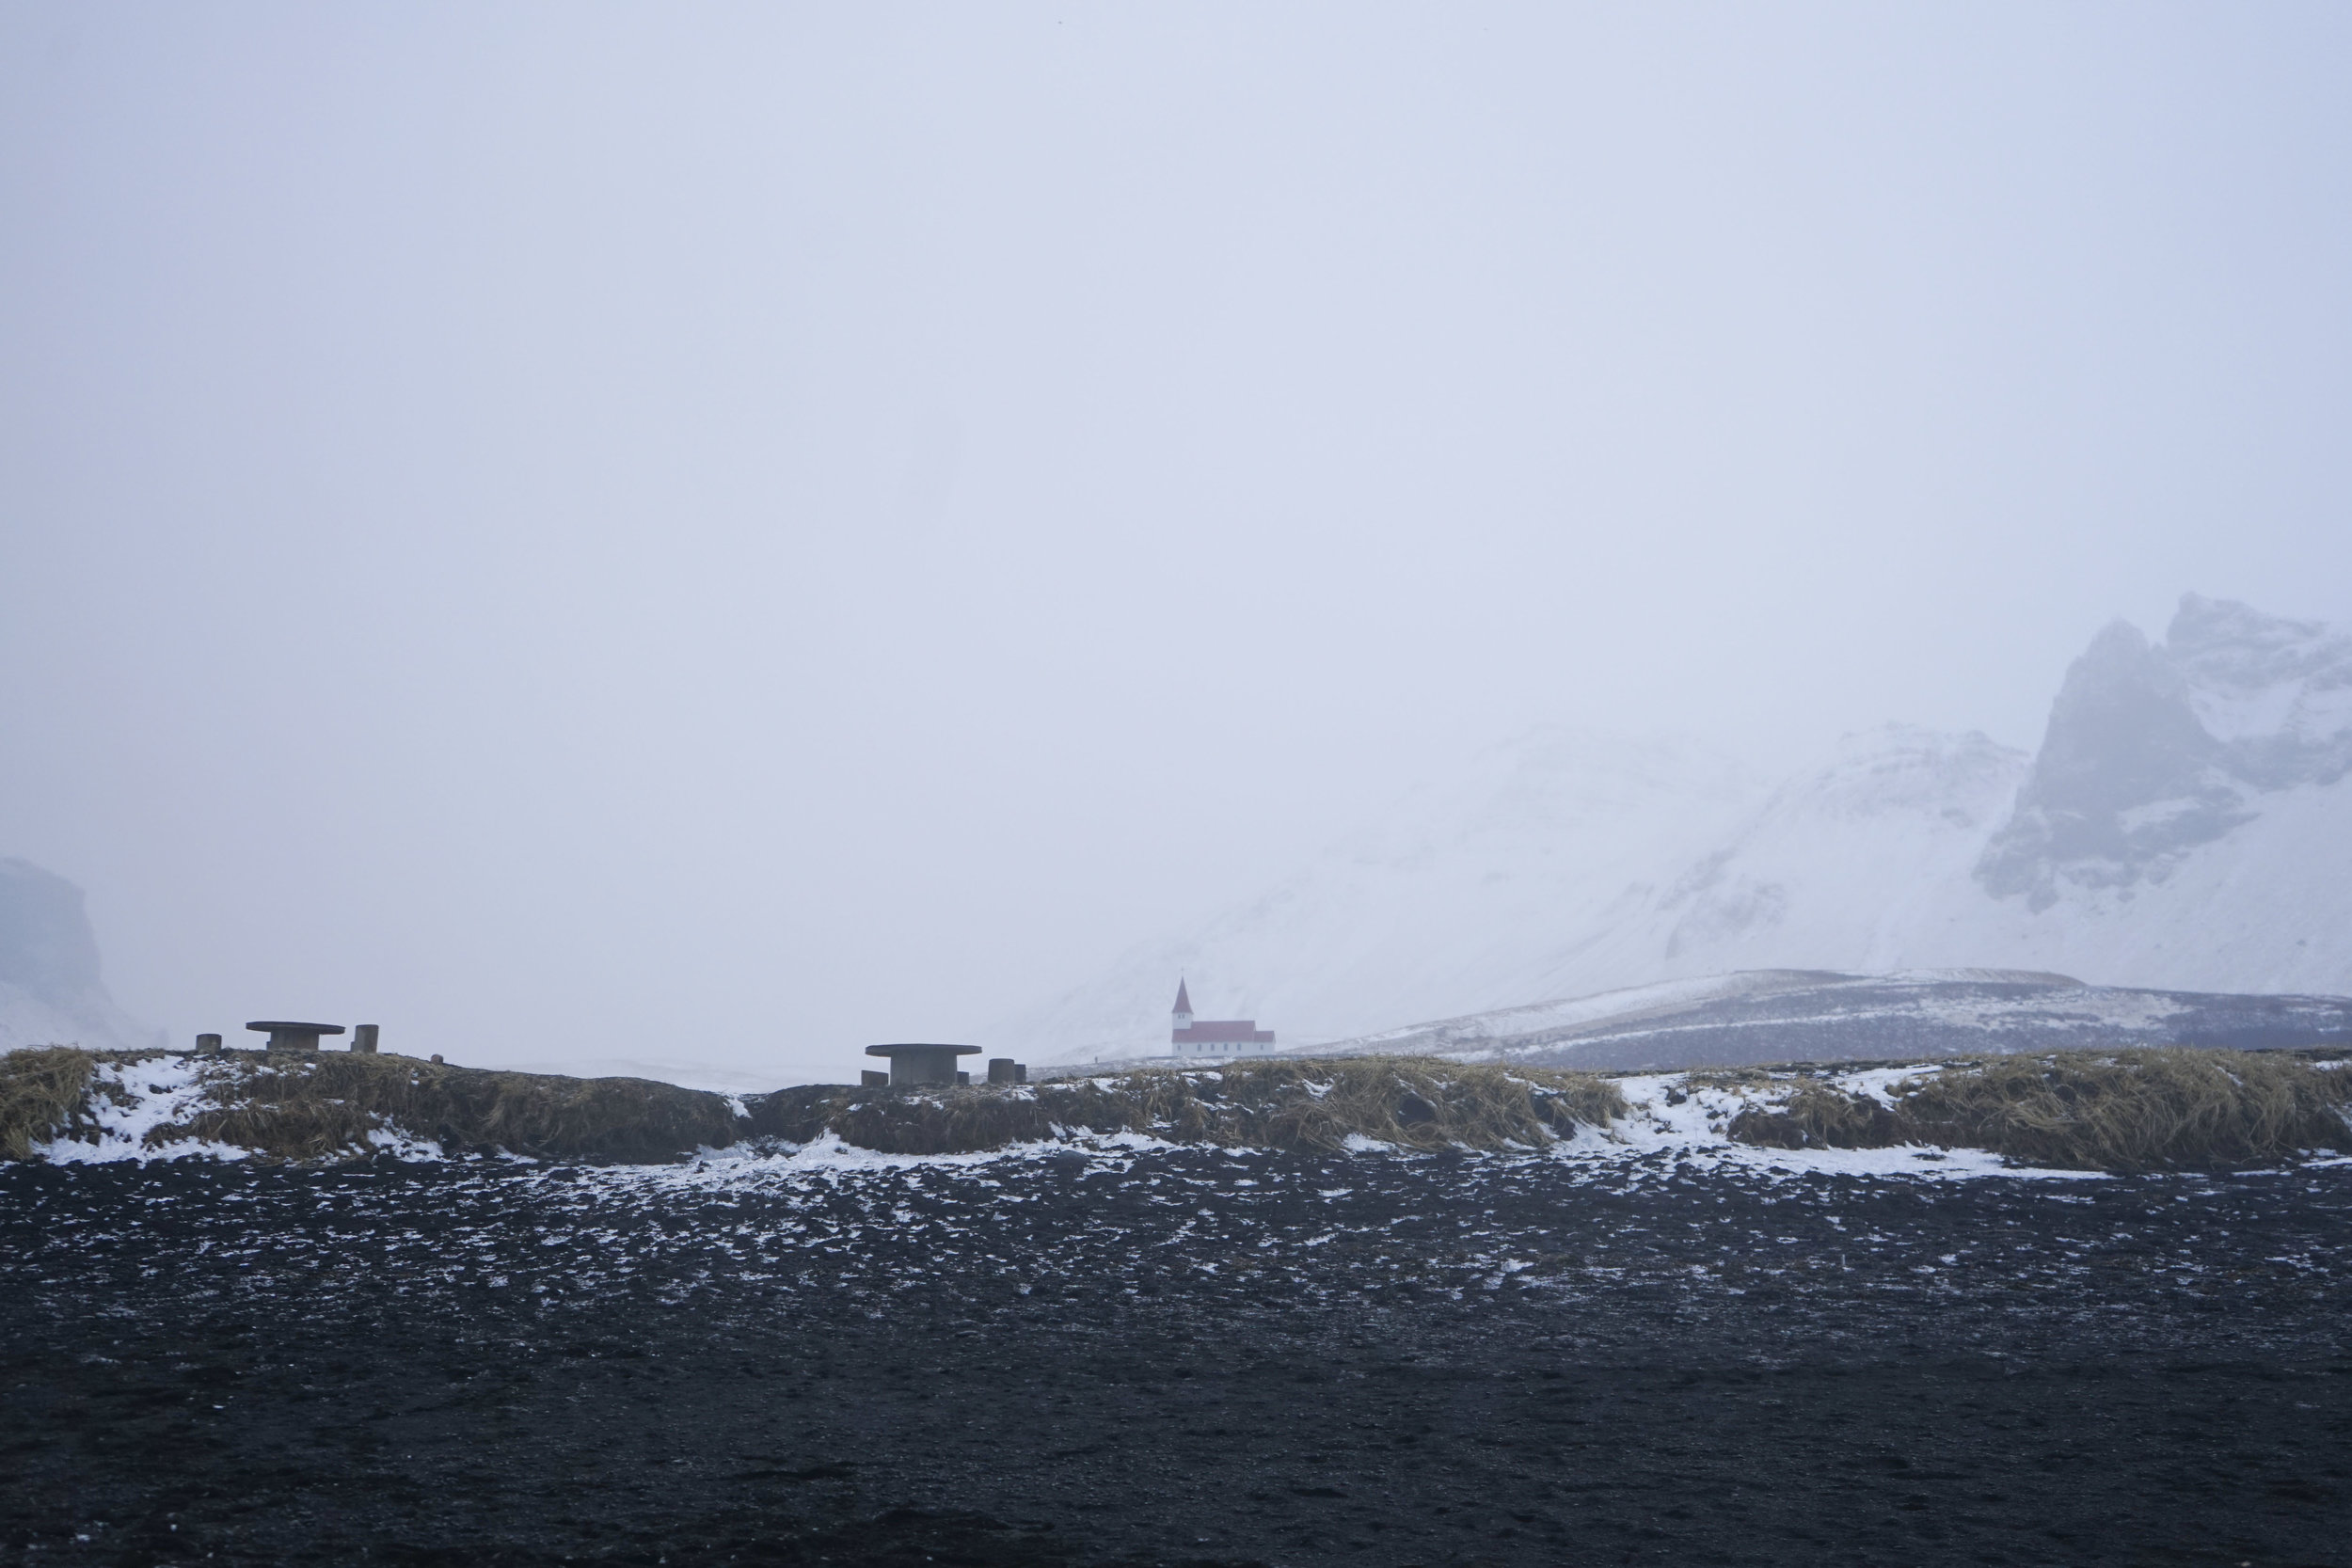
Stop 1: Vik
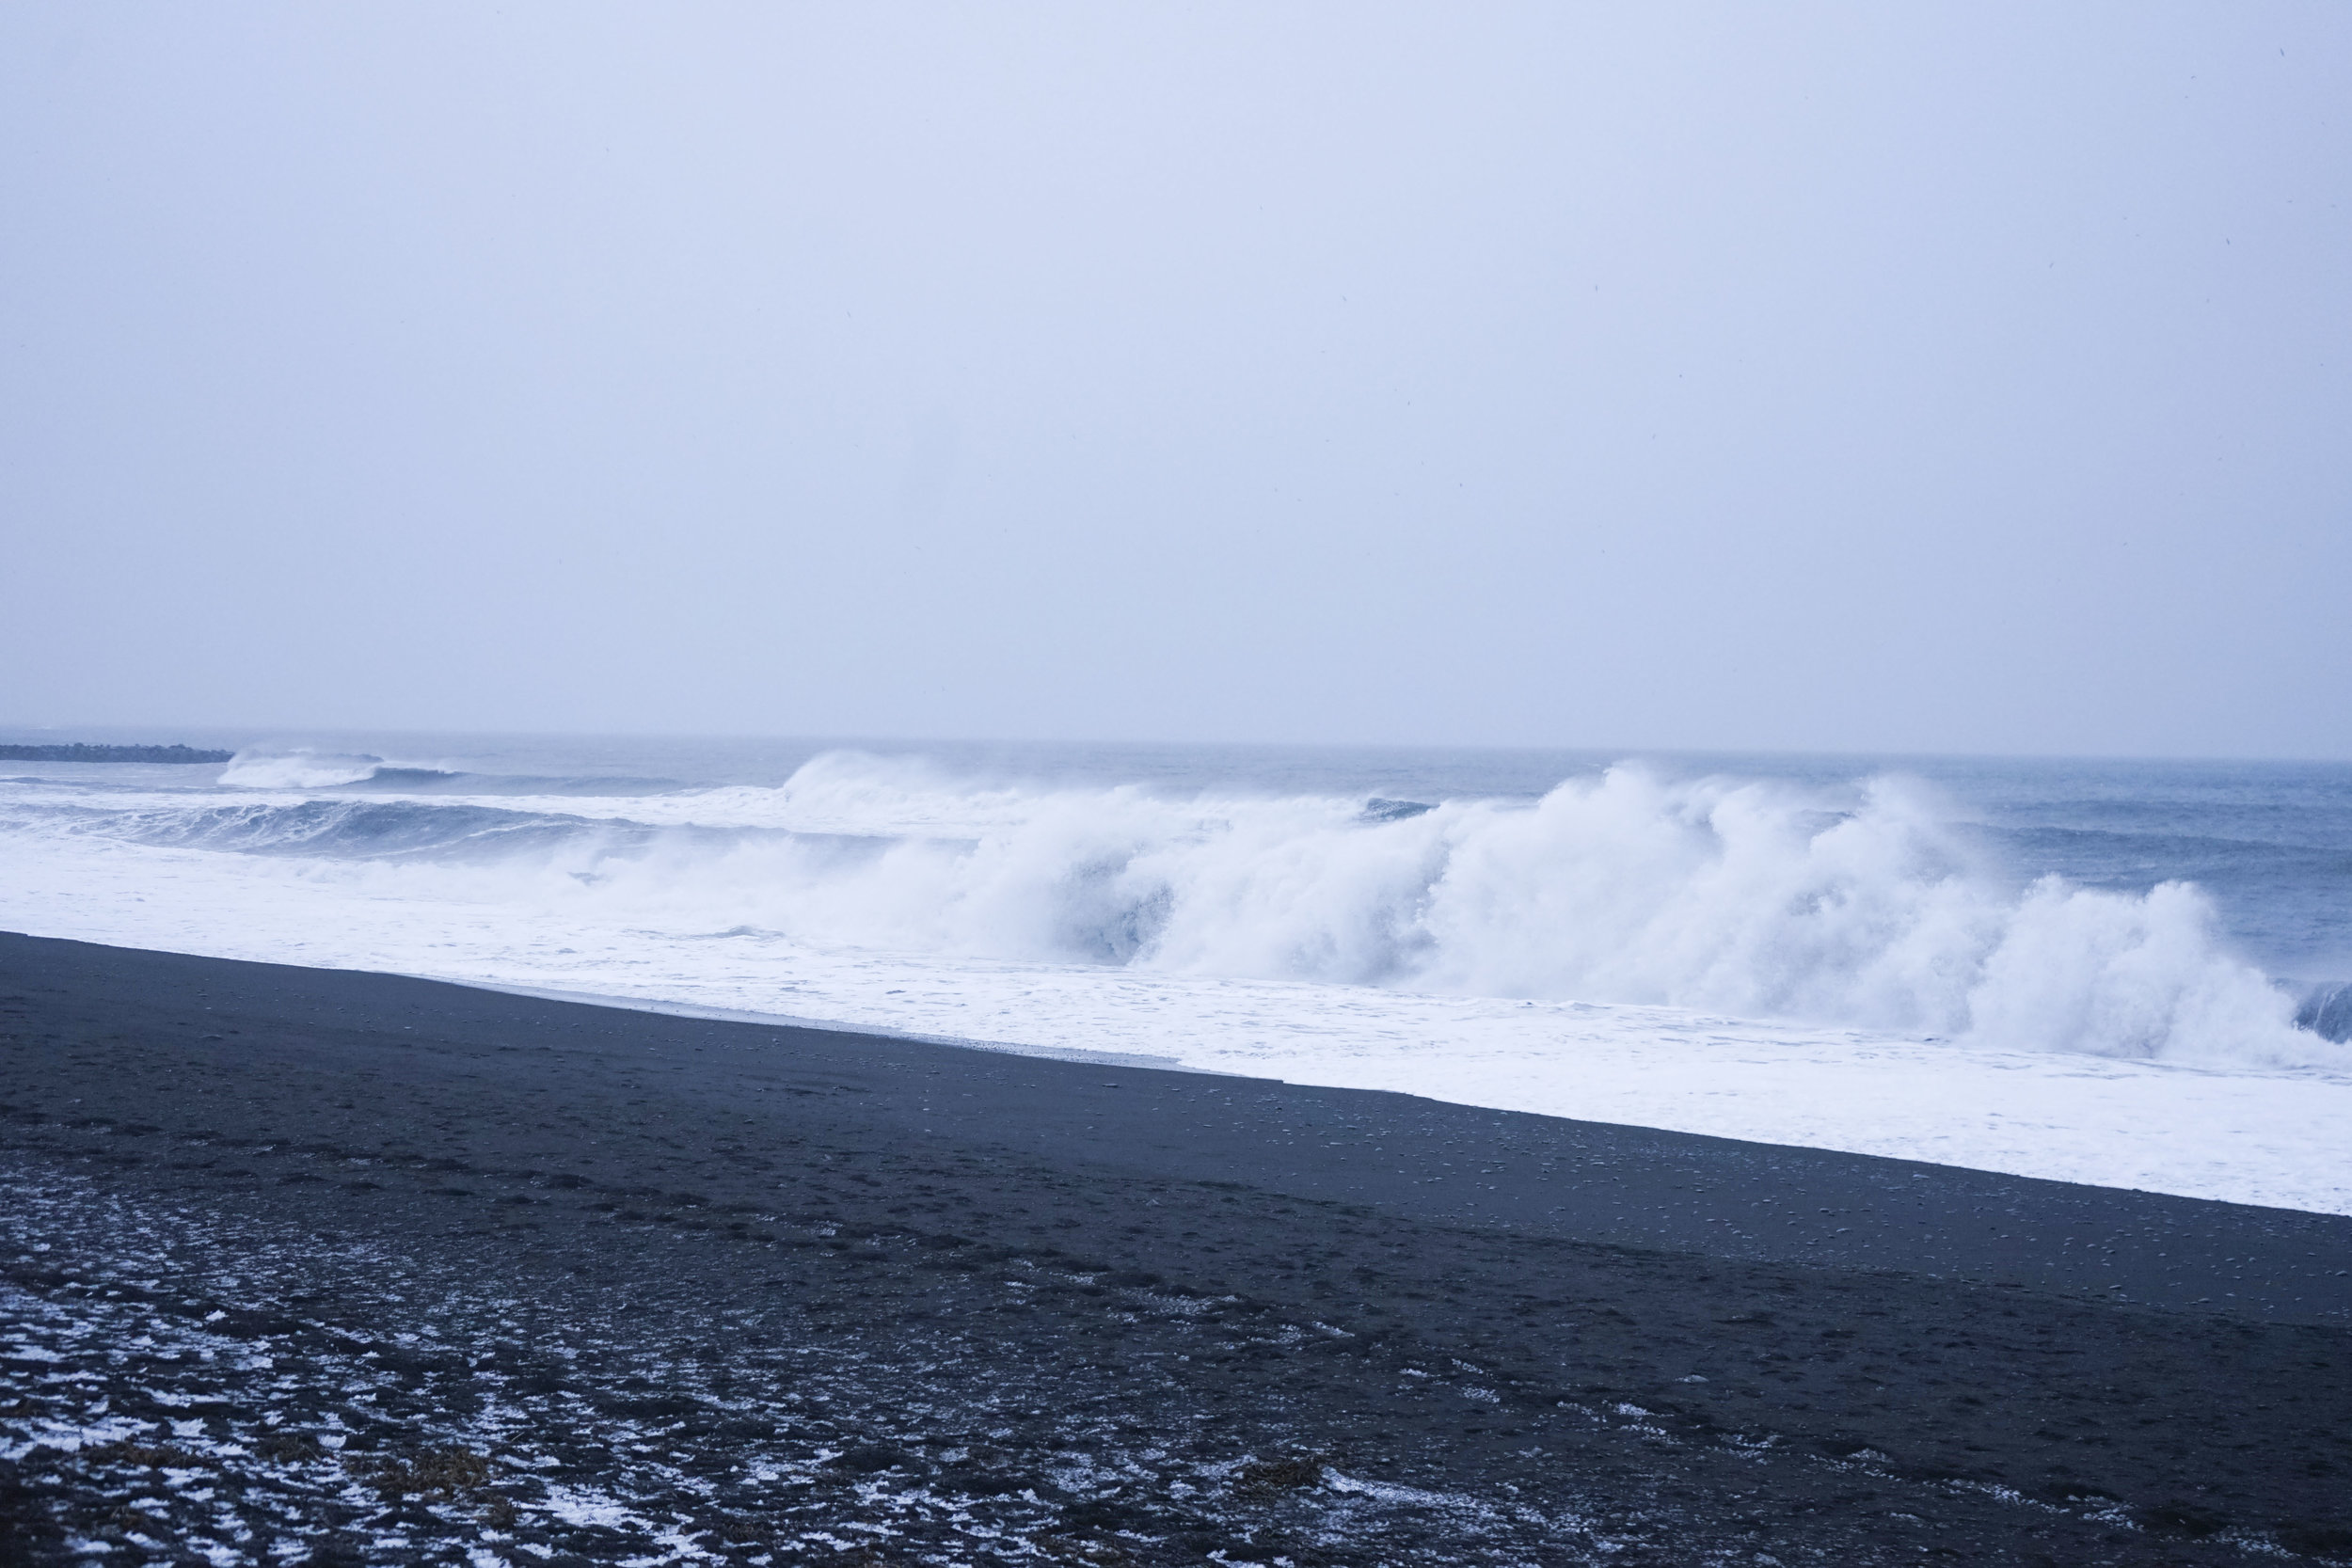
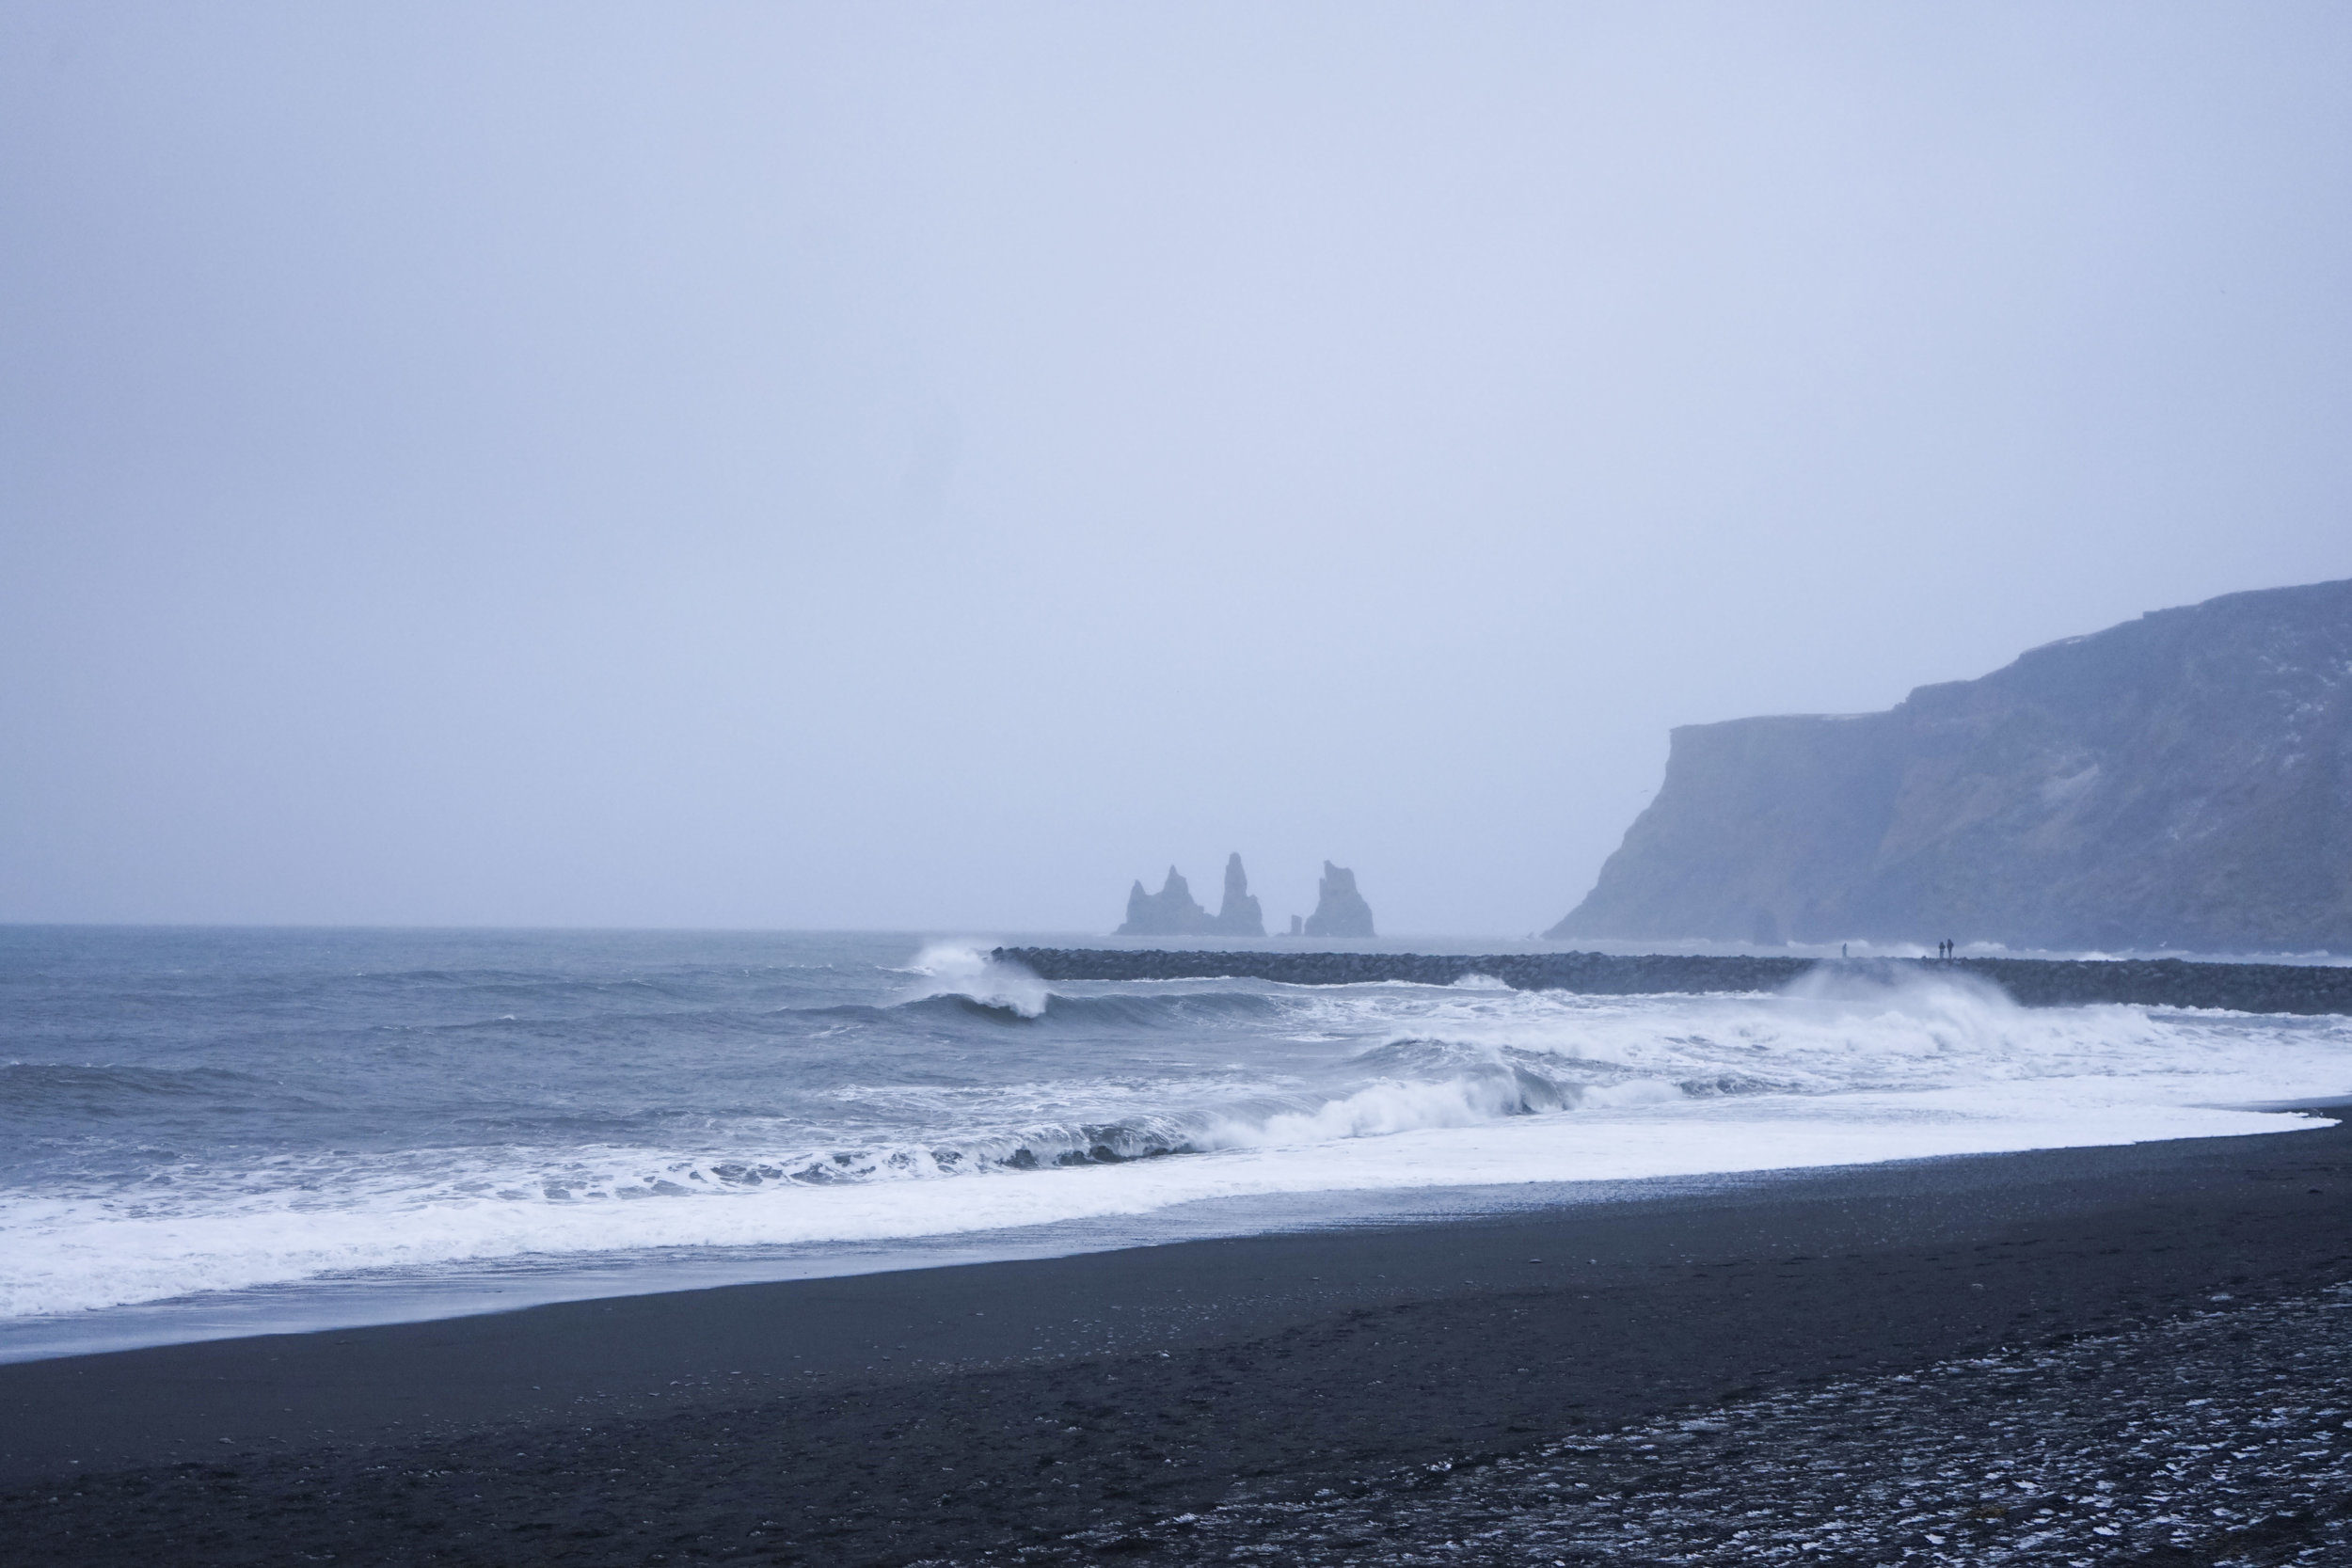
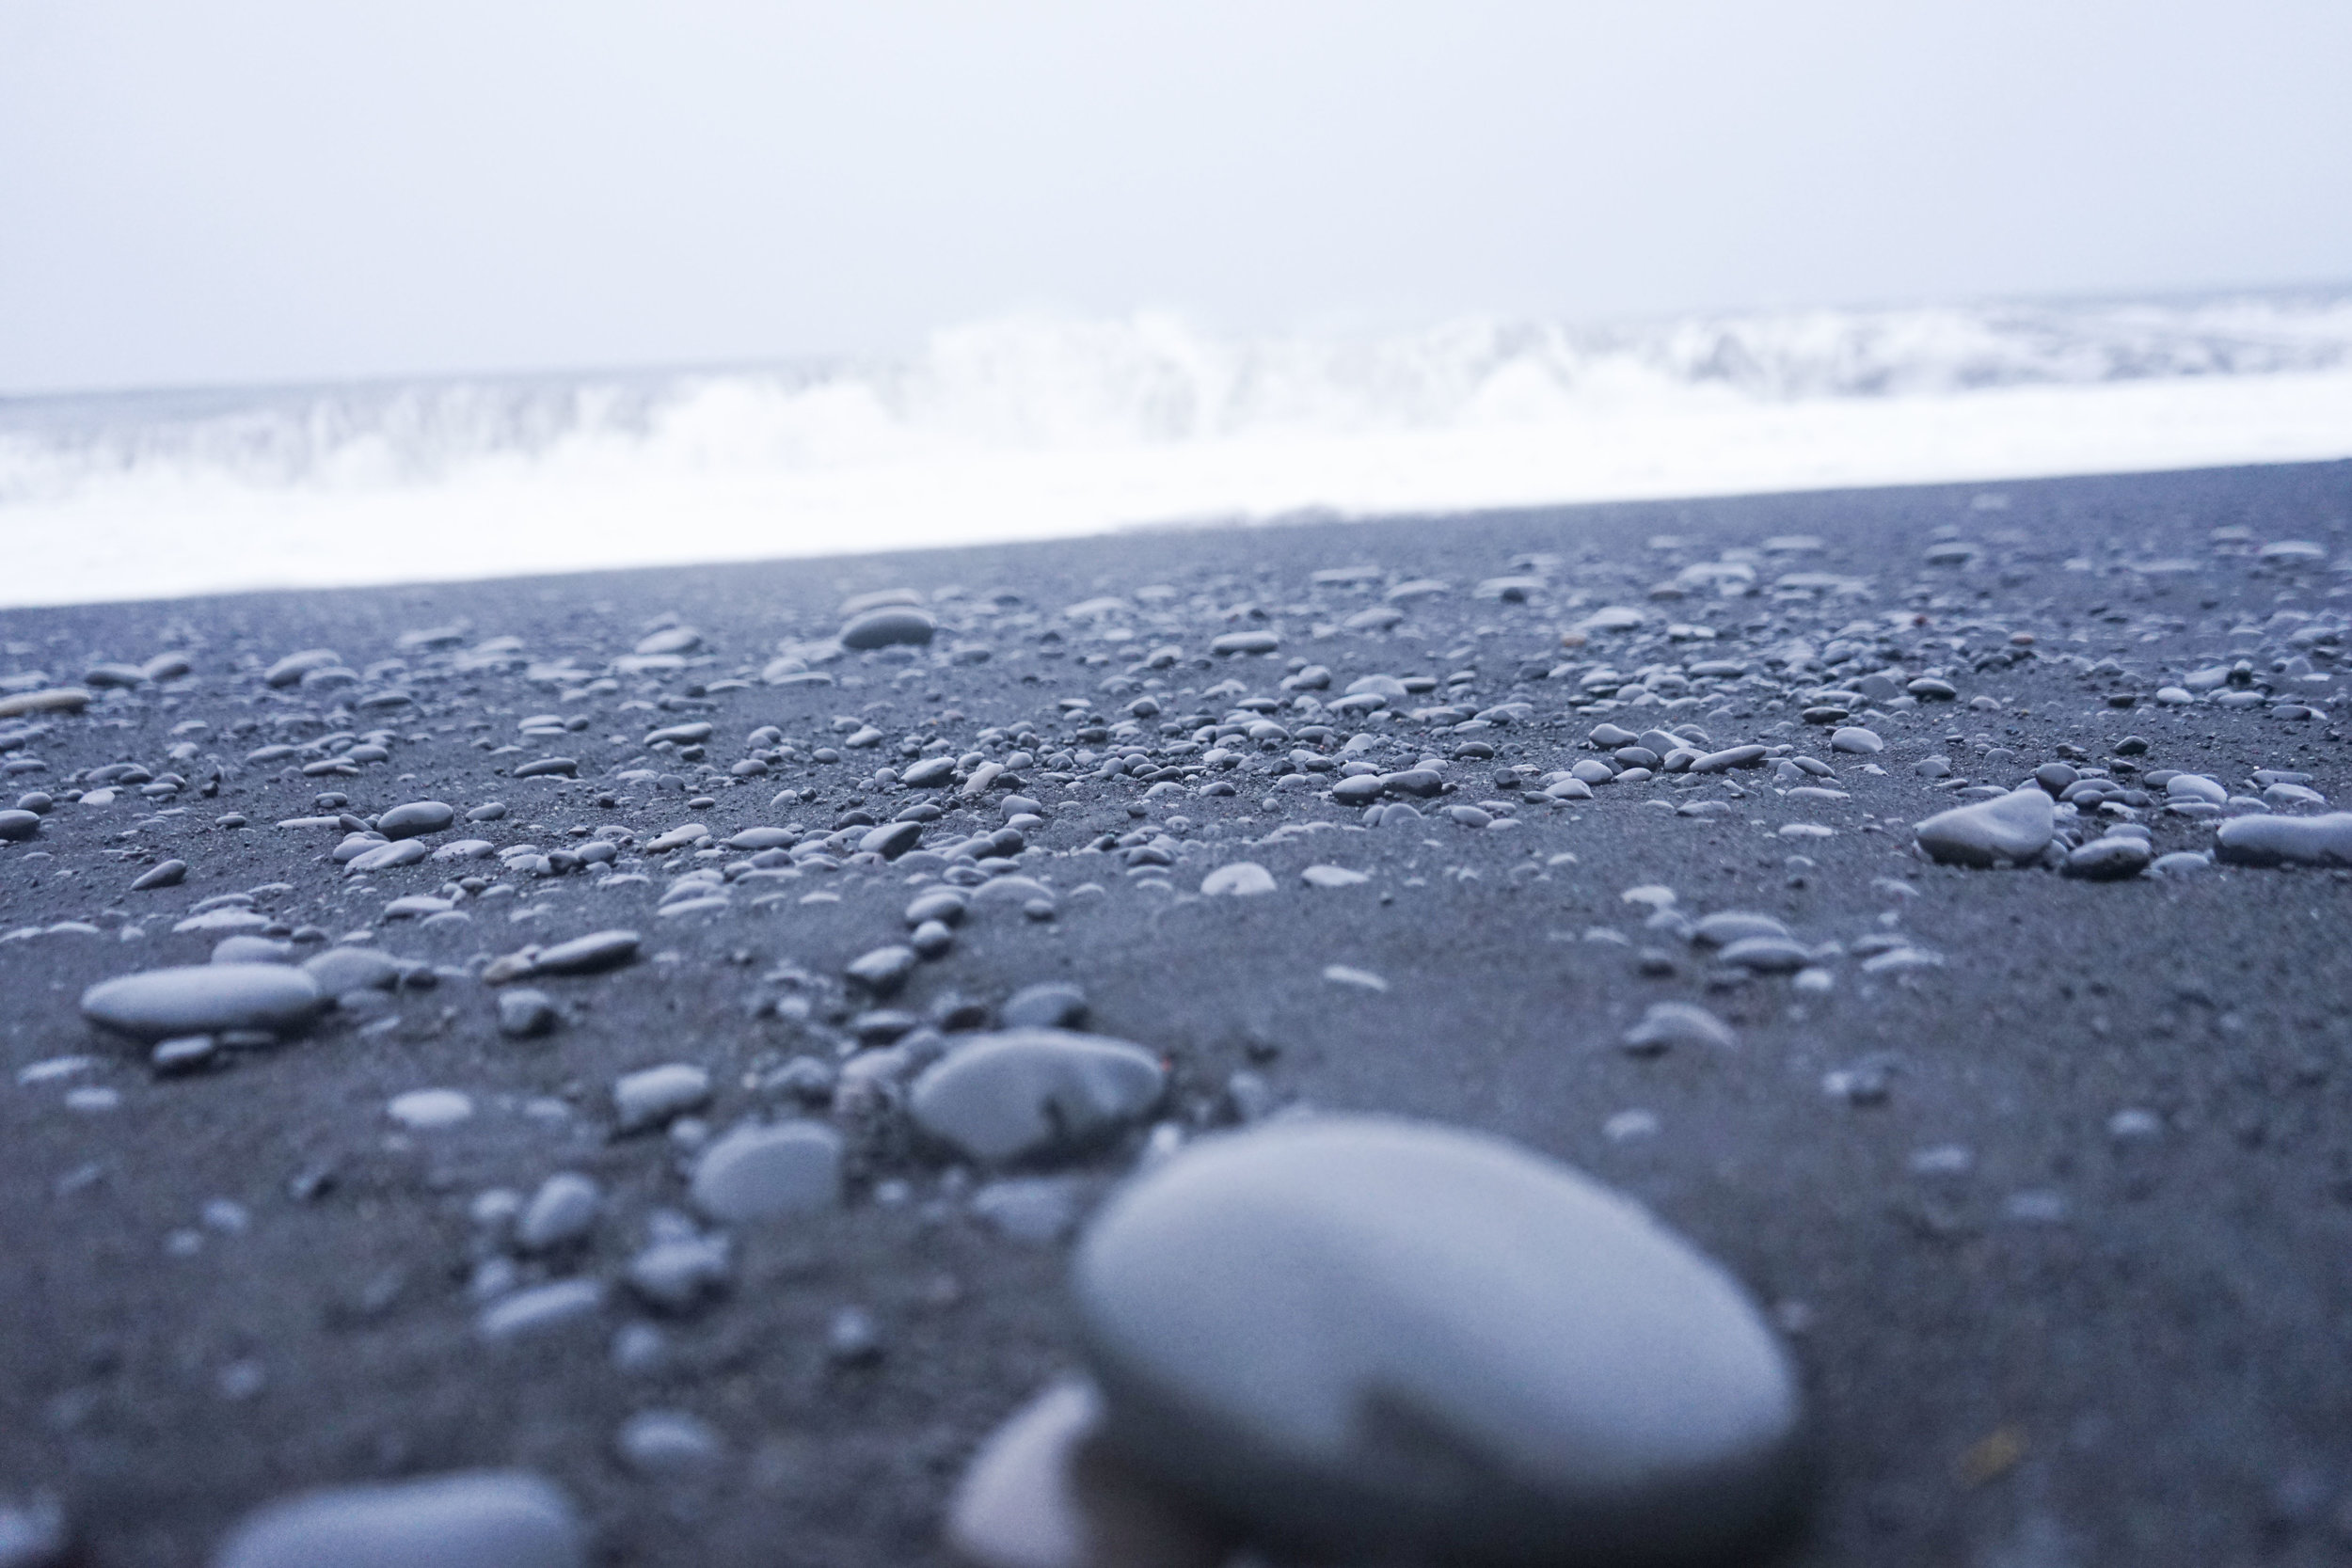
Stop 2: Reynisfjara Beach - black sand beaches
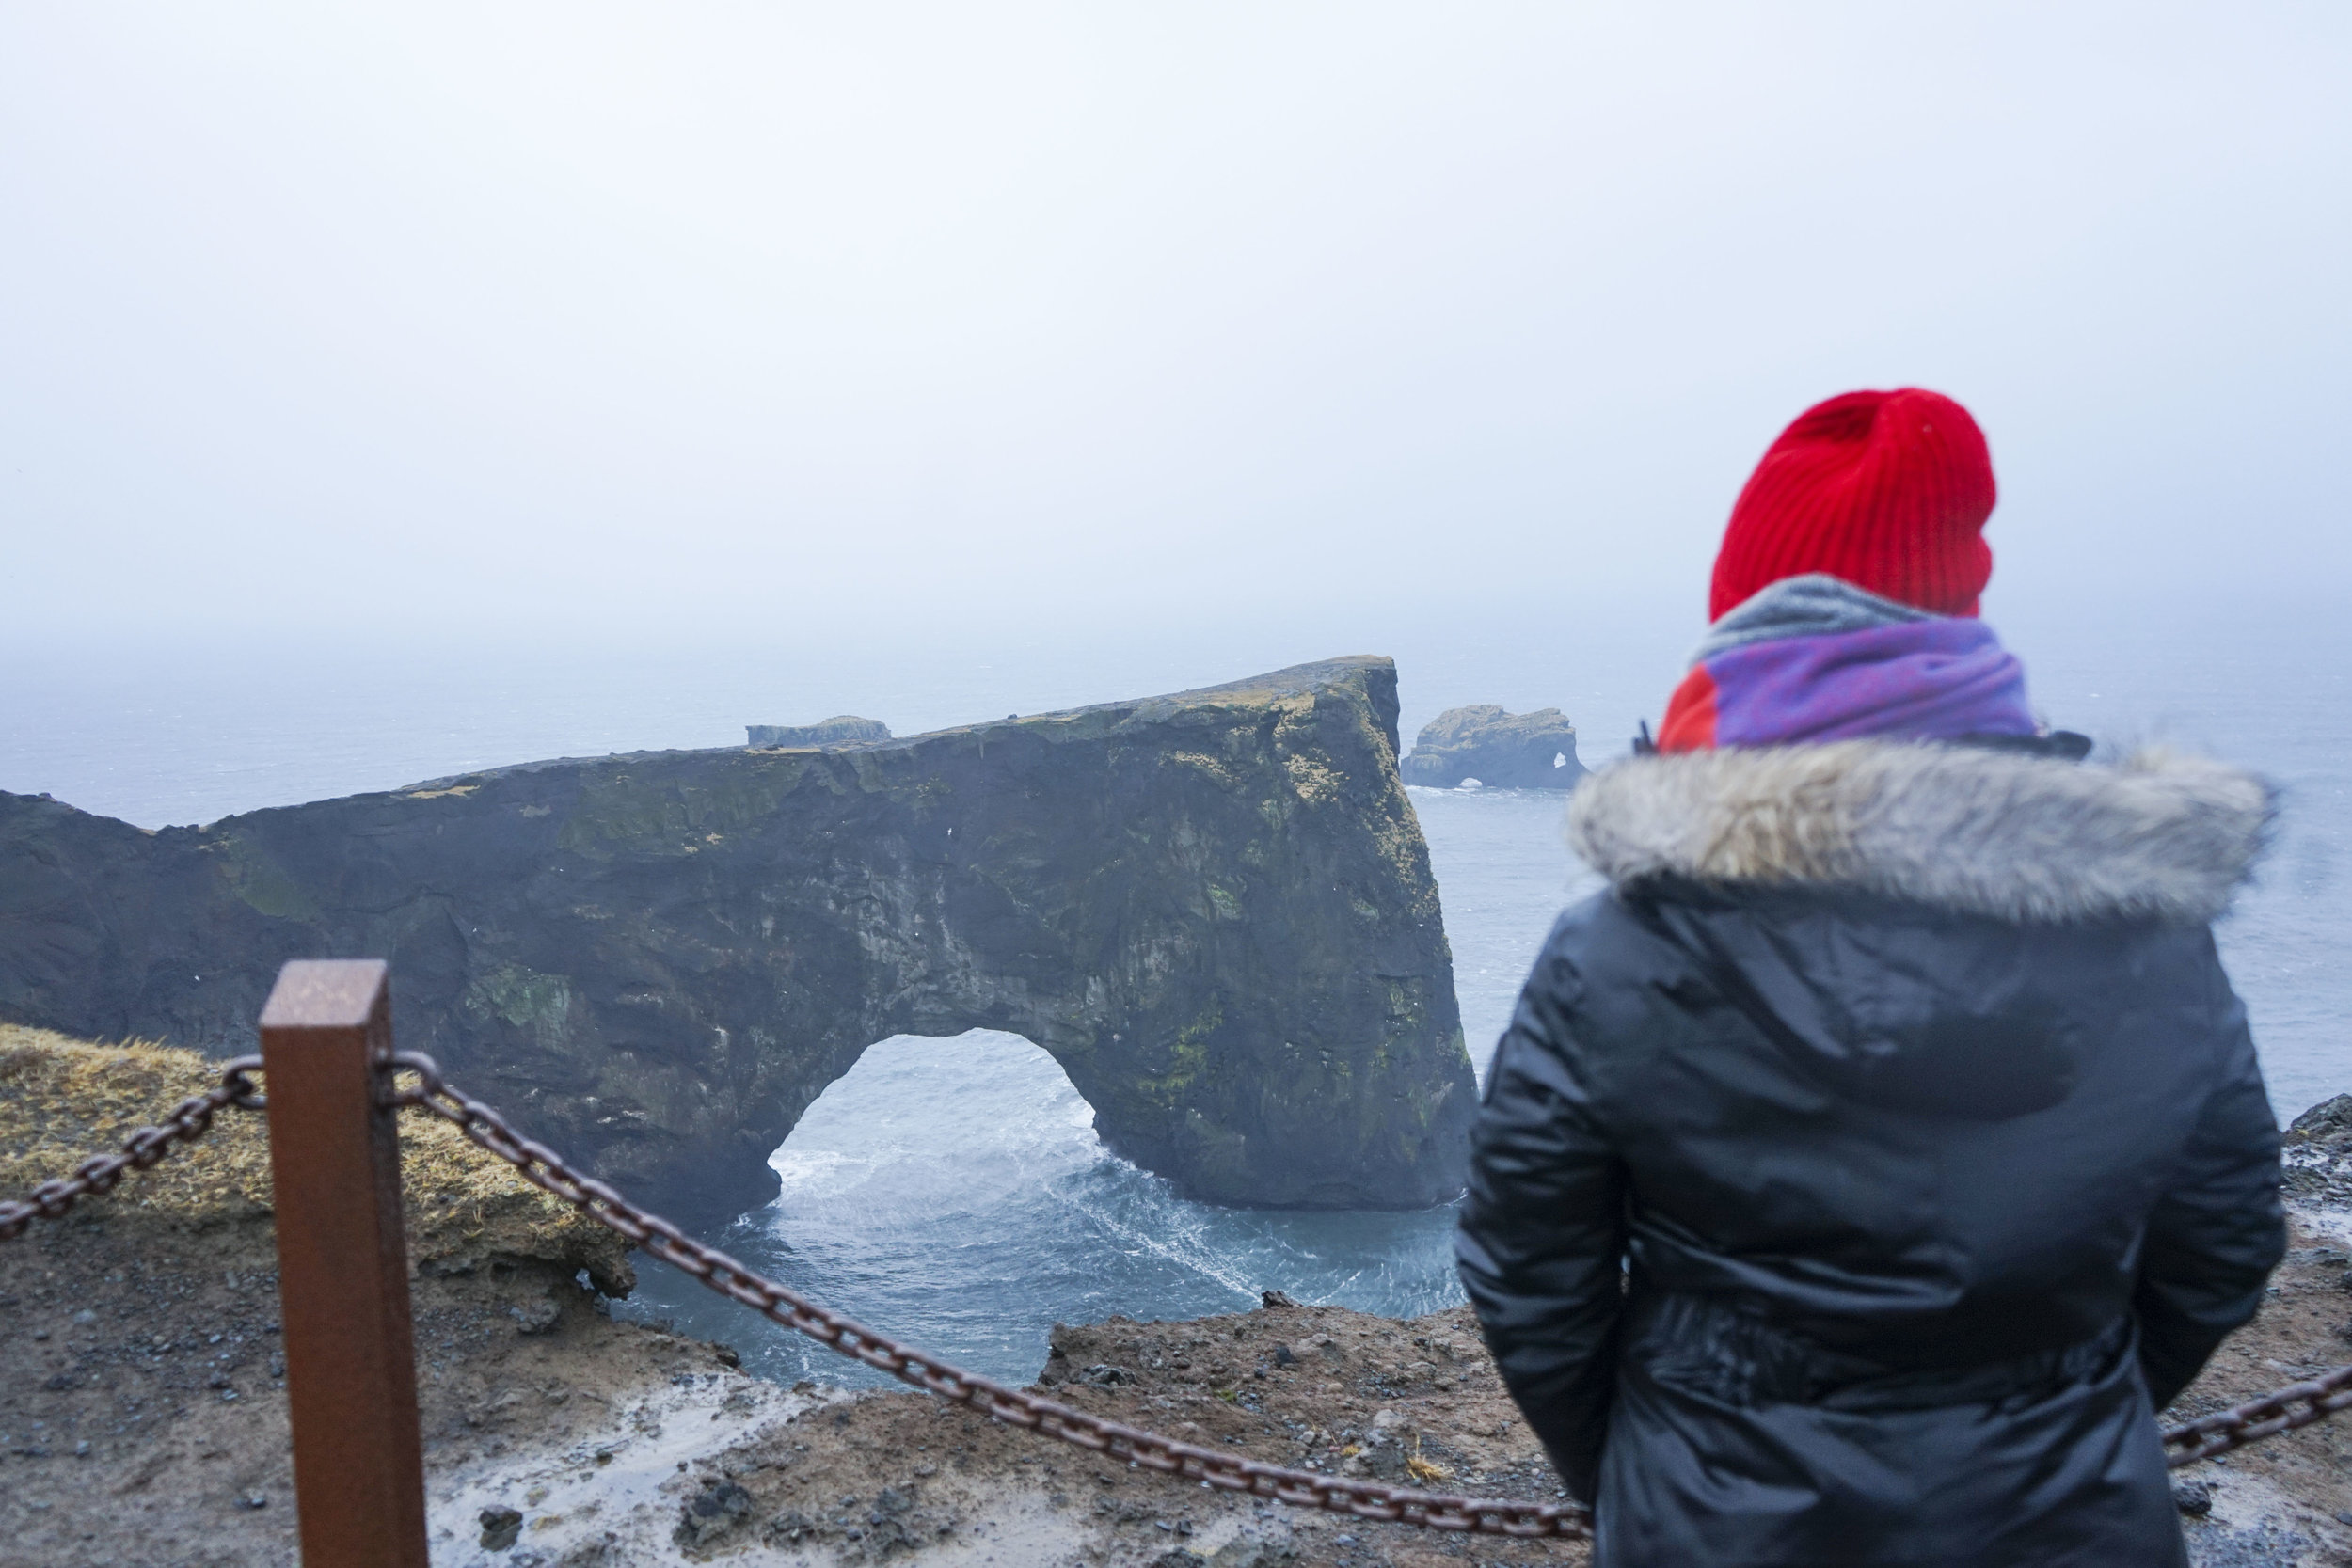
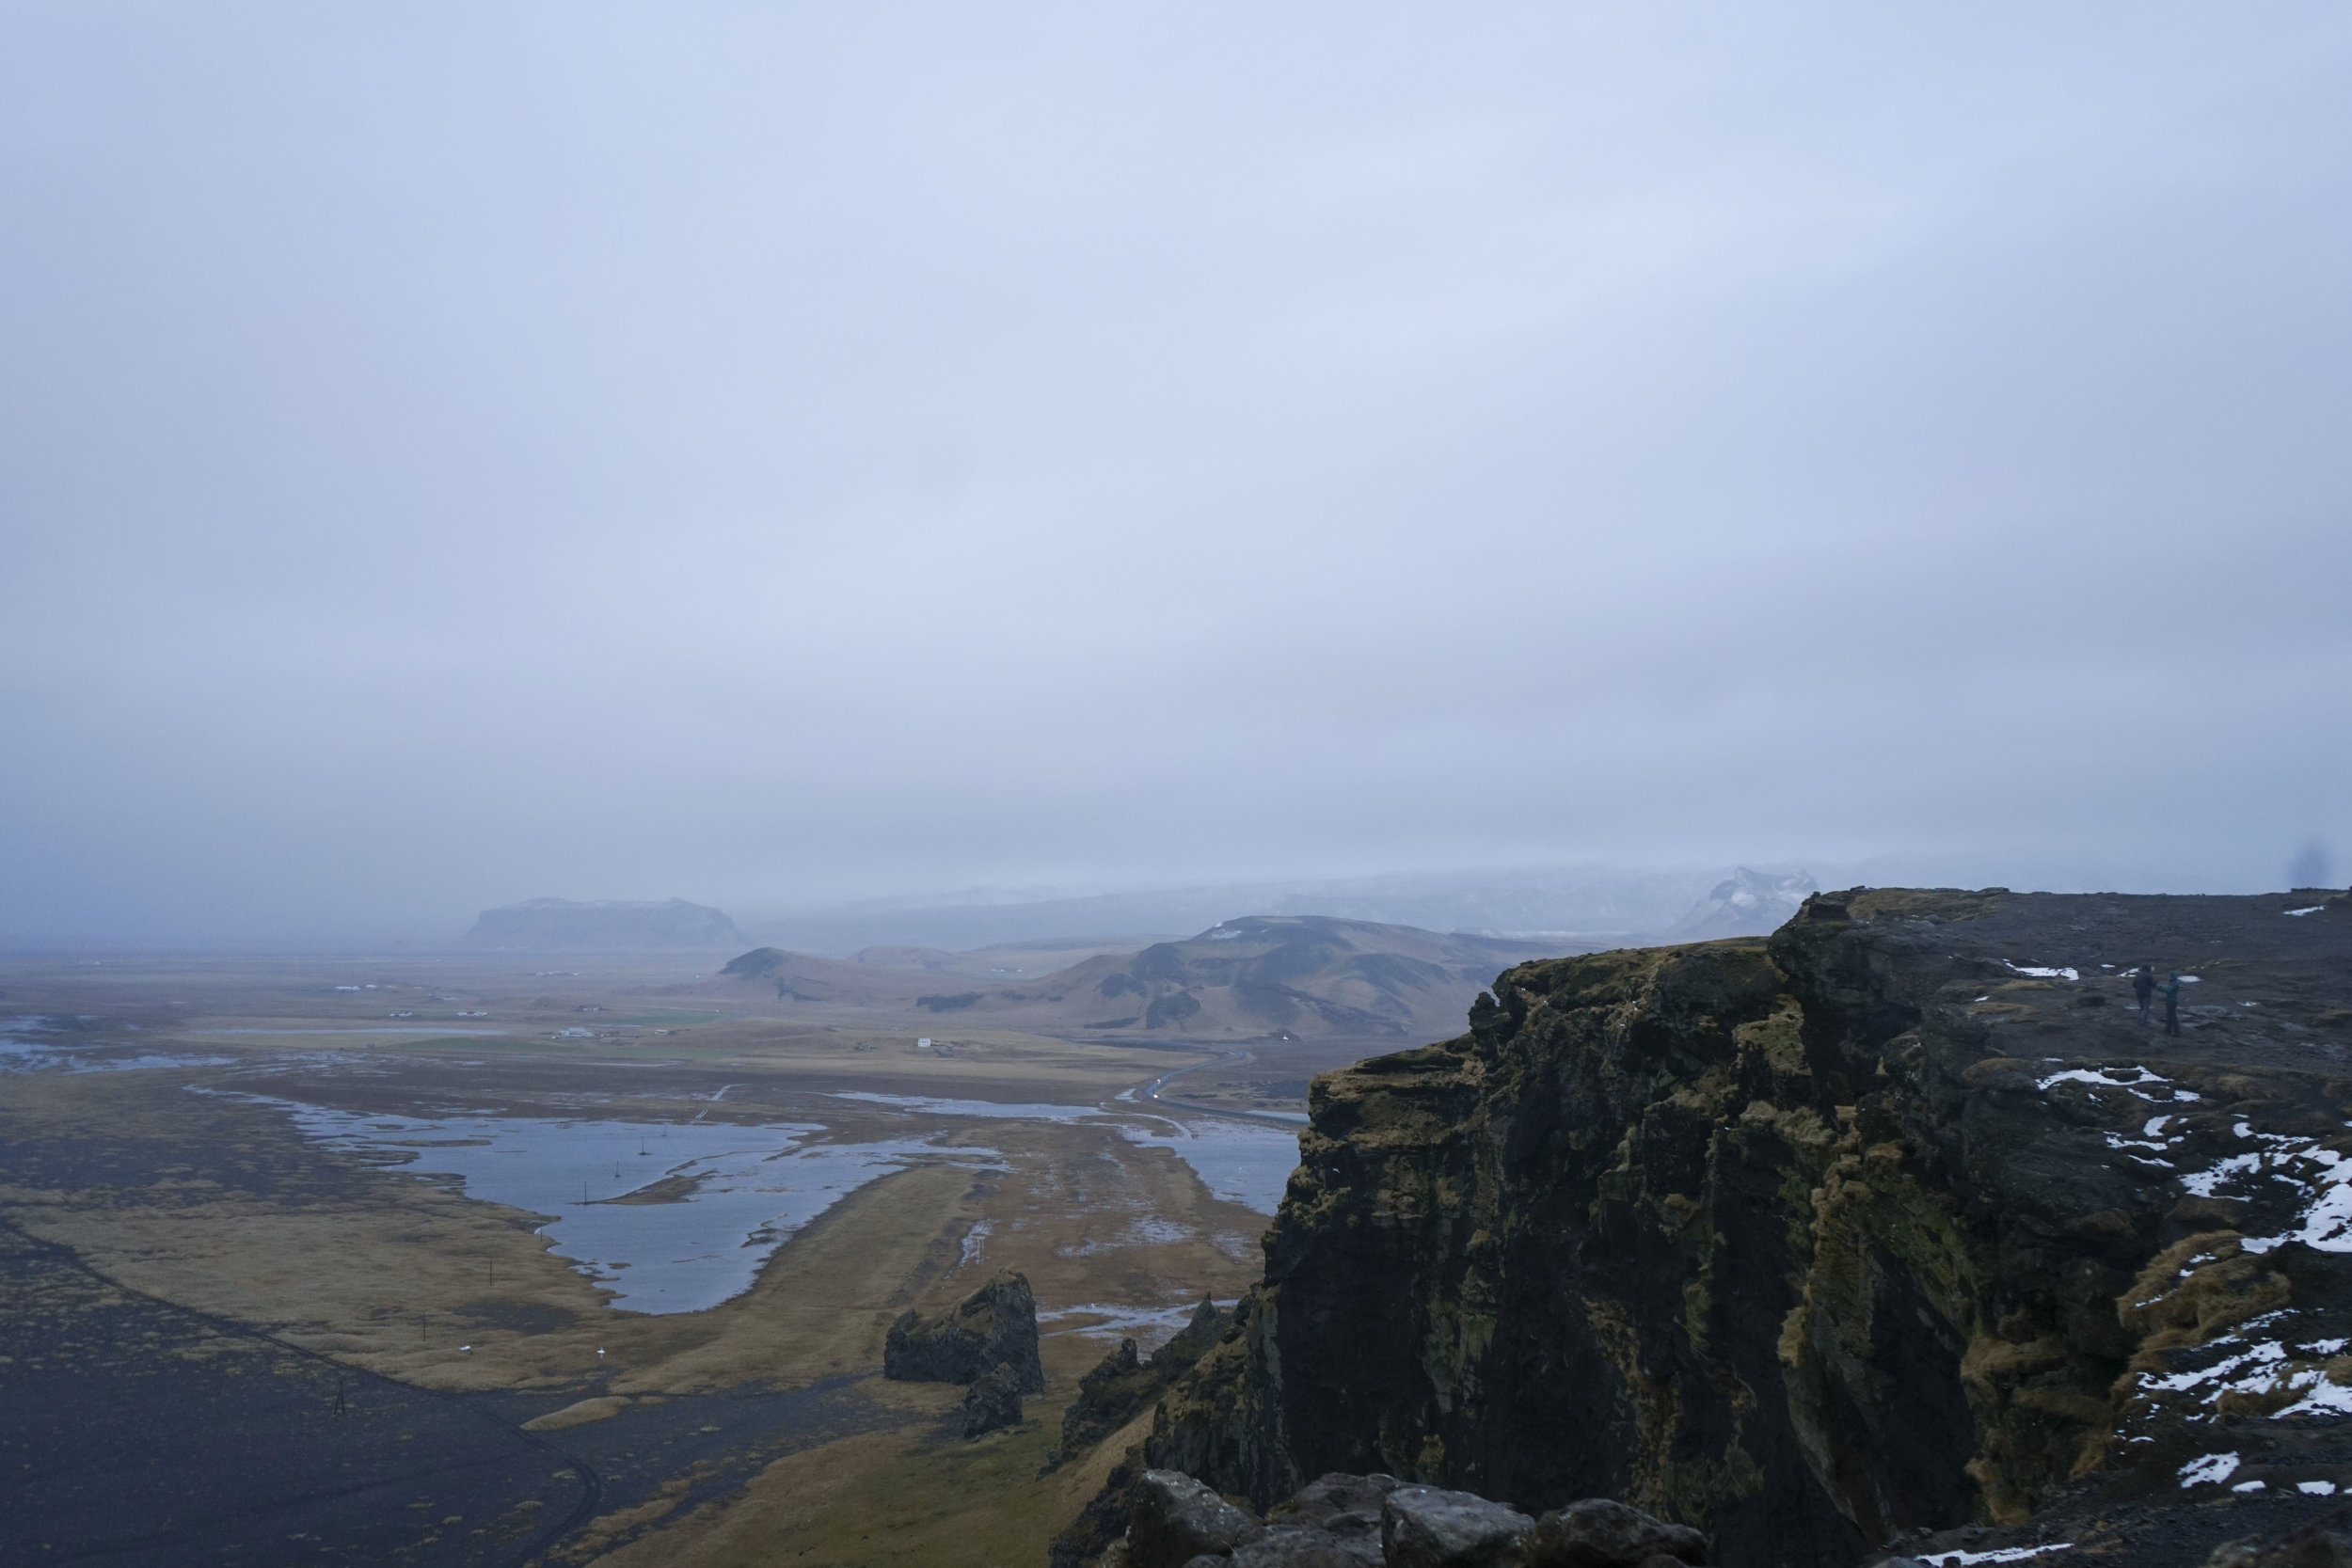
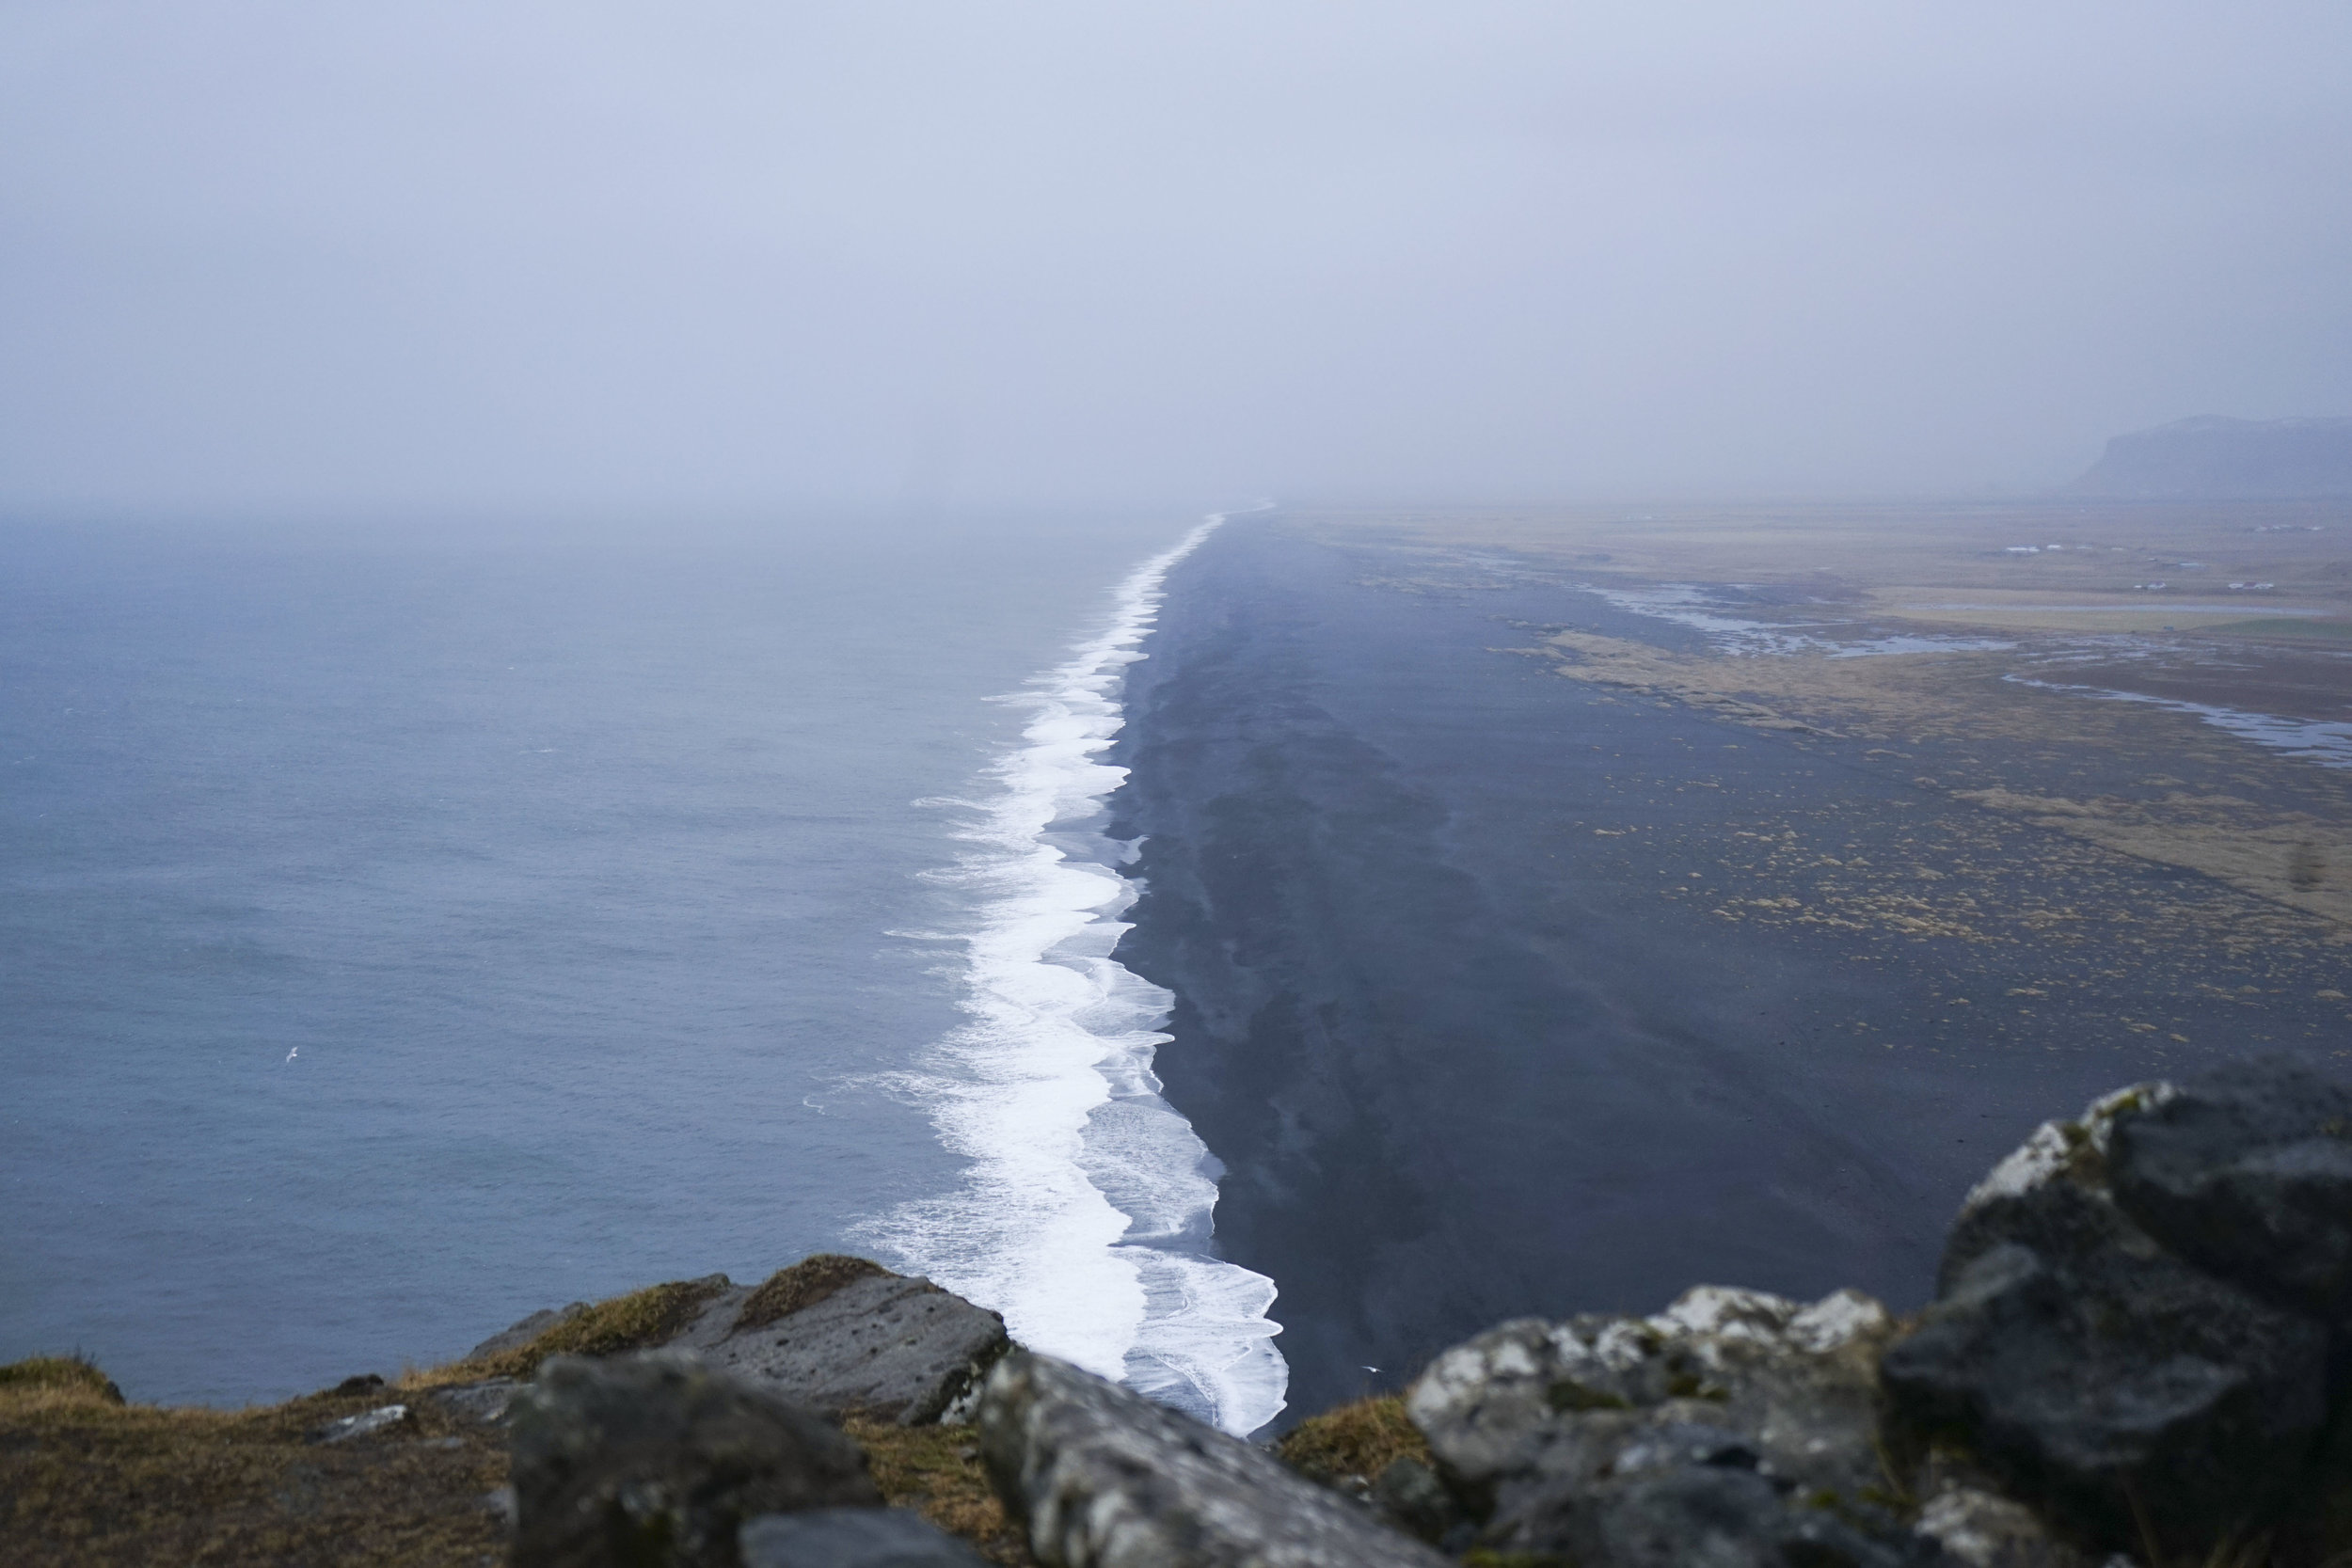
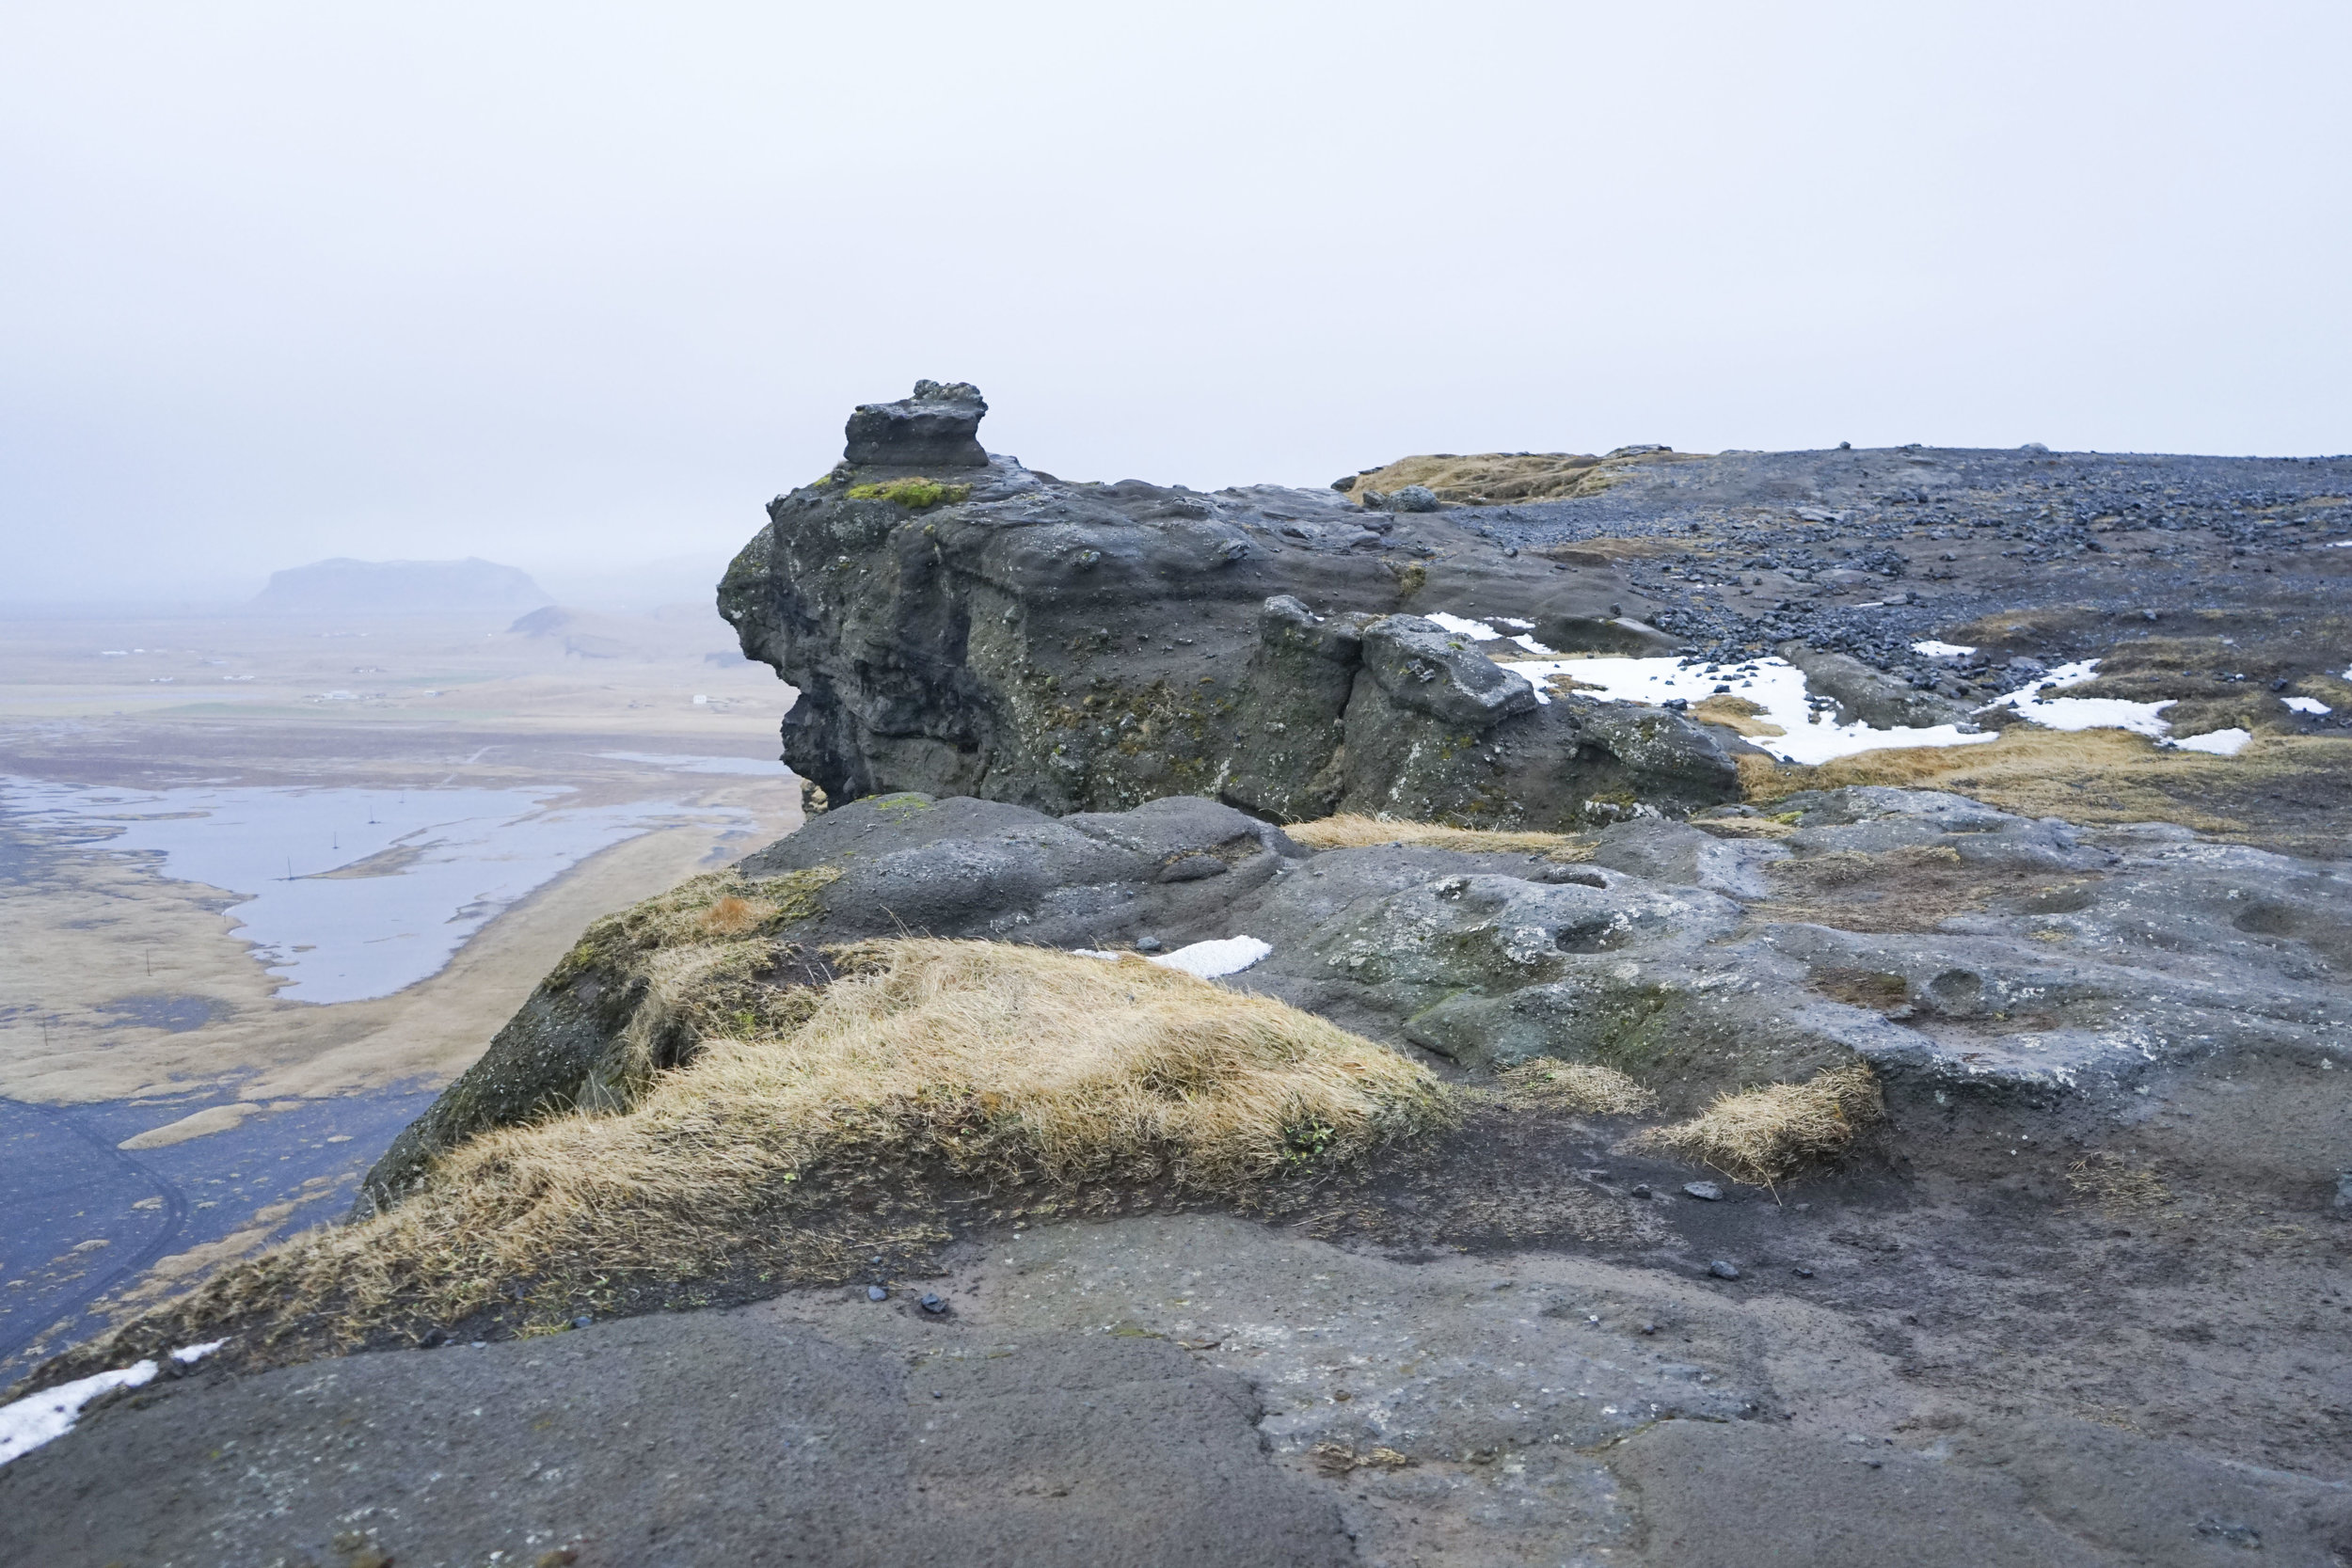
Stop 3: Dyrhólaey- my personal favorite
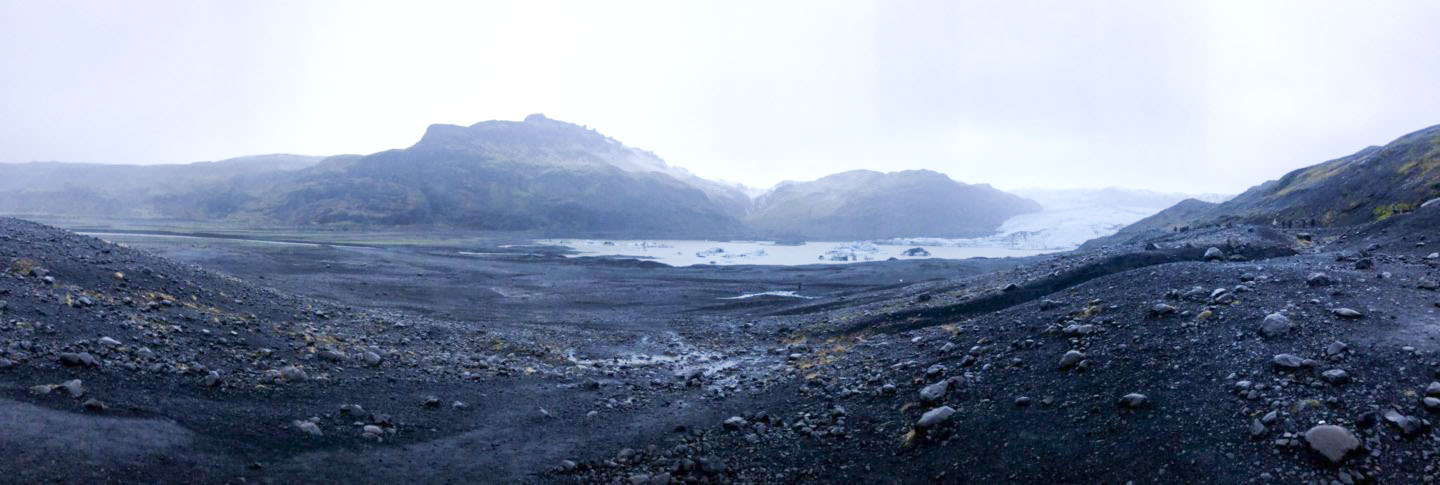
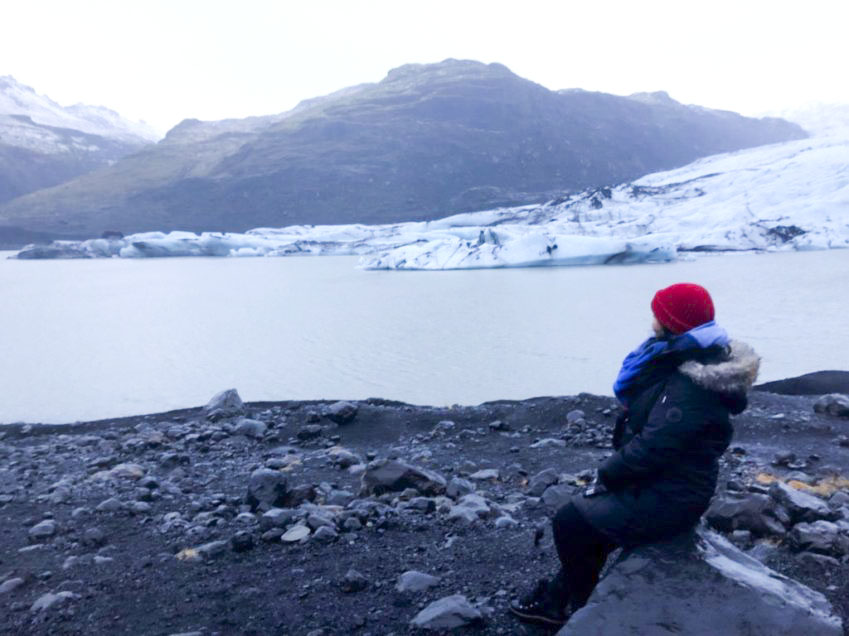
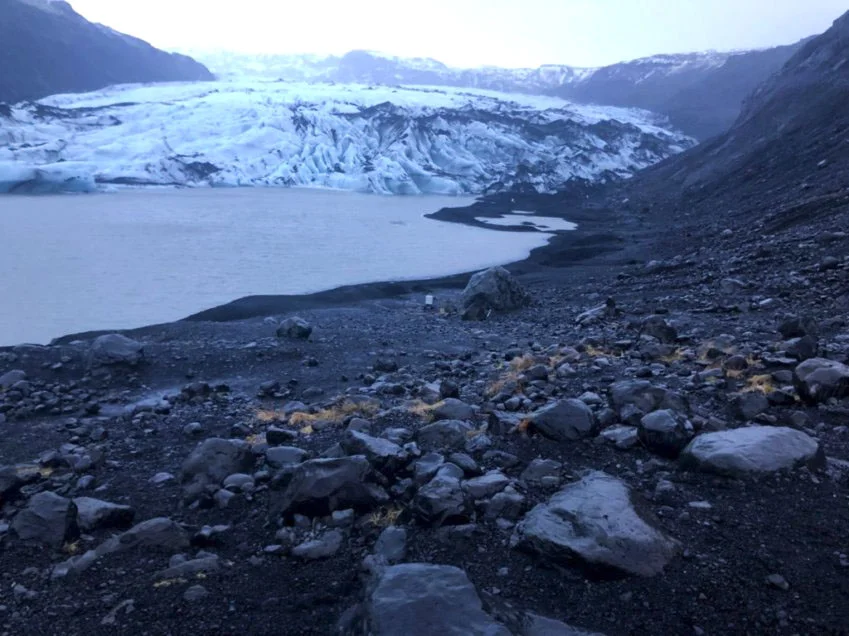
Stop 4: Solheimajokull- Glacier
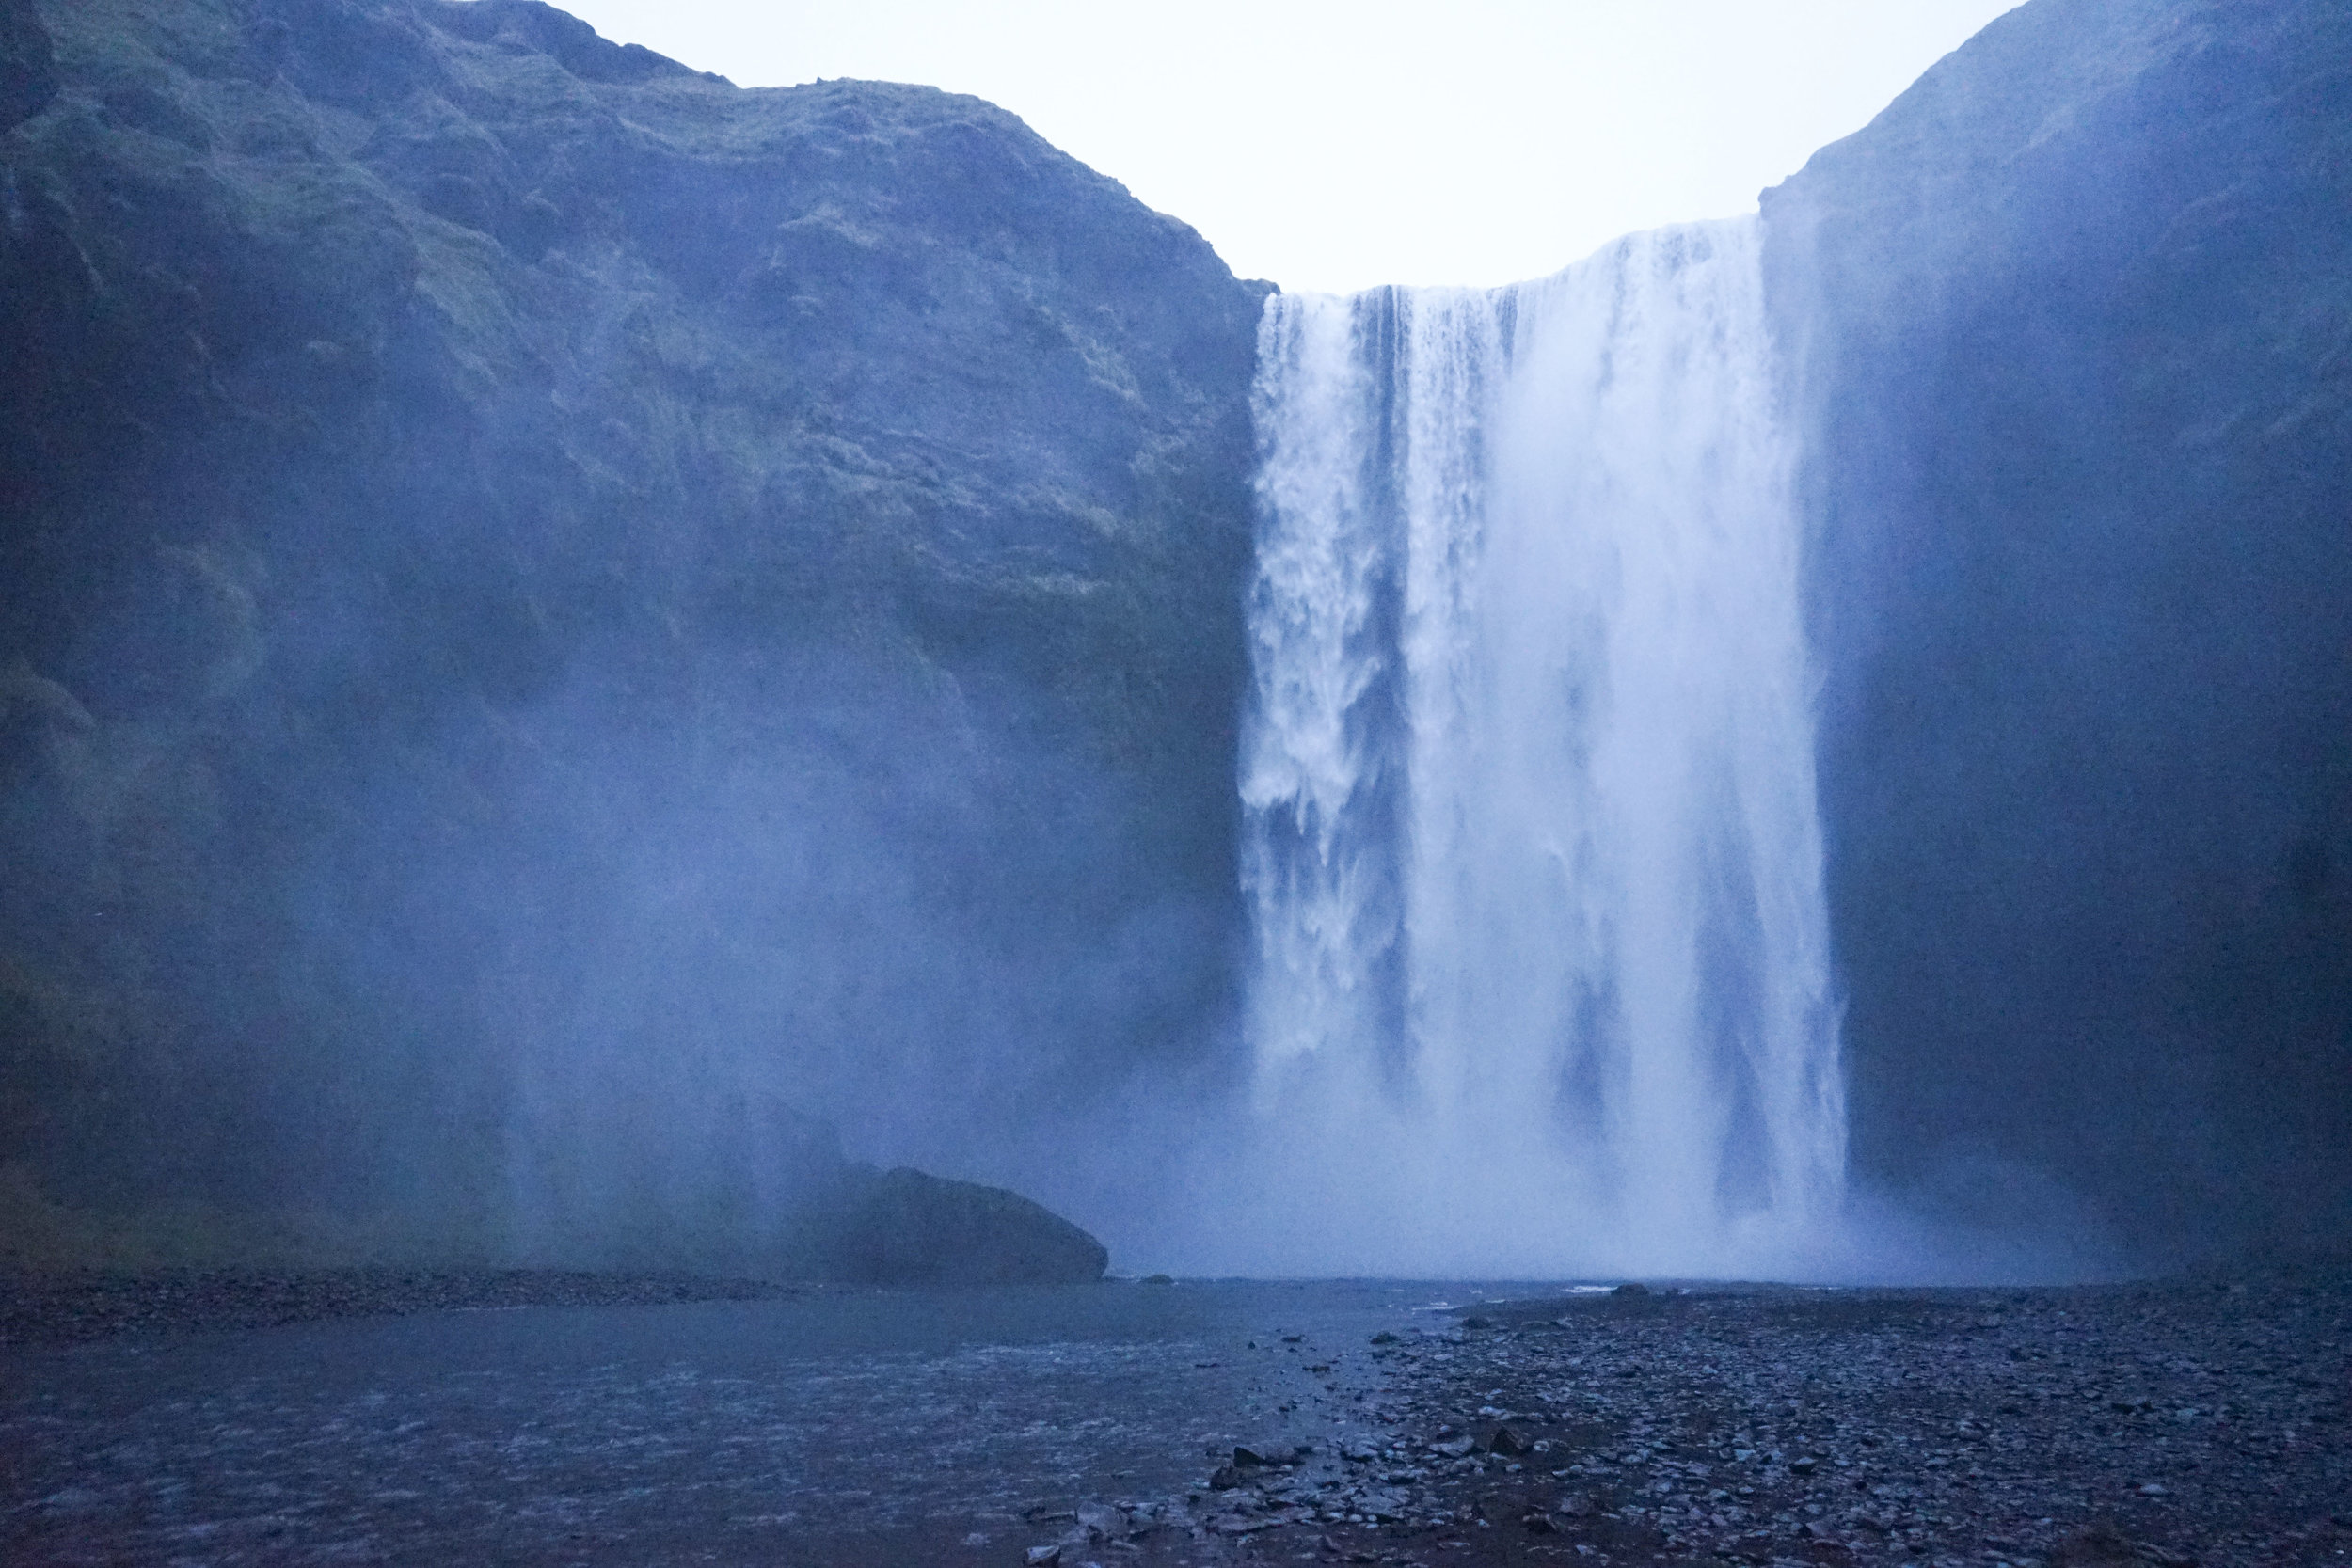
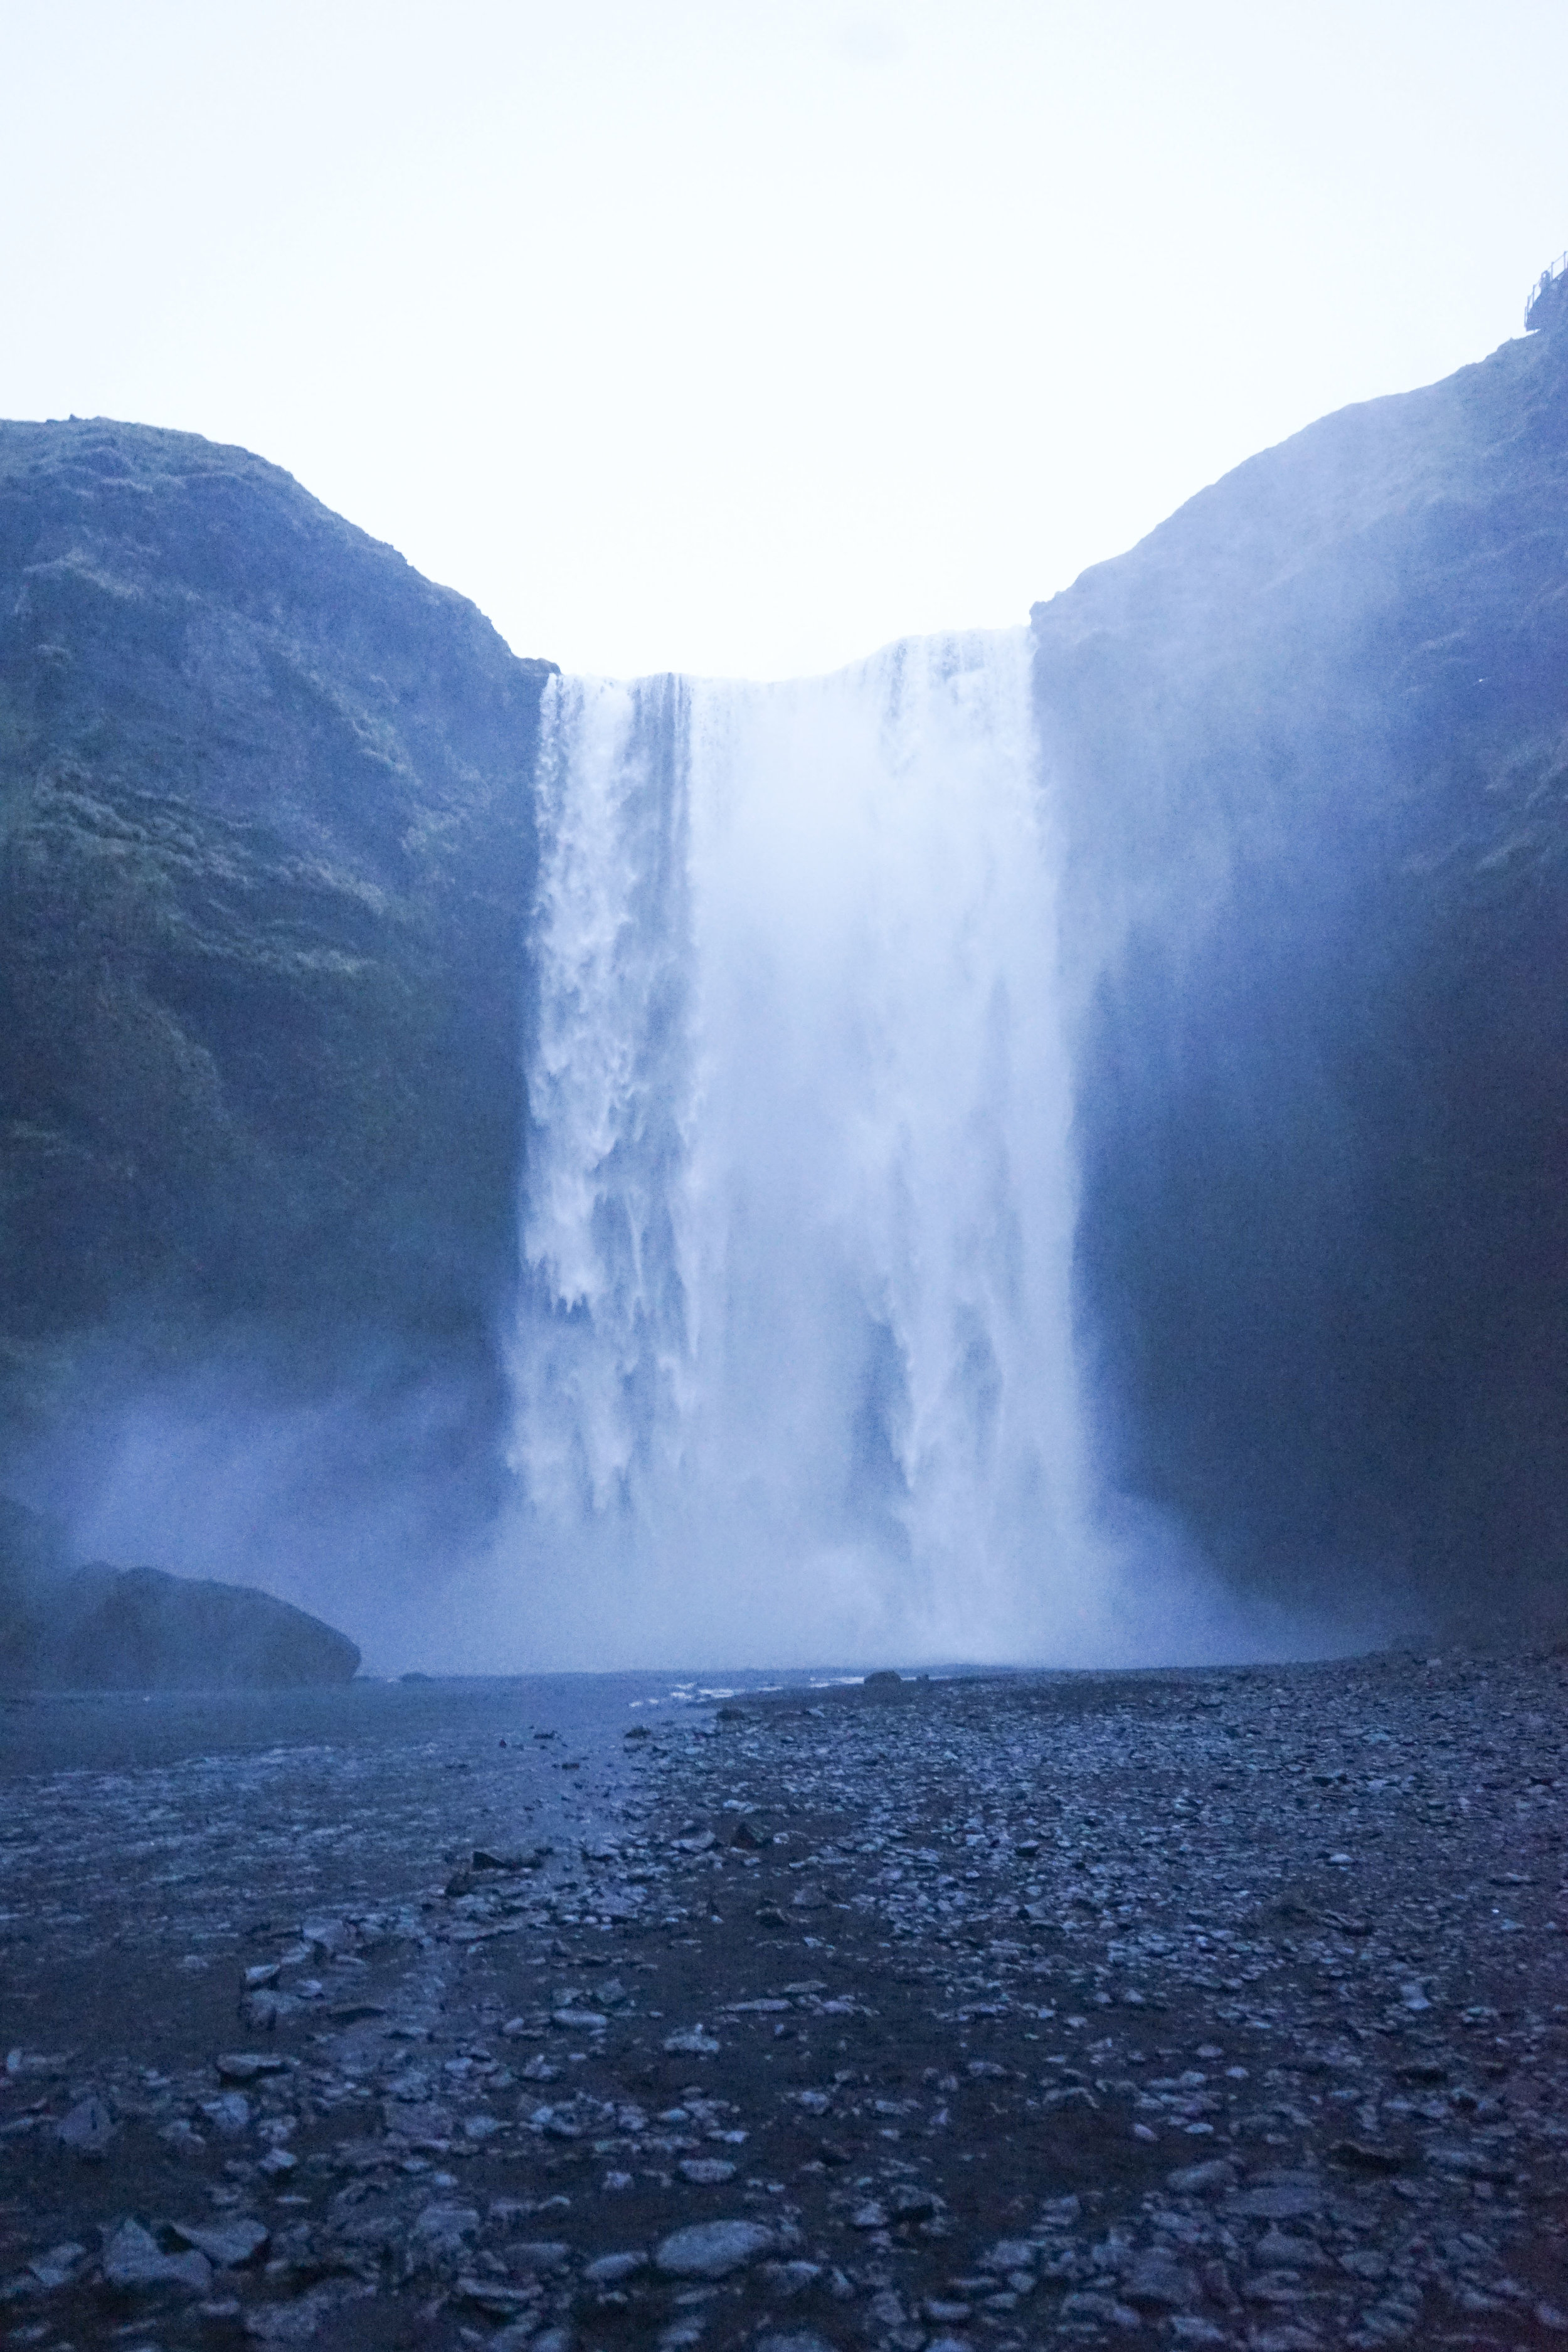
Stop 5: Skógafoss- Waterfall
Stop 6: Seljalandsfoss- Waterfall (did not picture)
Iceland may look small on a map but there is so much to see and covering all that ground takes a long time. I knew I had to see southern Iceland before going while doing my research. It was STUNNING!! I highly recommend discovering this part of Iceland! I saw parts of nature that I didn’t even know existed (mind was blown)! The stops listed above is a great way to see parts of south Iceland if you are driving.
We started out driving out to the furthest point and working our way back to Reykjavik. A bonus of driving to the furthest point first is seeing signs for other points on this itinerary along the way and getting a sneak peak of what you will be seeing.
Vik
This is a charming little town in the southern part of Iceland. Being right by the coast, you see nothing but dark blue water for miles on end. It is also quite windy here so make sure you don’t get blown away.
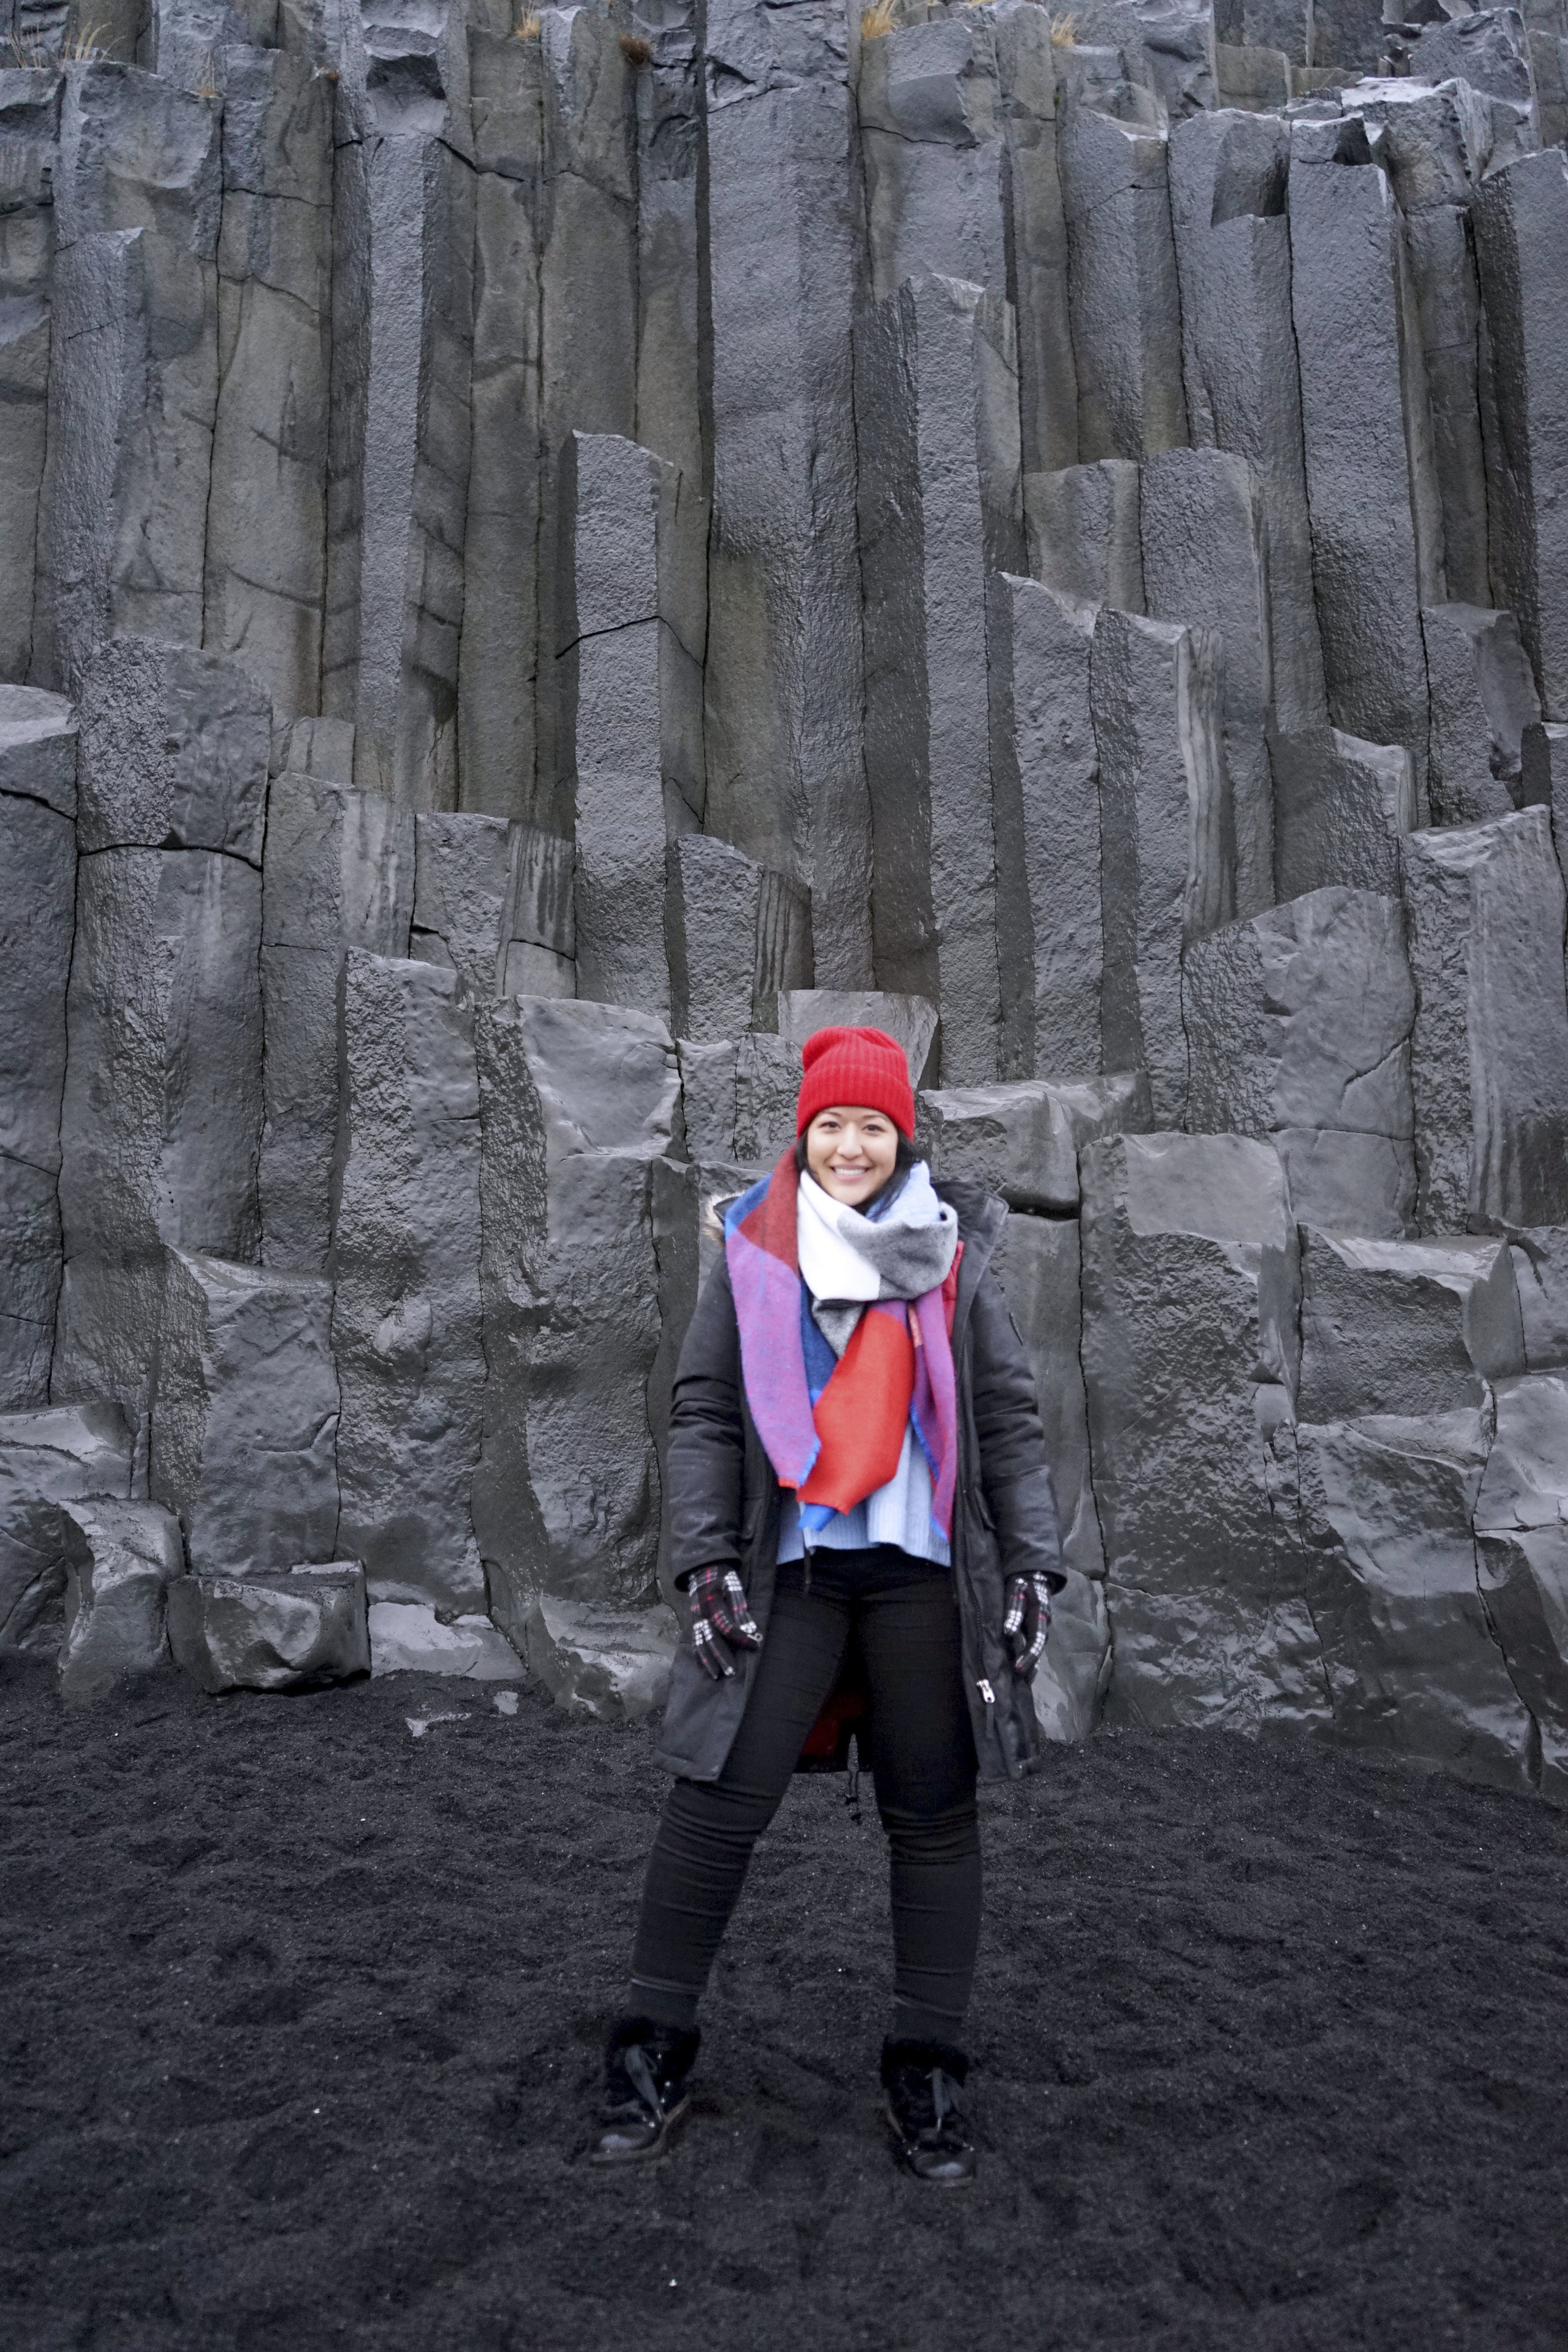
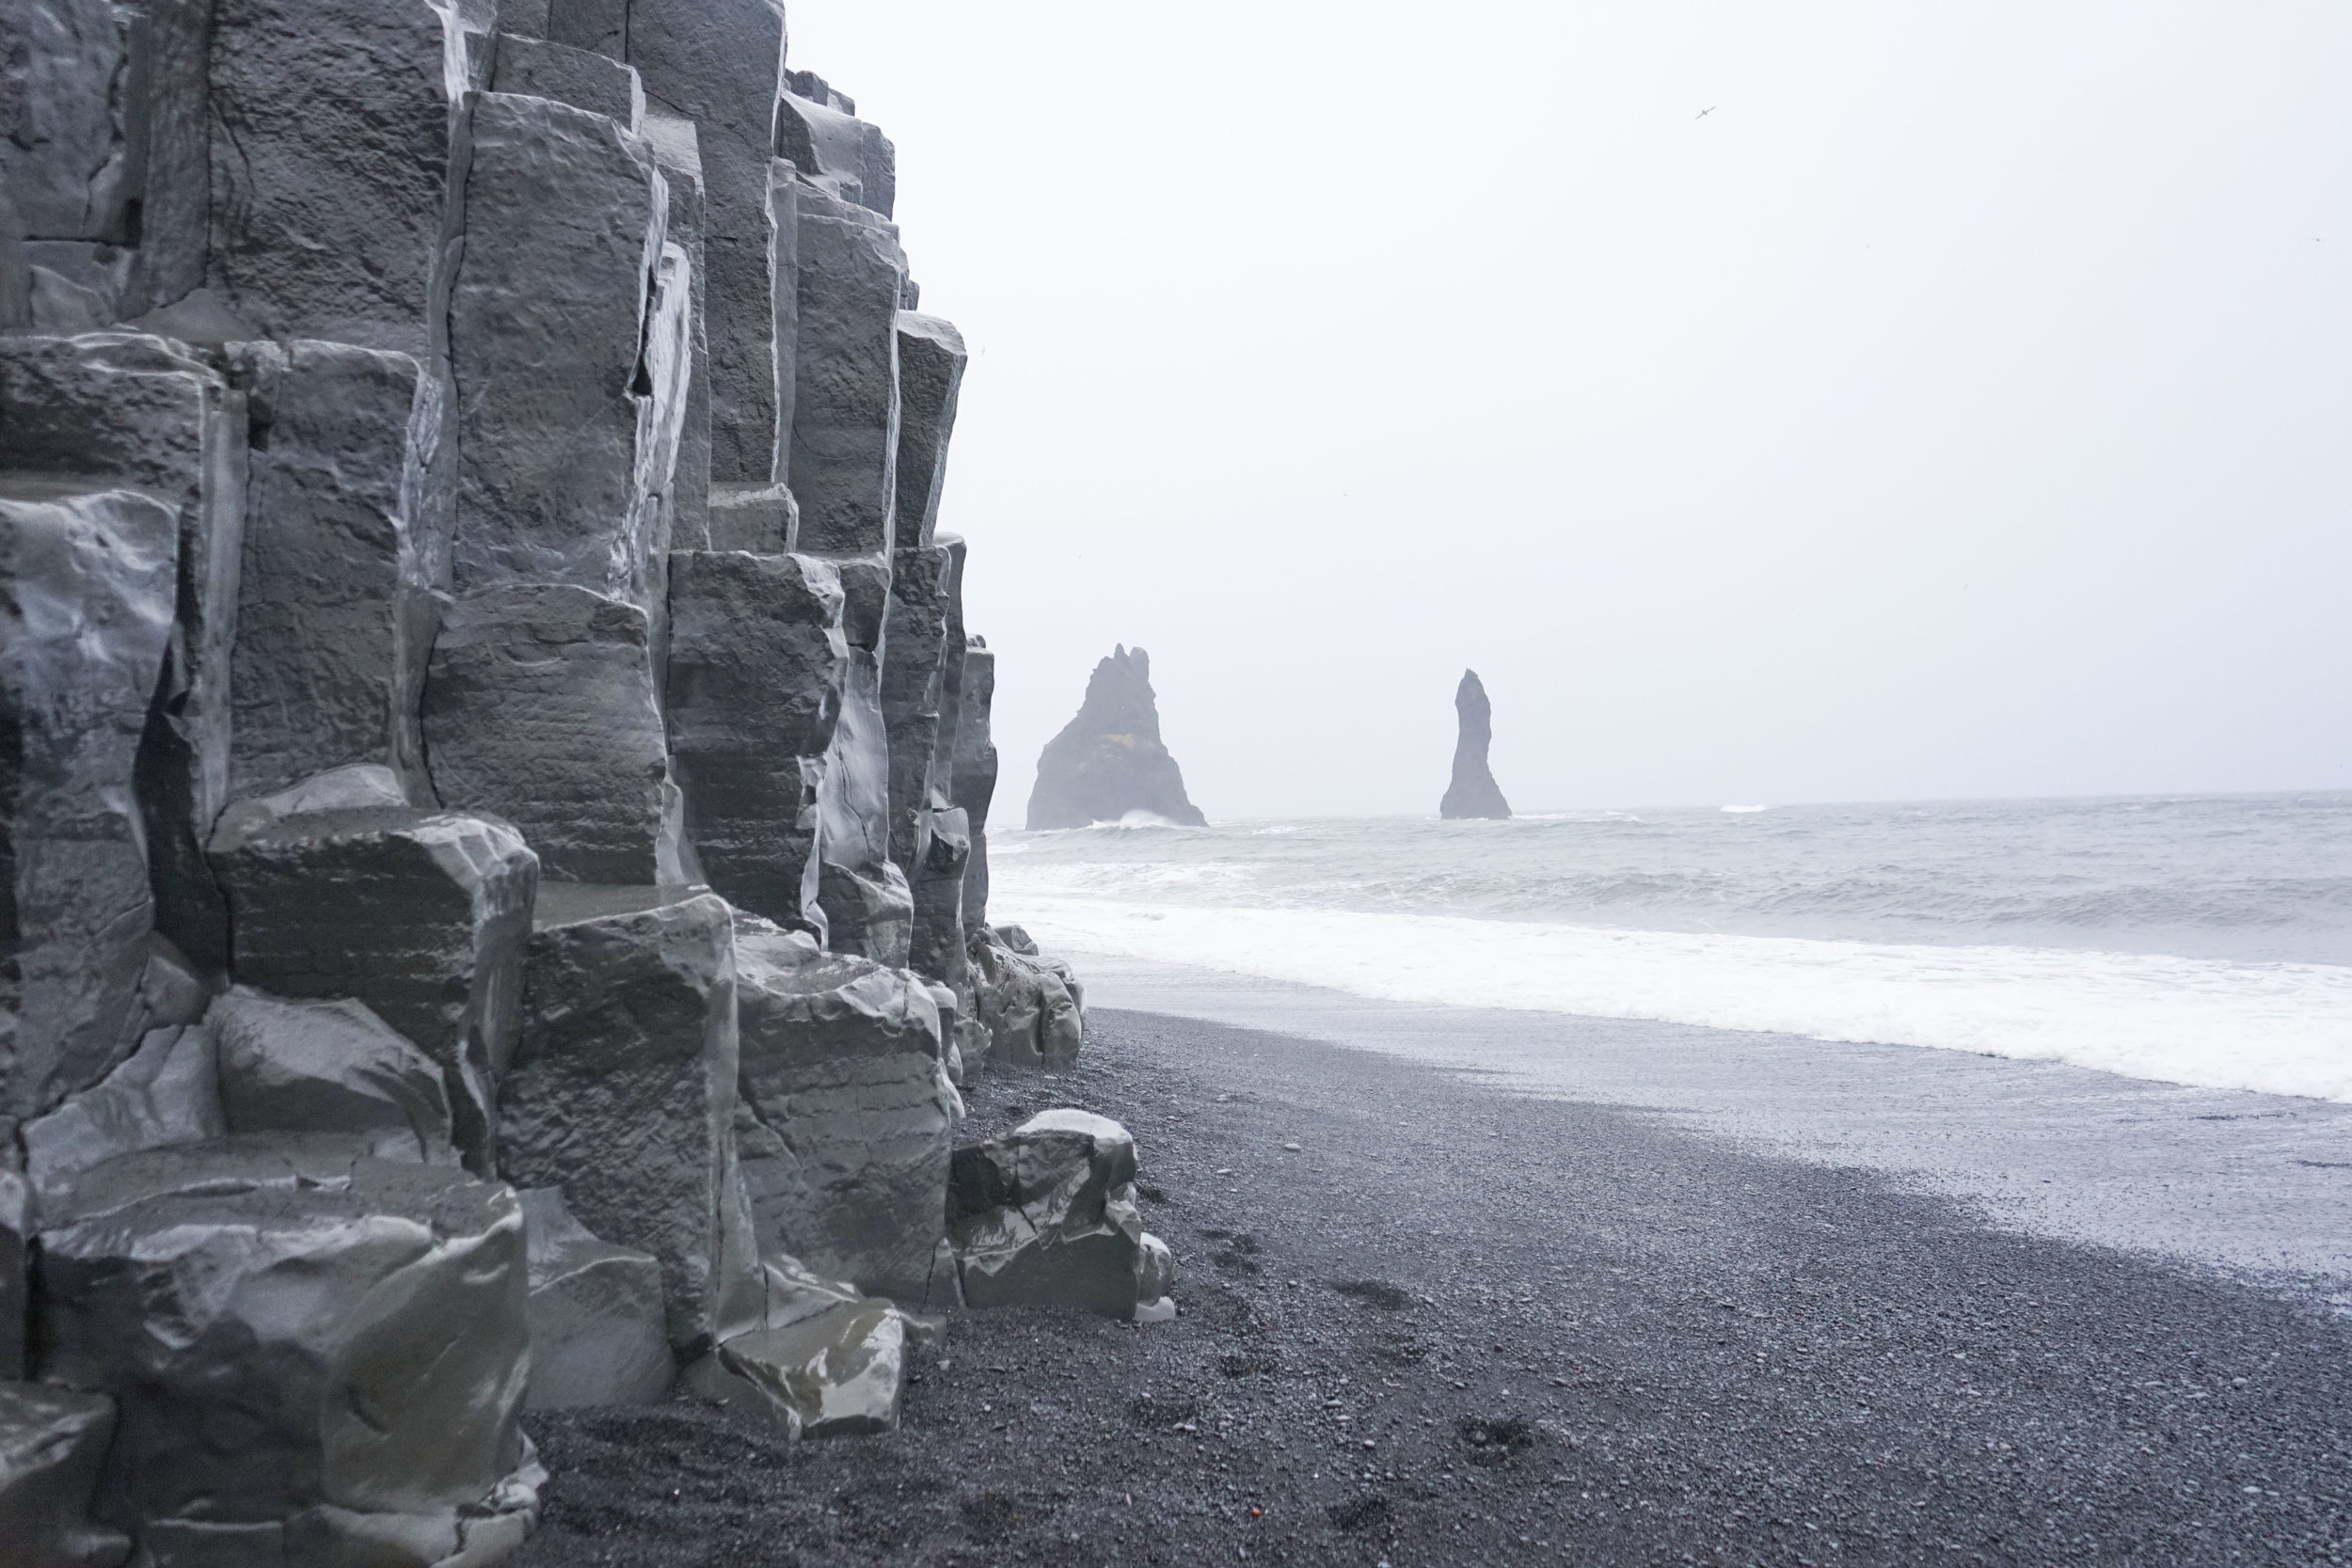
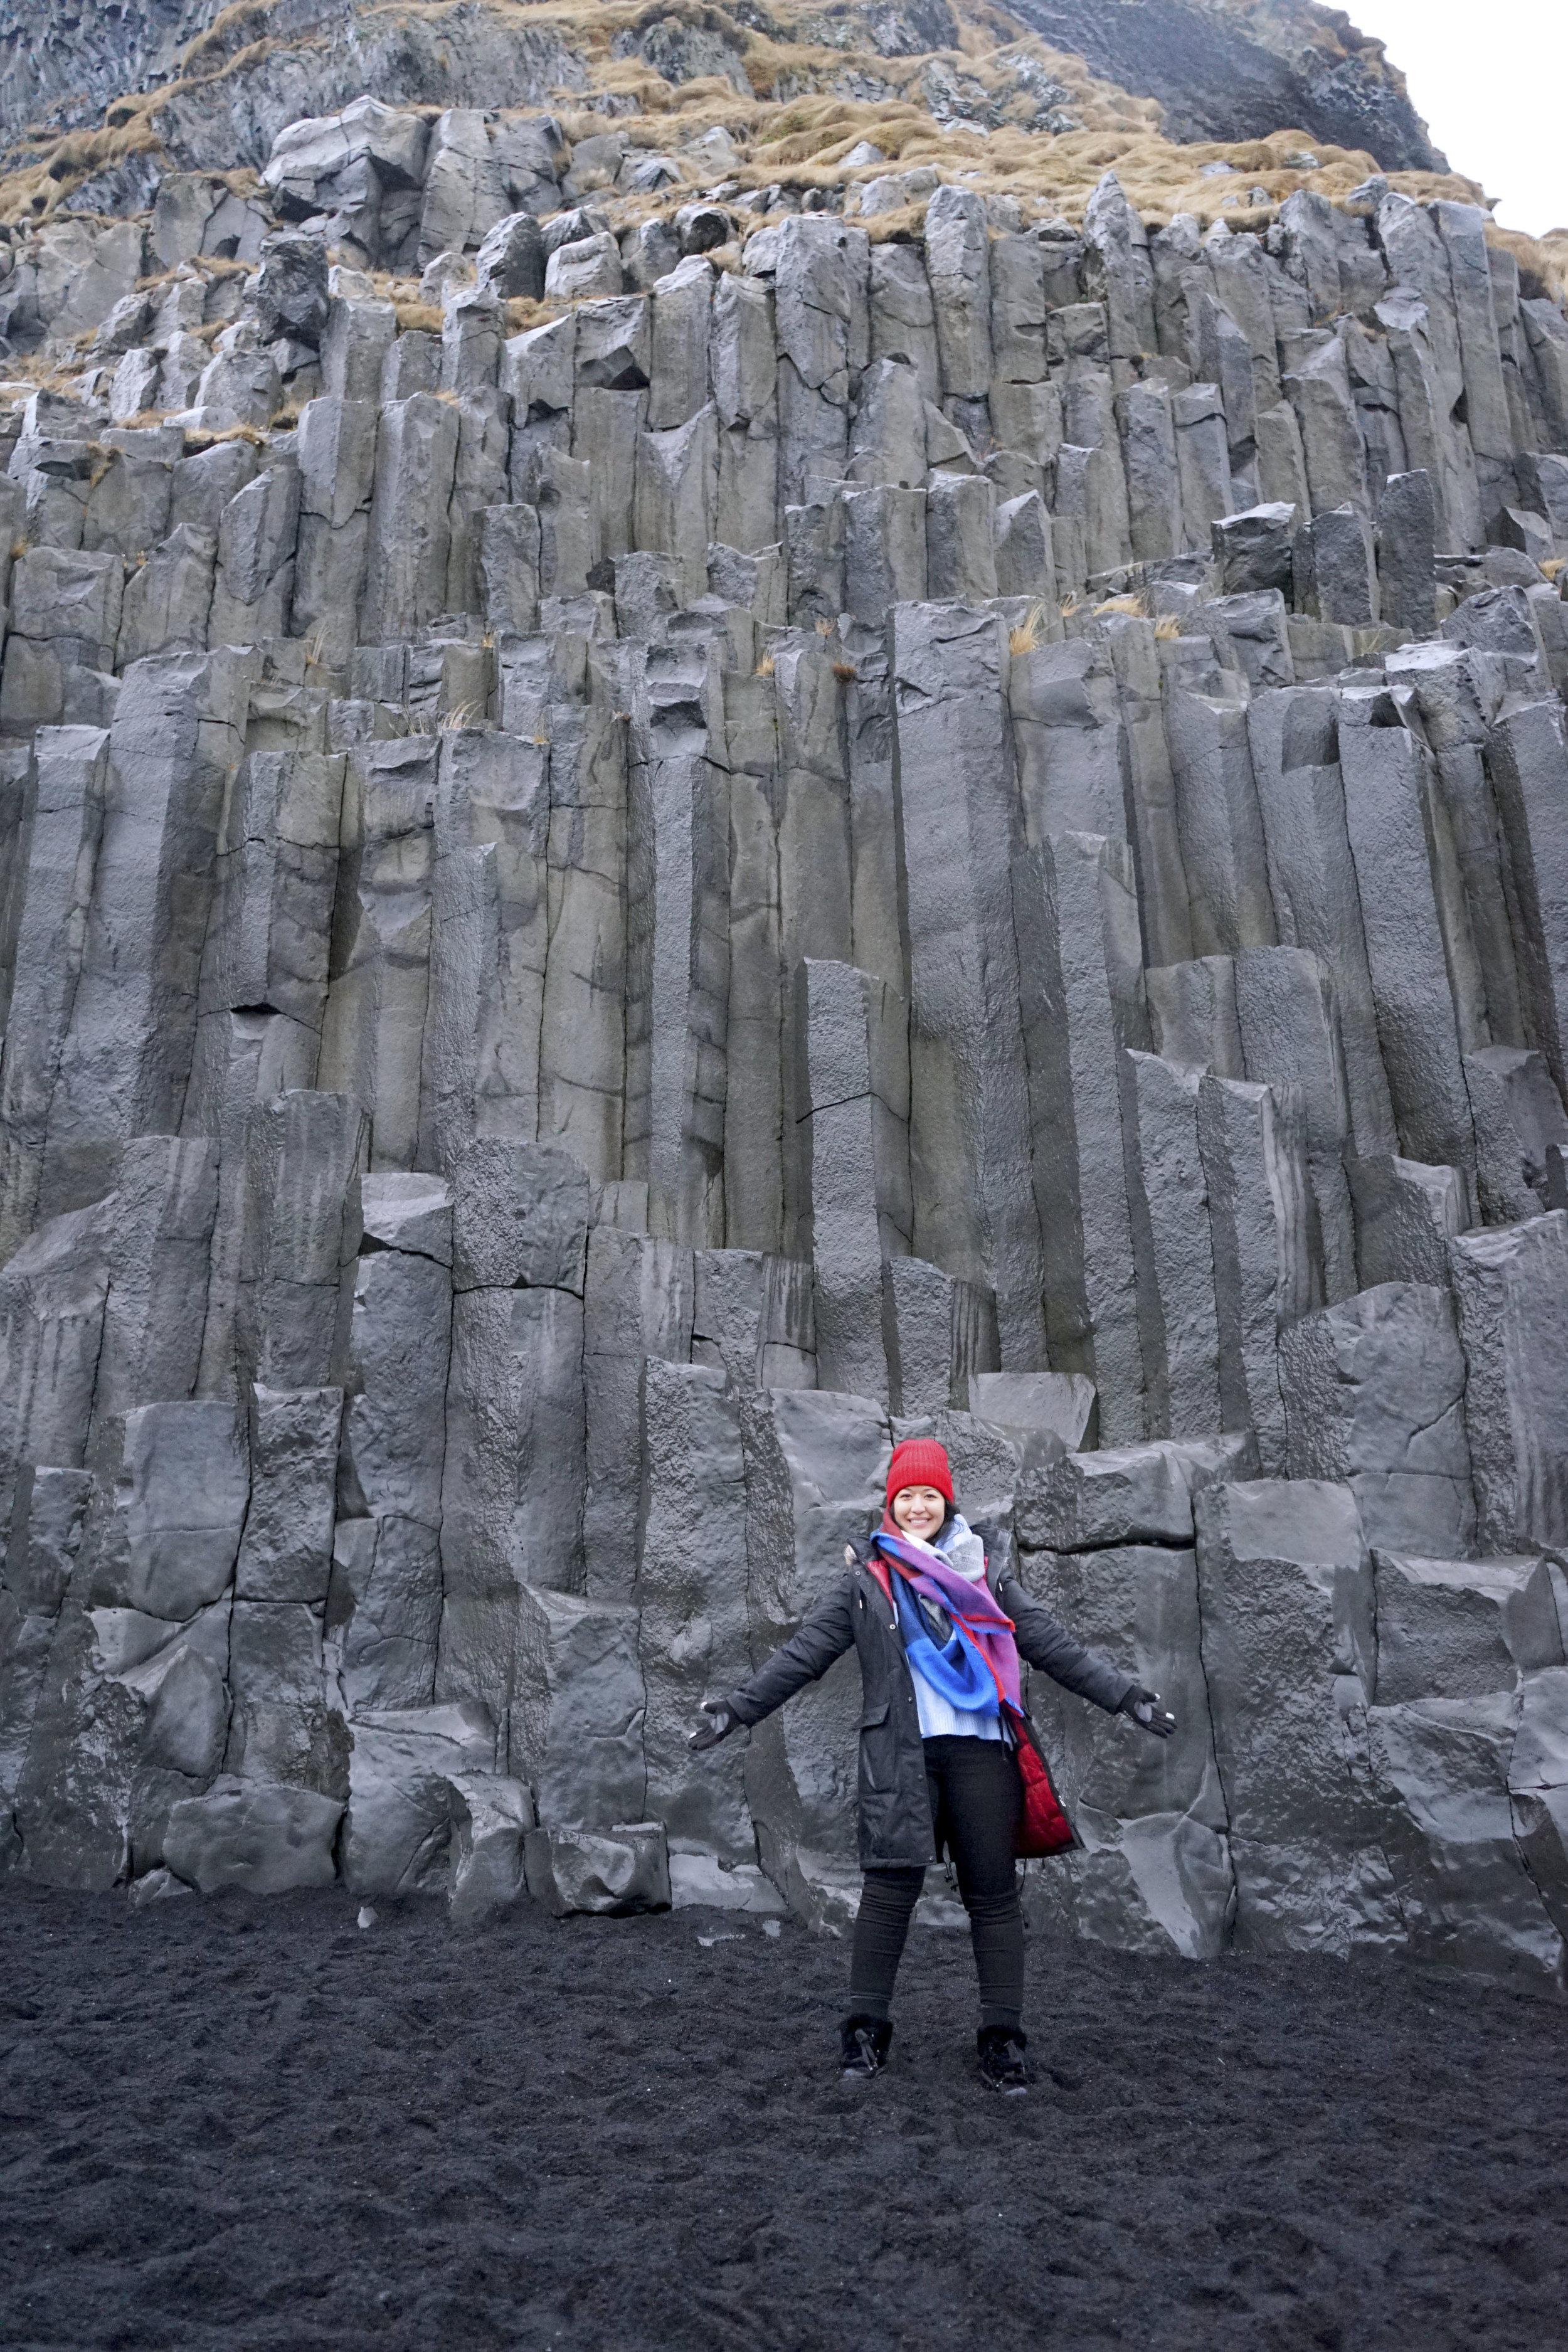
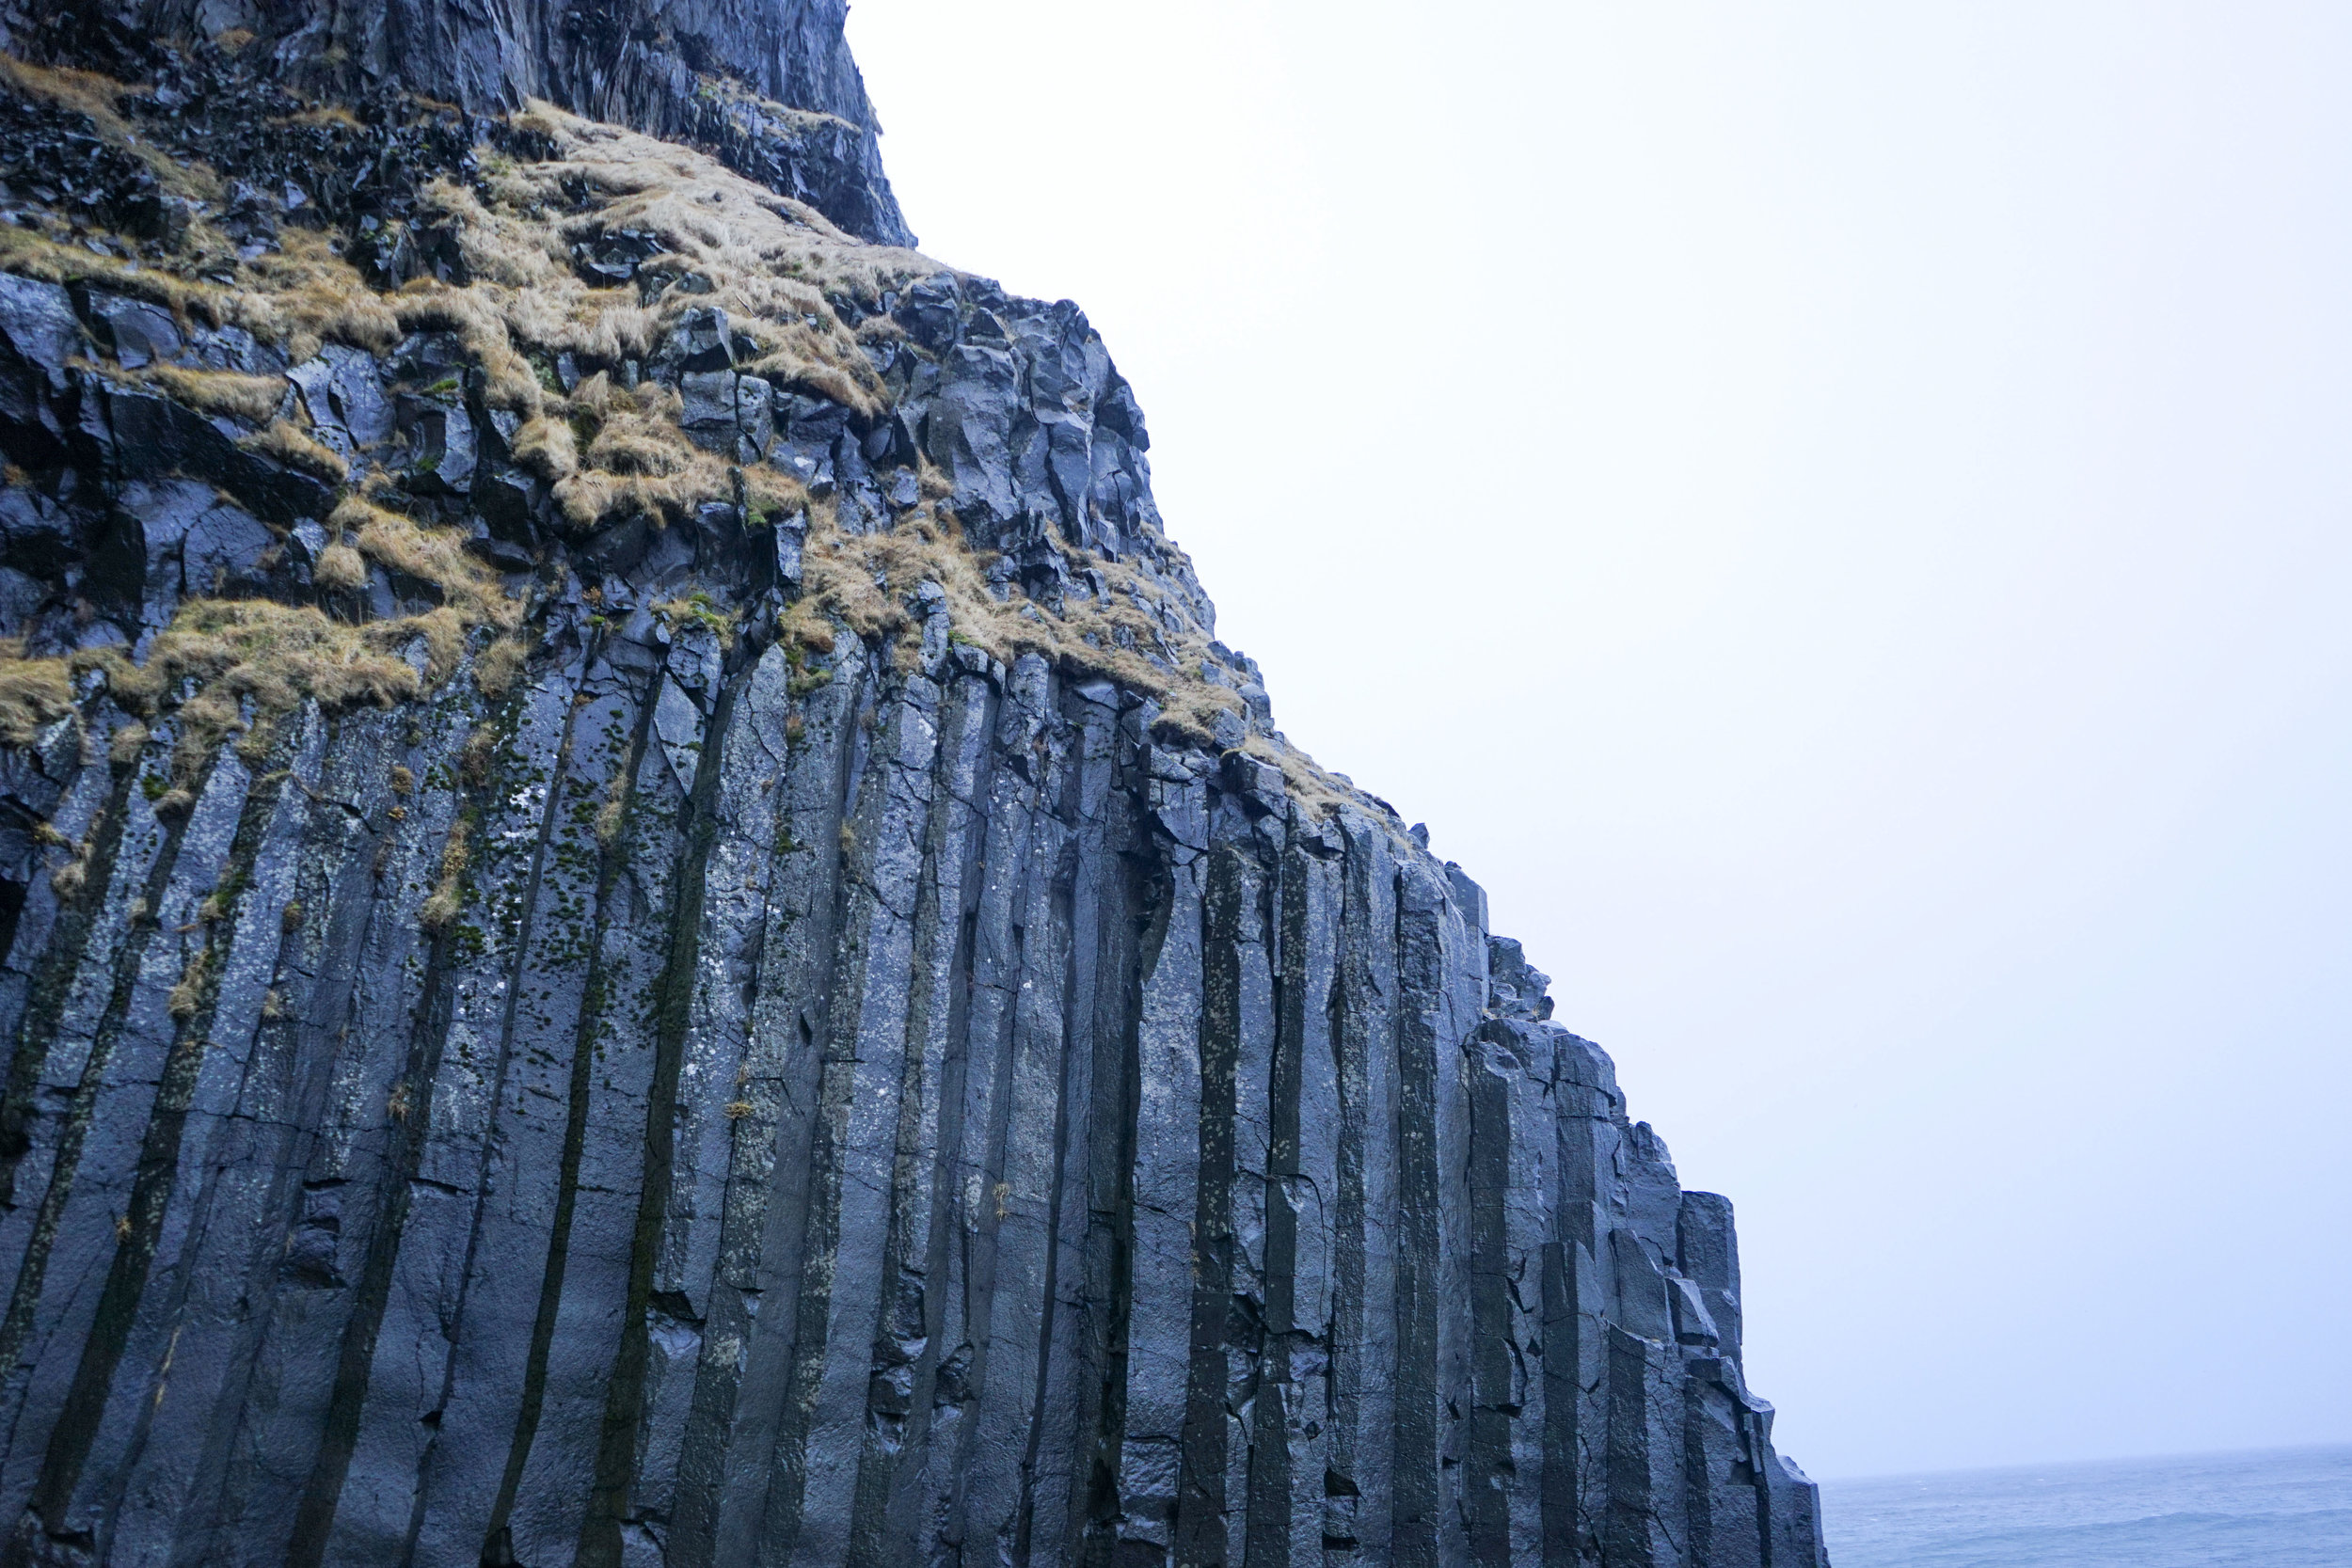
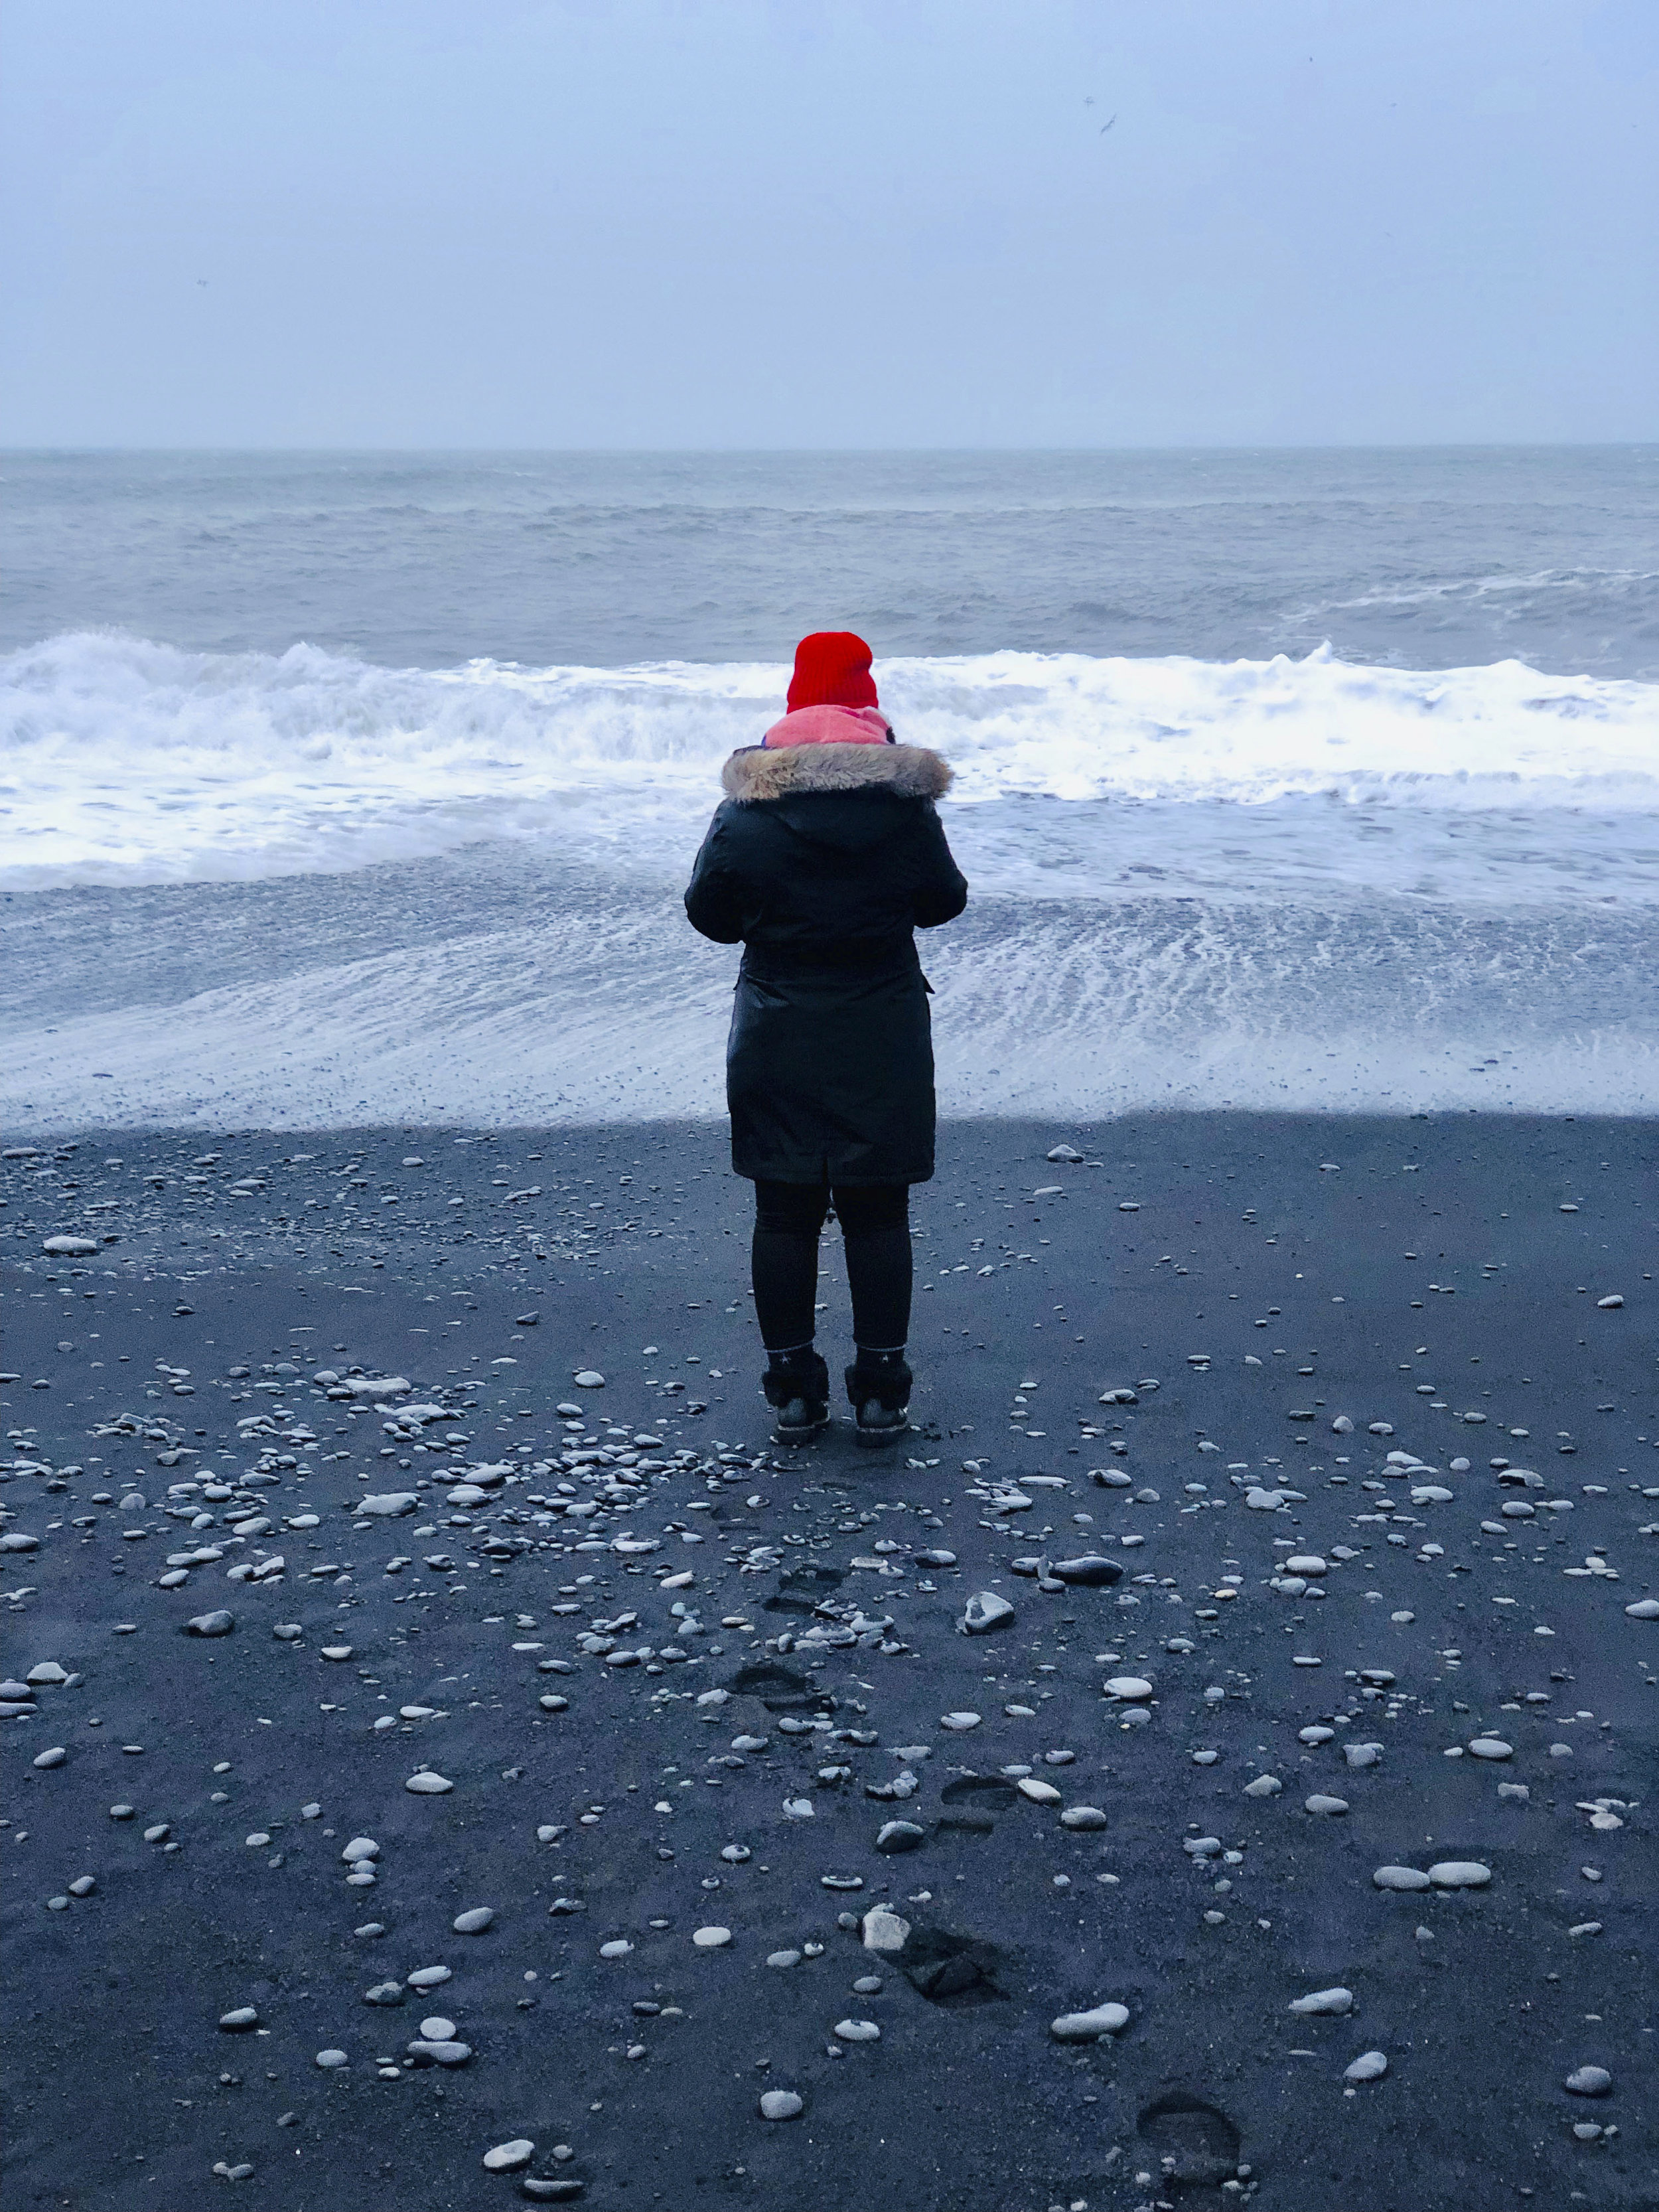
Reynisfjara Beach
Before visiting Iceland, I didn’t even know that black sand beaches existed. I’m used to the typical brown or white sand beaches. Well the sand along the southern coast of Iceland really is black! The beaches are beautiful and so unique! My favorite part of Reynisfjara Beach was the beautiful mountain with the rectangular jagged edge cliffs. It was so interesting to see a different kind of rock formation.
Tip: wear waterproof layers here
Tip: do not get too close to the water because the waves can get pretty crazy in a matter of seconds. There have been a few deaths here so be careful. Do not face away from the water when taking pictures-that’s how people have gotten swept away.
See my Iceland Google maps with all the location pins HERE
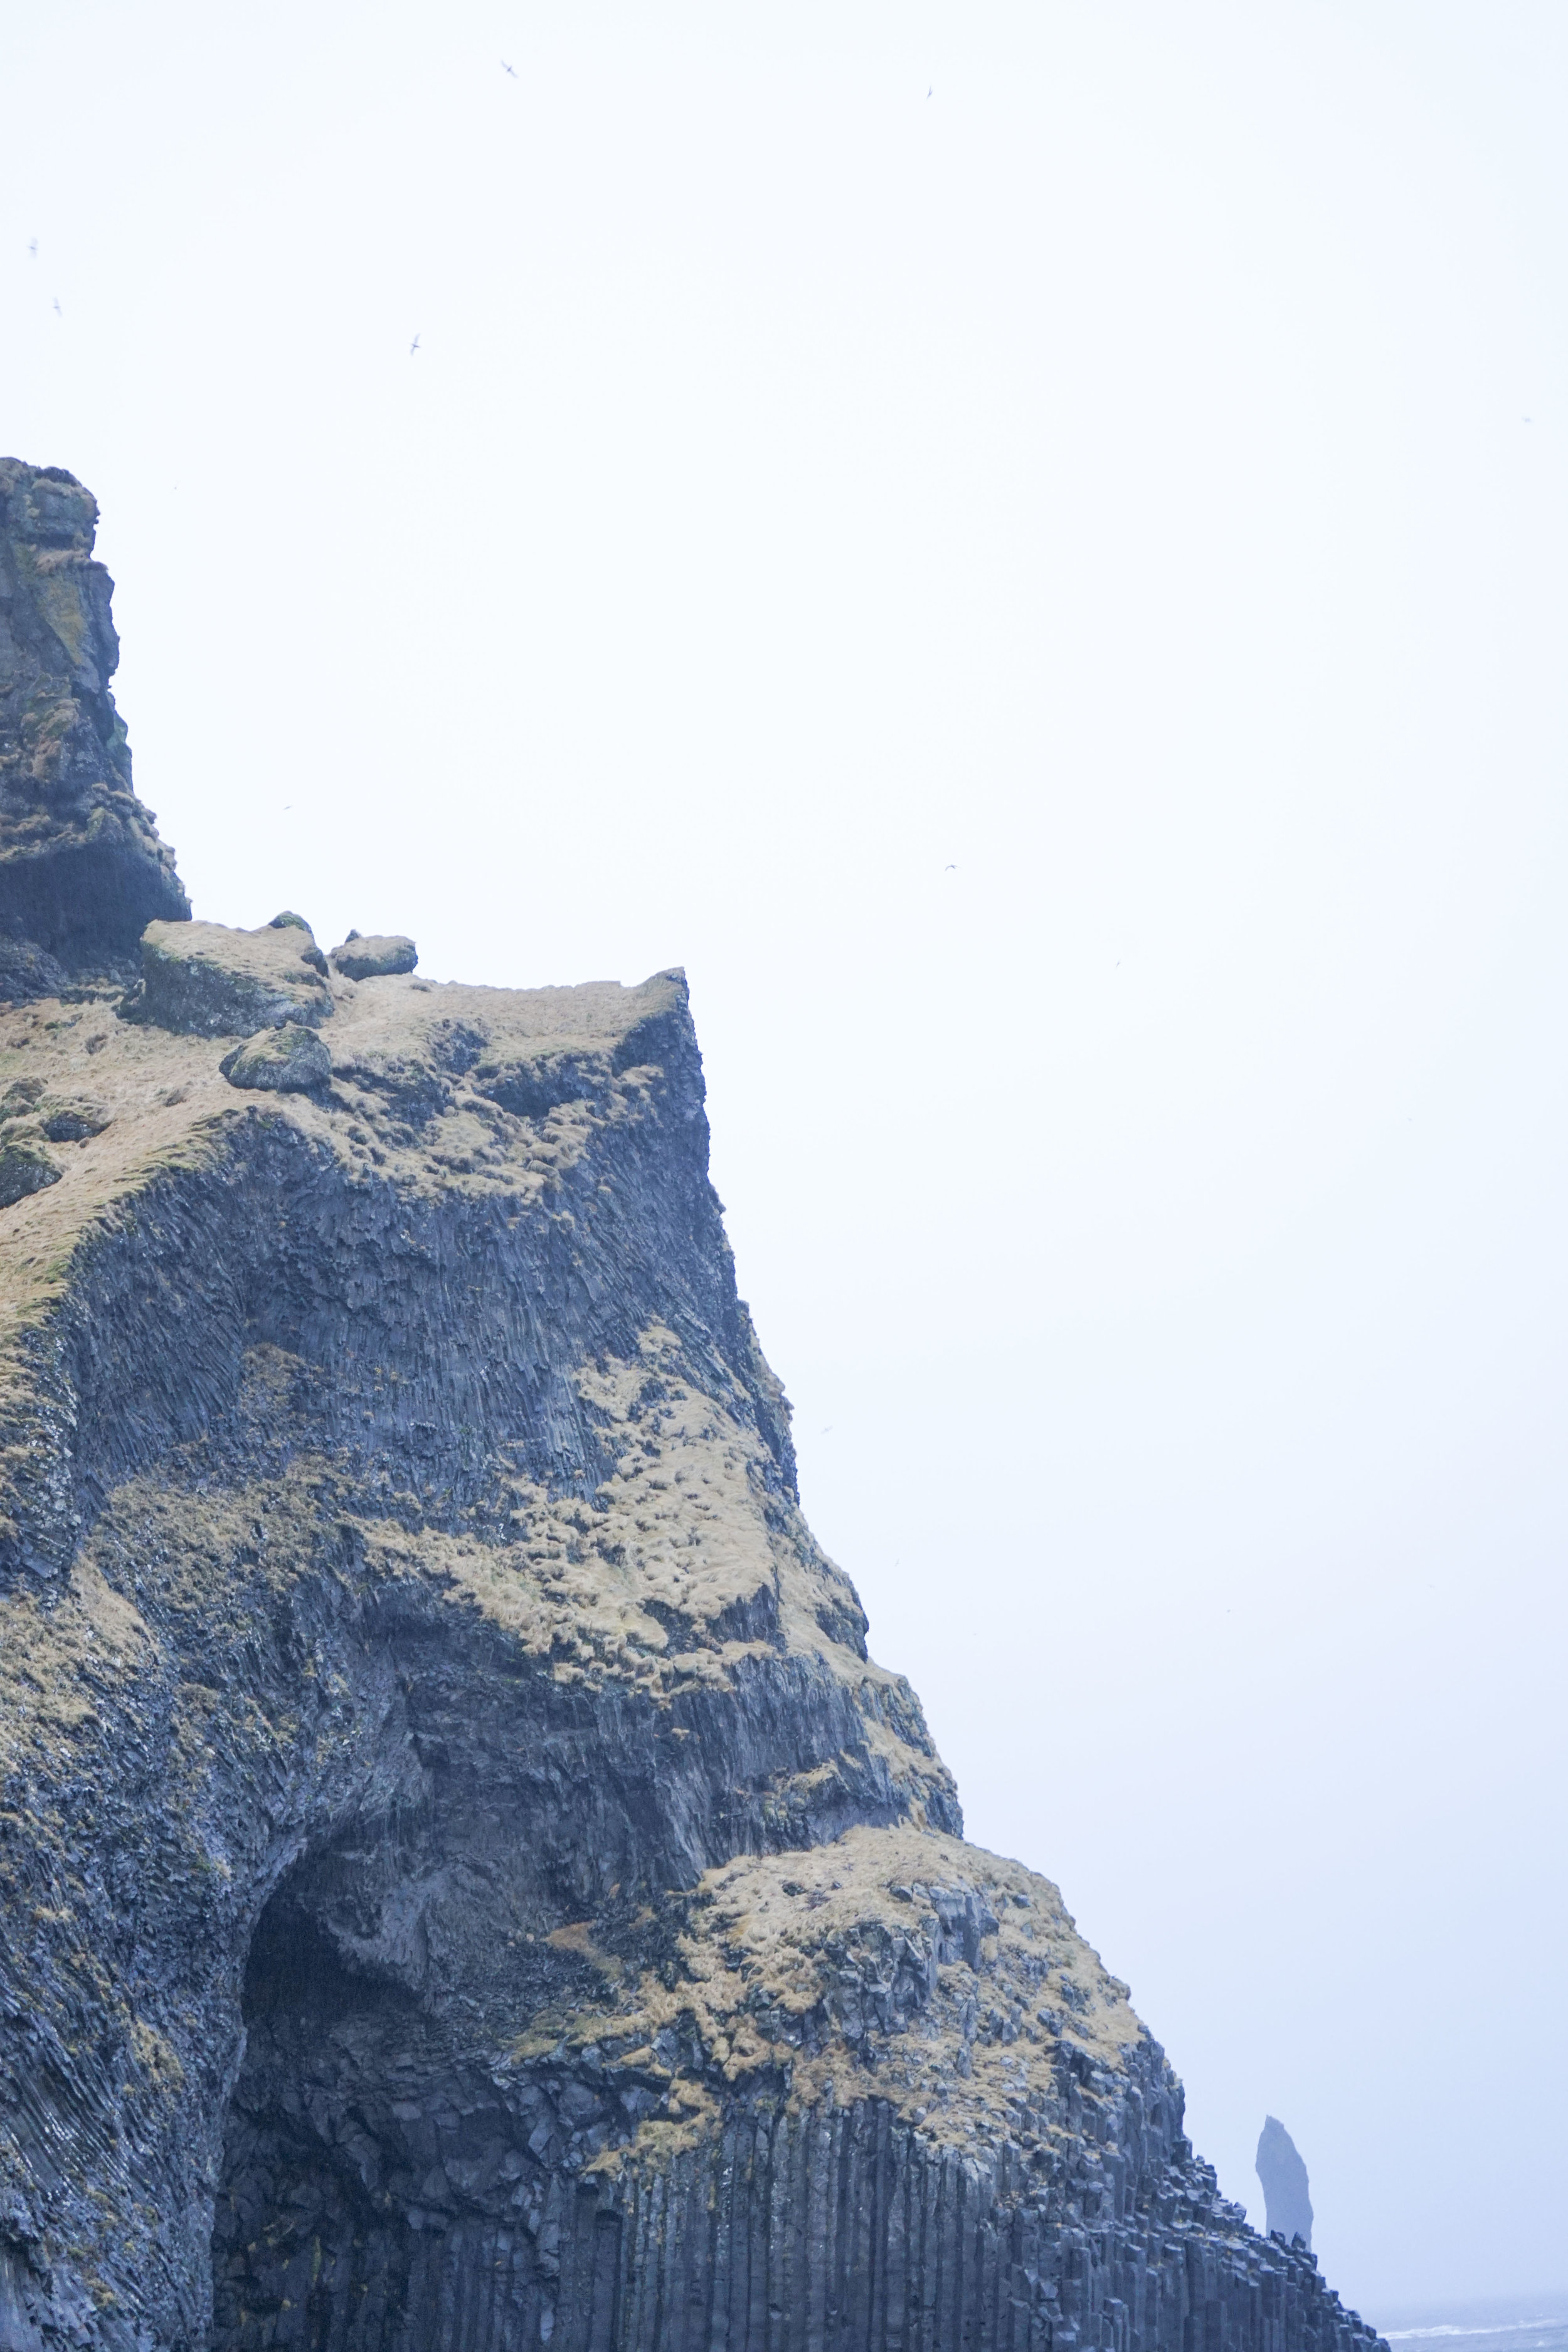
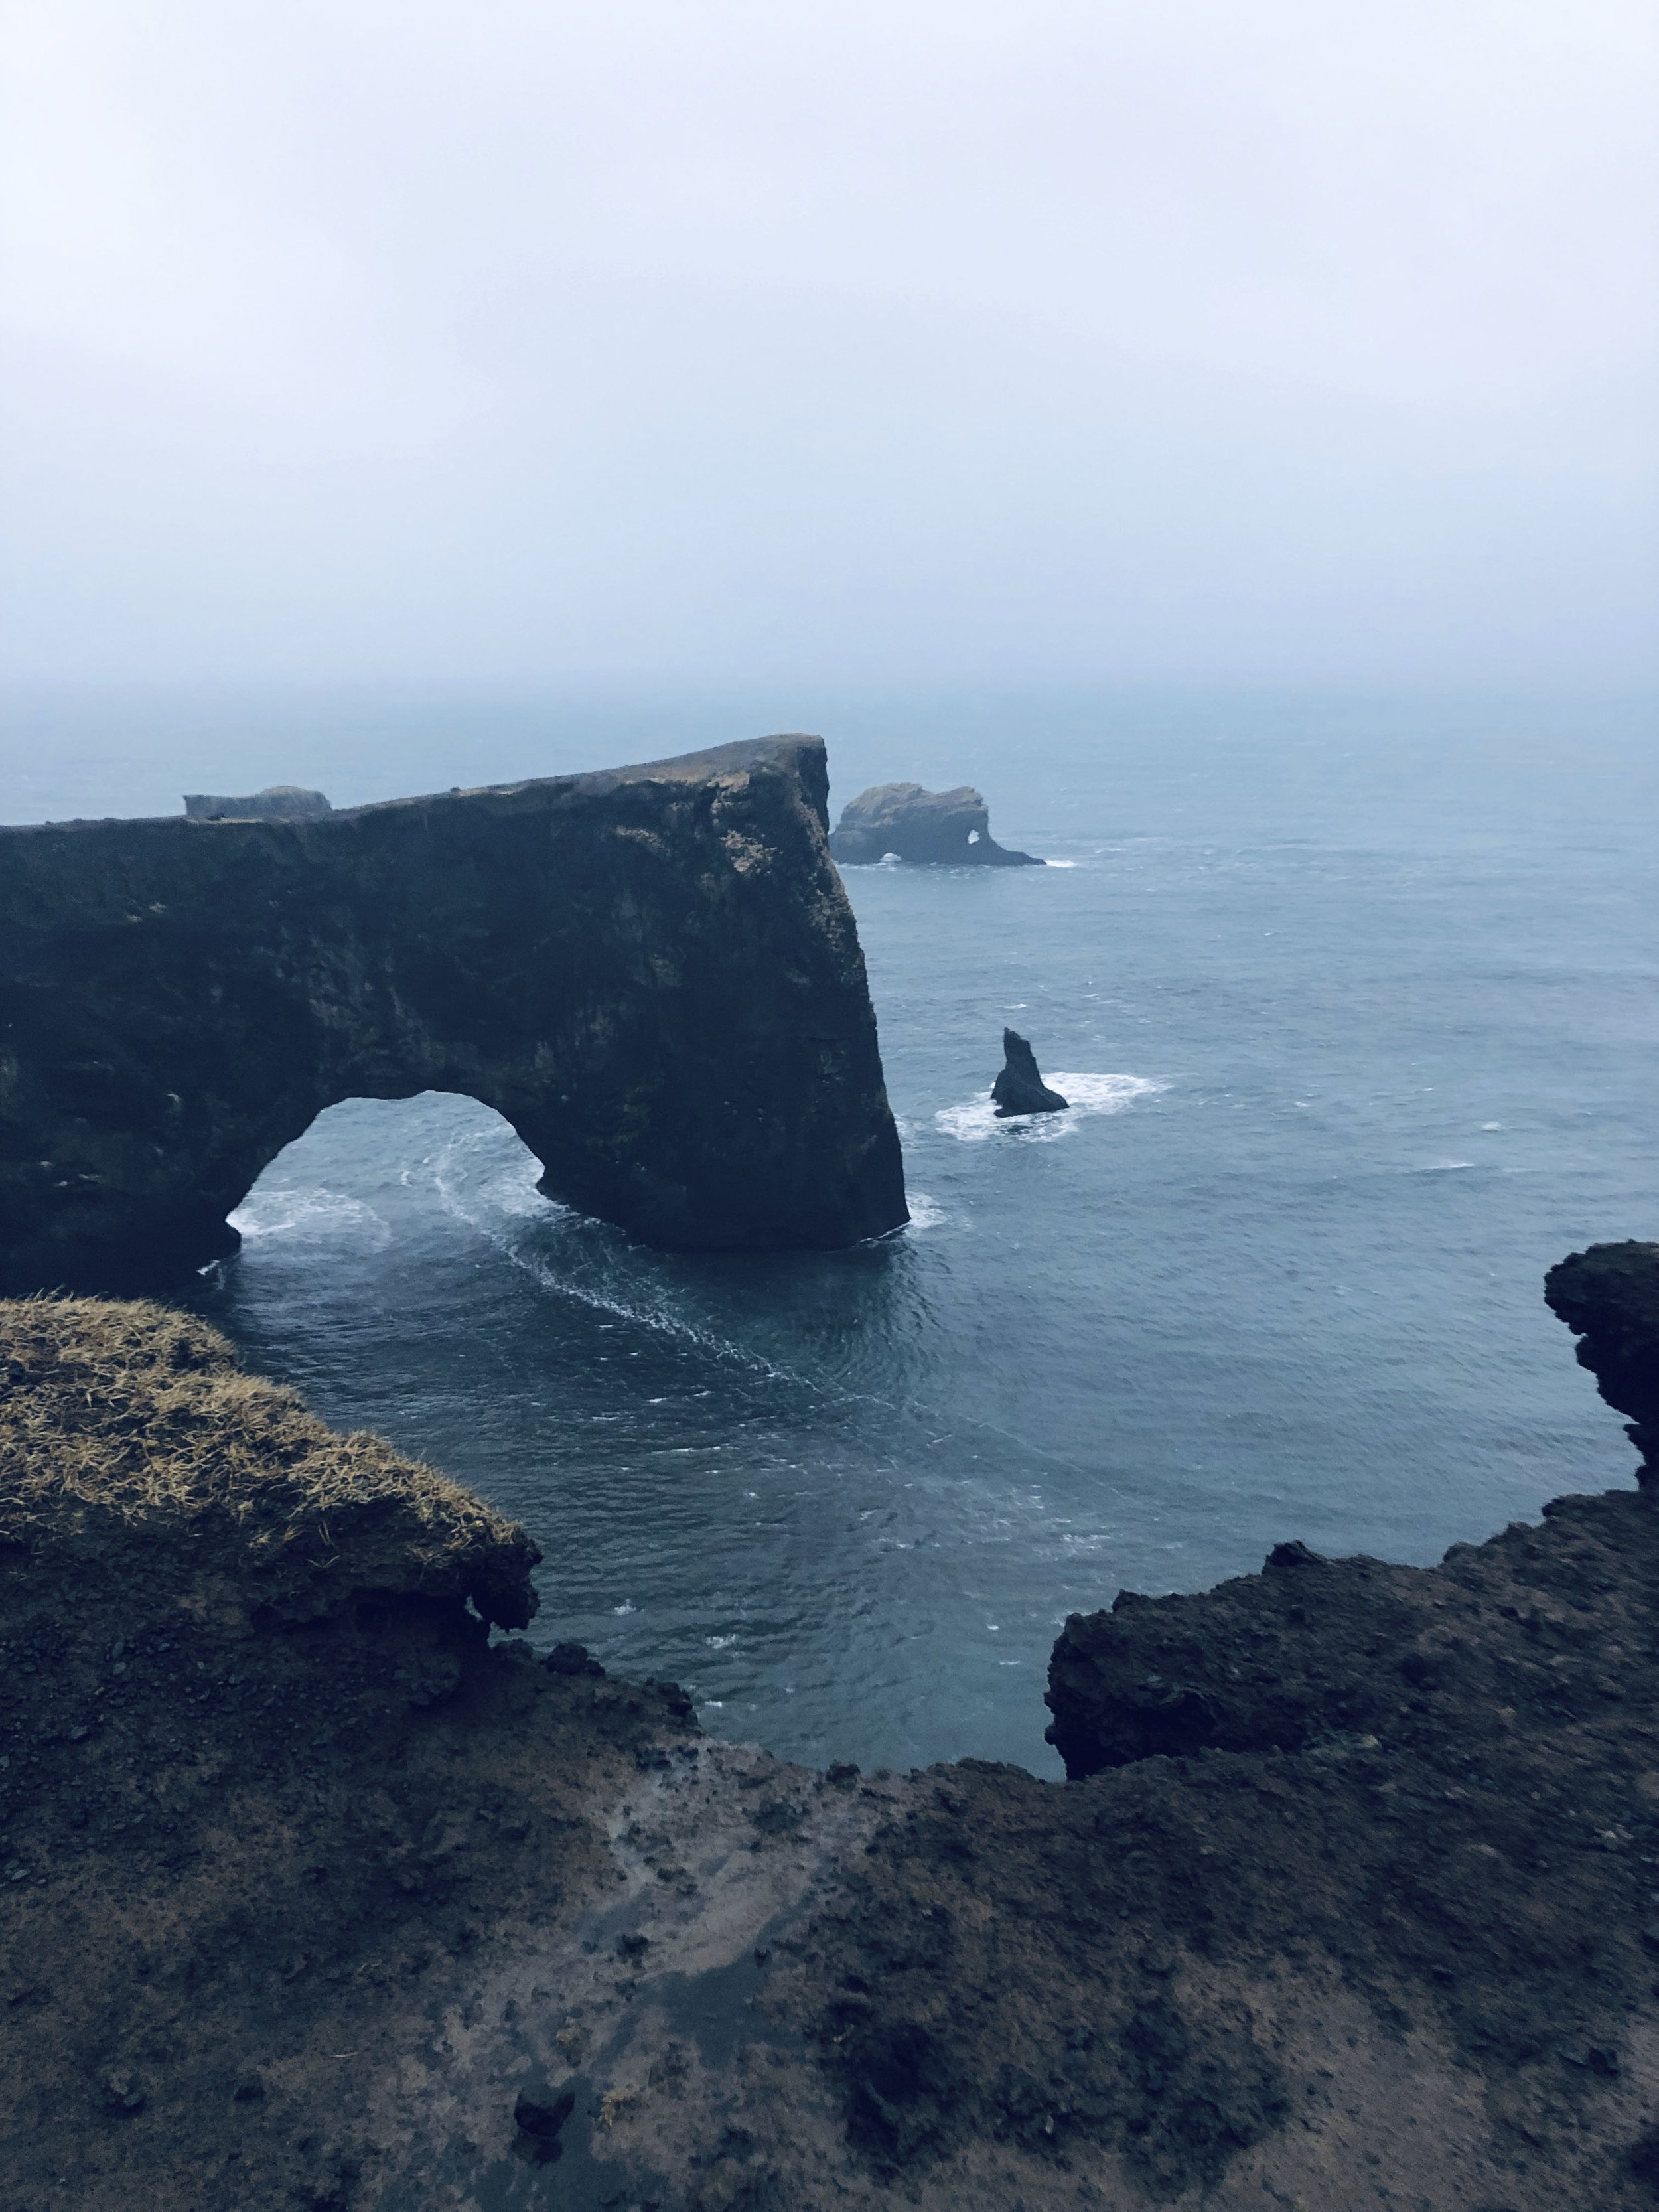
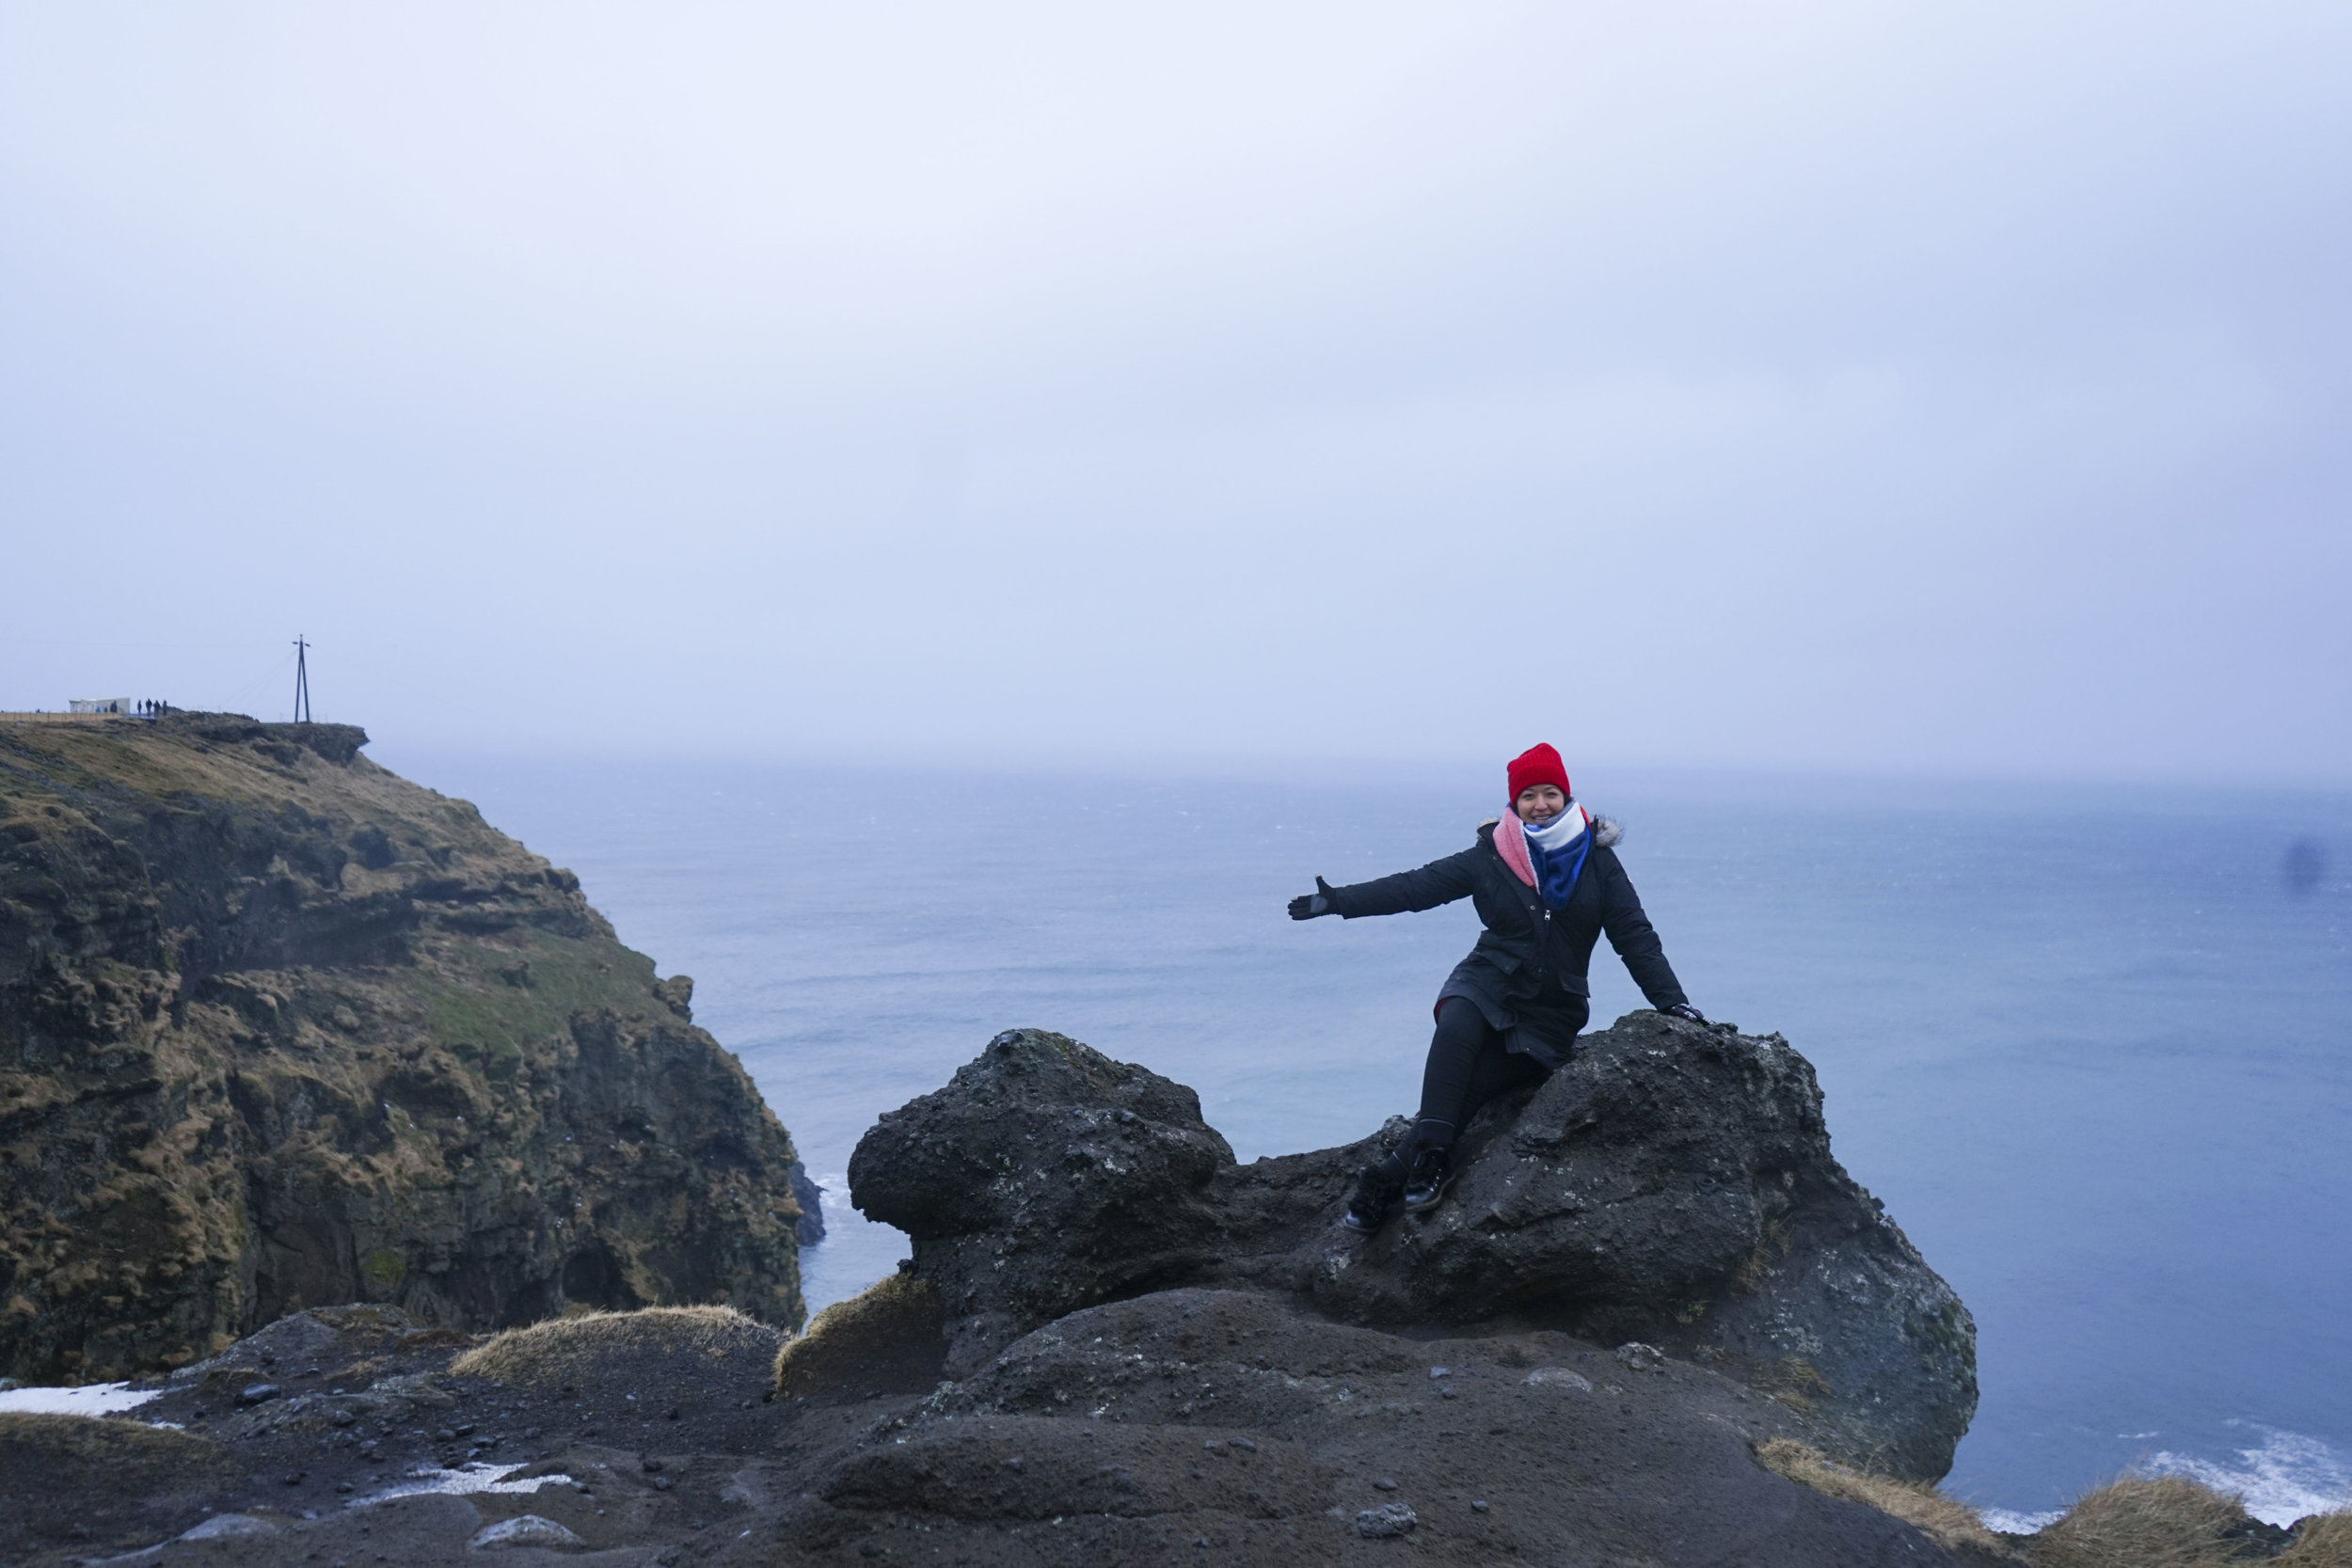
Dyrhólaey
This was my favorite stop of the first day trip! The view was so incredibly beautiful! My favorite part about this viewing point was that you can see the ocean, mountains, valleys, and little lakes at the top.
You do have to drive up a pretty steep curvy hill to get to see this view. It was a bit scary to get up and down the hill but it was worth it!
See my Iceland Google maps with all the location pins HERE

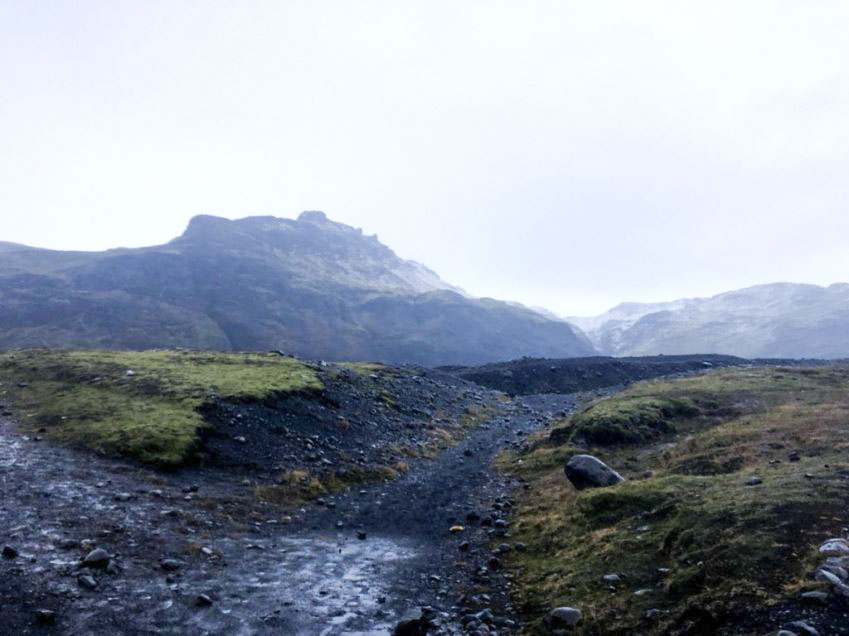
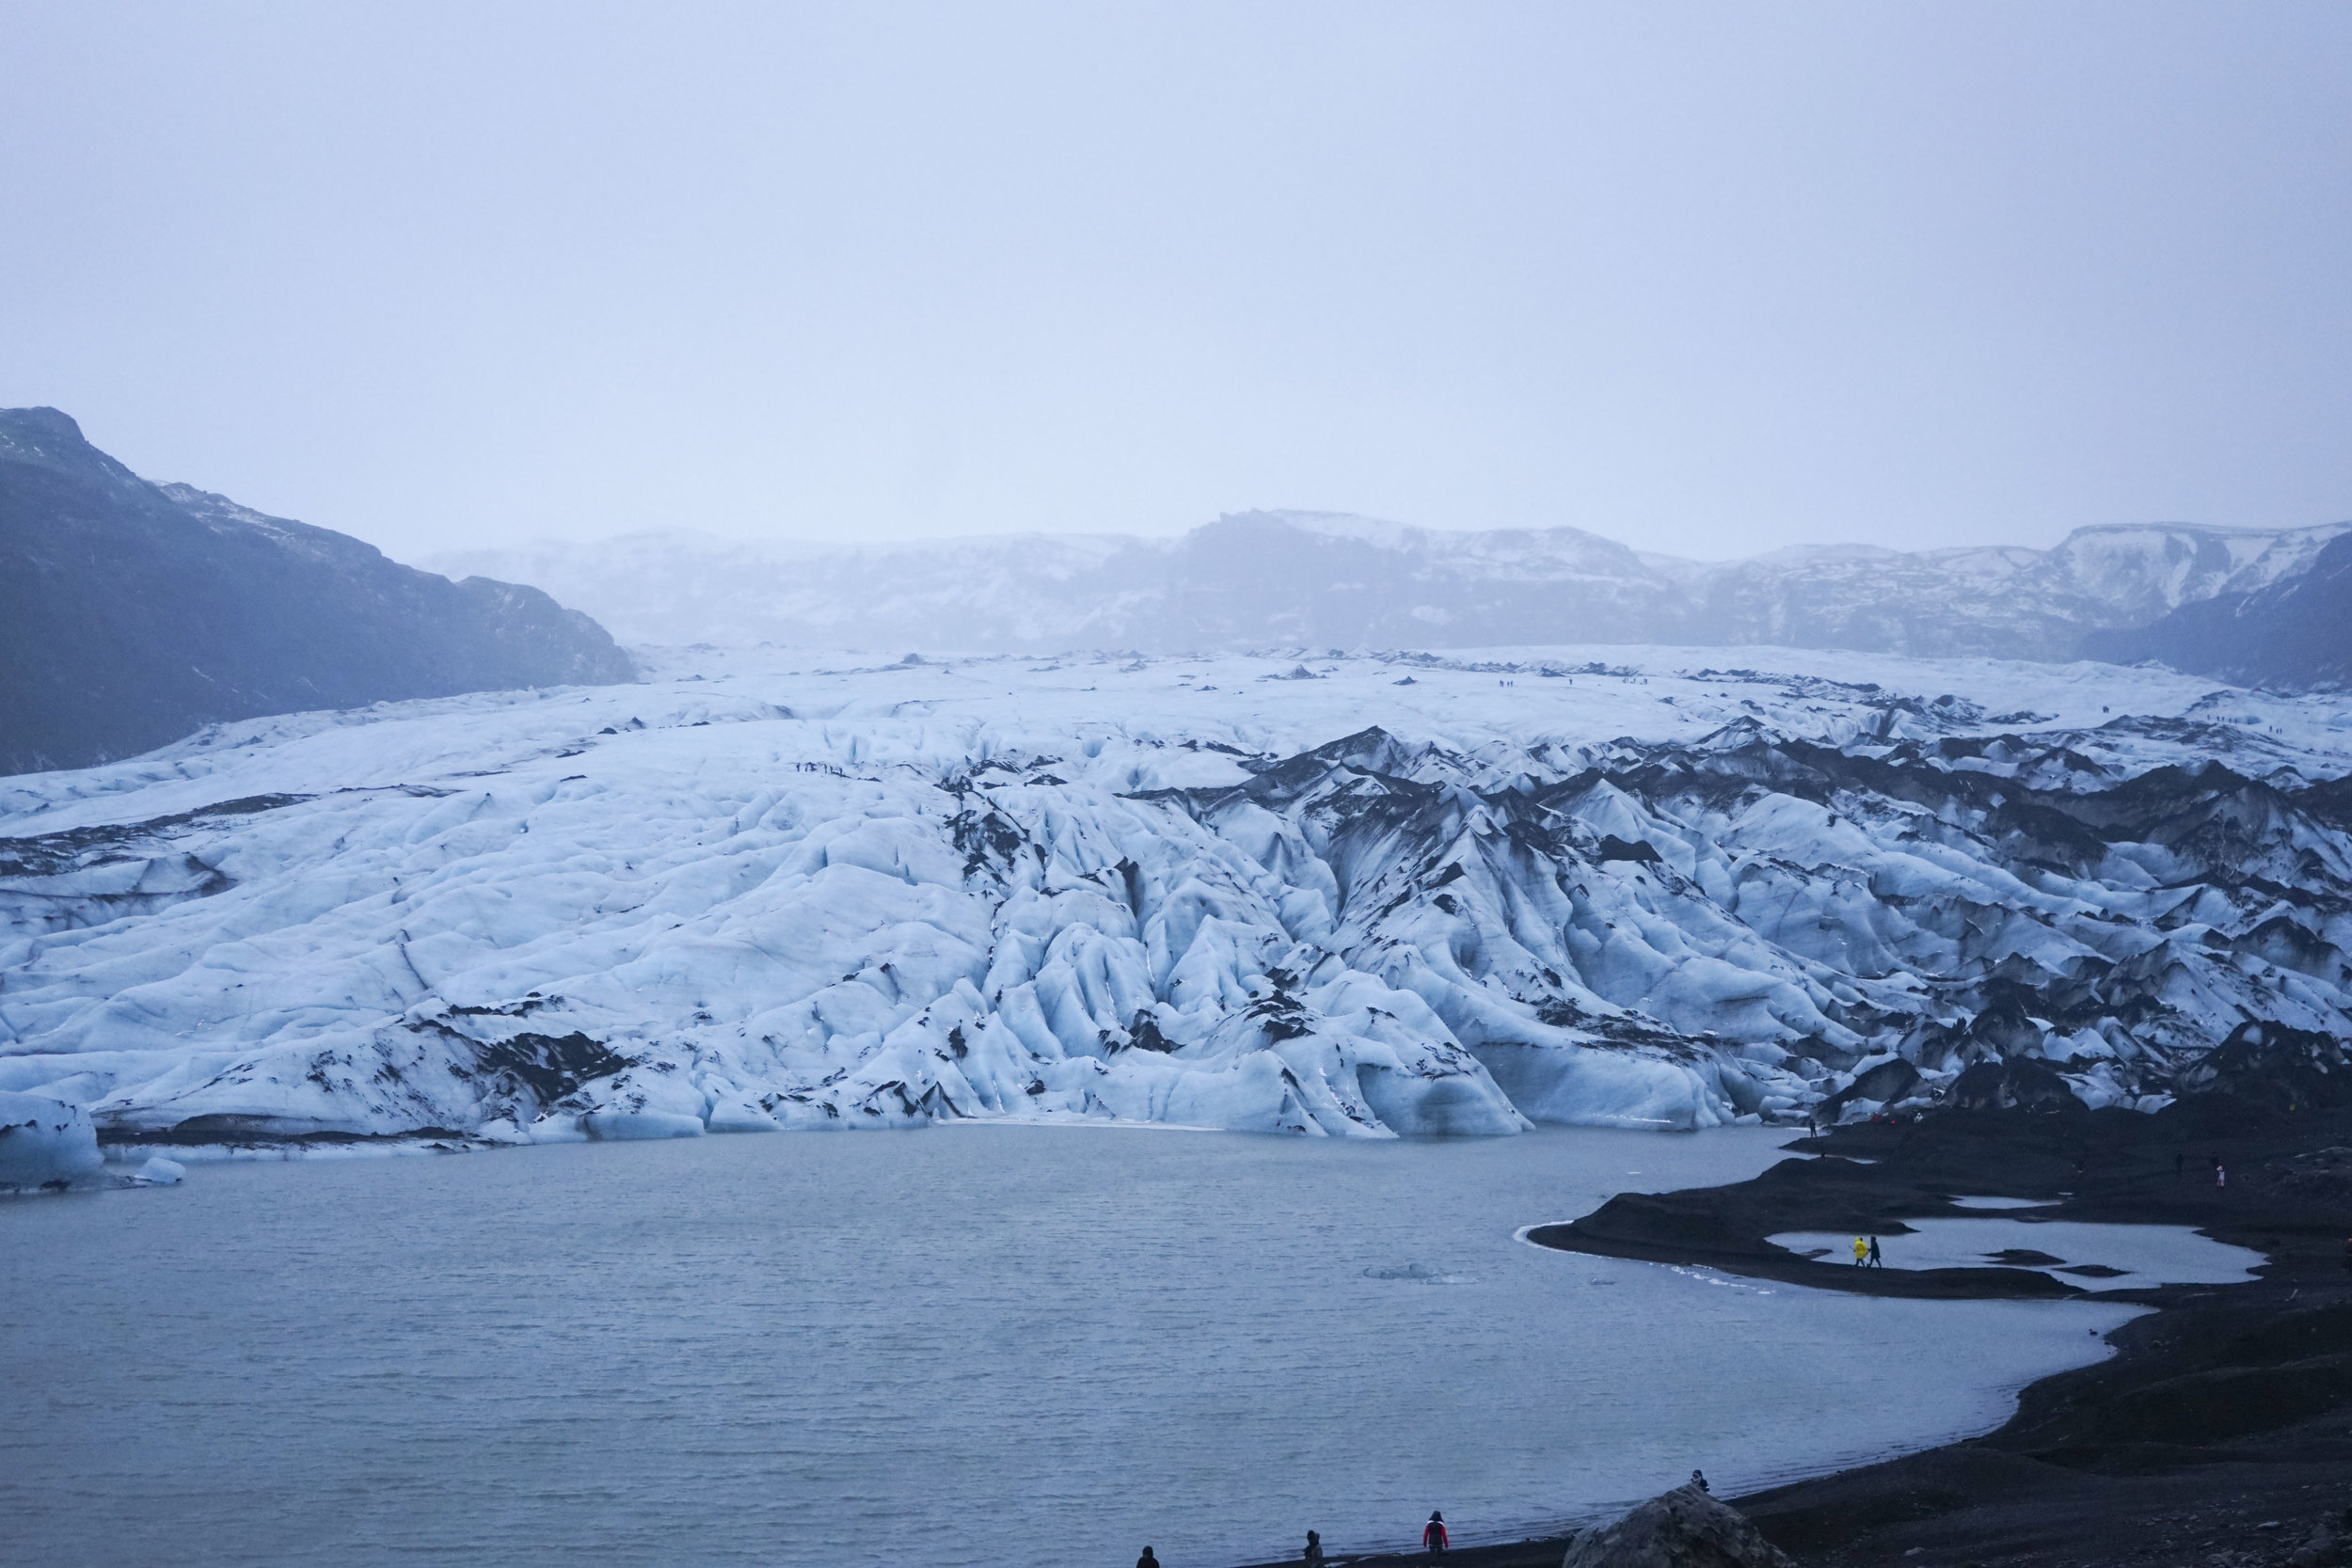
Solheimajokull
Talk about seeing all kinds of natural forms right? In one day (following this itinerary) we saw a beach, mountains, glaciers, and a waterfall! Iceland probably has all 7 world wonders right in the southern part of Iceland!
I honestly did not know what to expect when arriving at this location. As we walked along the trial, I began to see small forms of bright teal ice. All of a sudden around a corner, the massive glacier stunned us! It was amazing!!
Tip: if you are interested, you can go glacier climbing! If I had more time, I would’ve totally tried this!

Skógafoss
One of the famous waterfalls in Iceland is not to be missed! This waterfall is quite grand. Iceland is known for all of their amazing waterfalls so make sure to check out at least one or two. You will also see a ton of mini waterfalls along the drive to Vik.
Tip: wear waterproof clothing. Chances of getting wet are quite high.
See my Iceland Google maps with all the location pins HERE
Day Trip 2: The Golden Circle
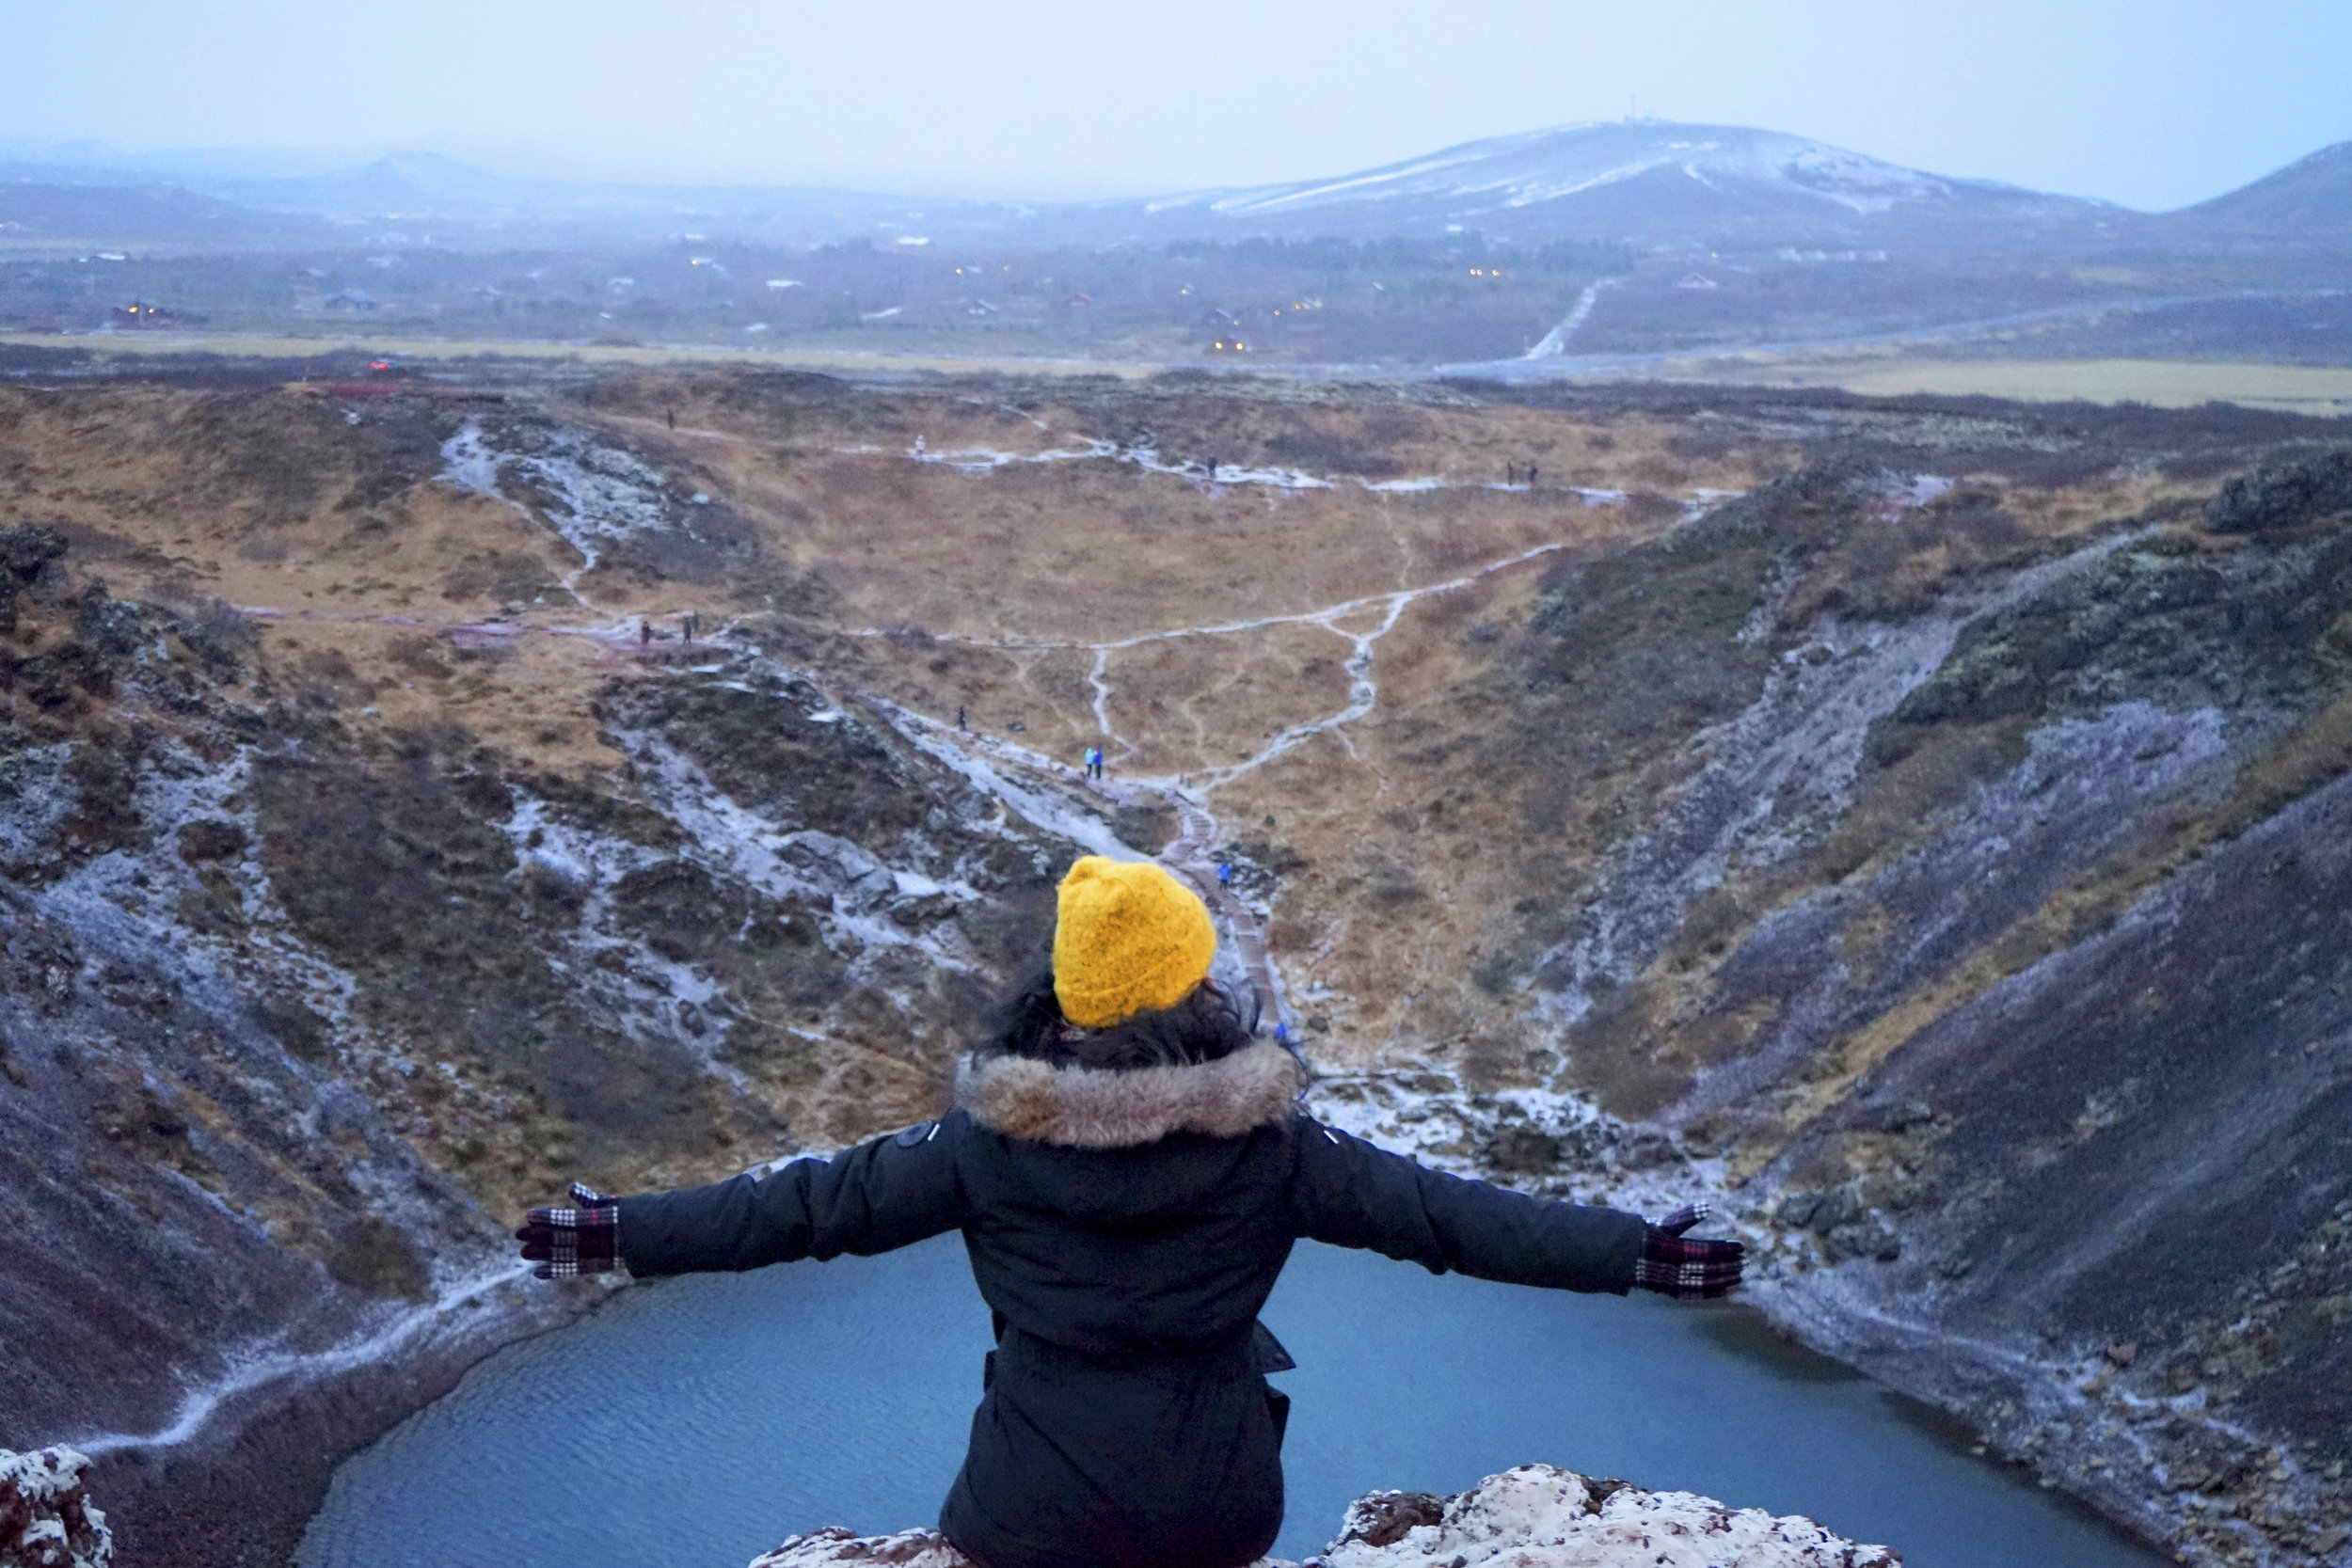
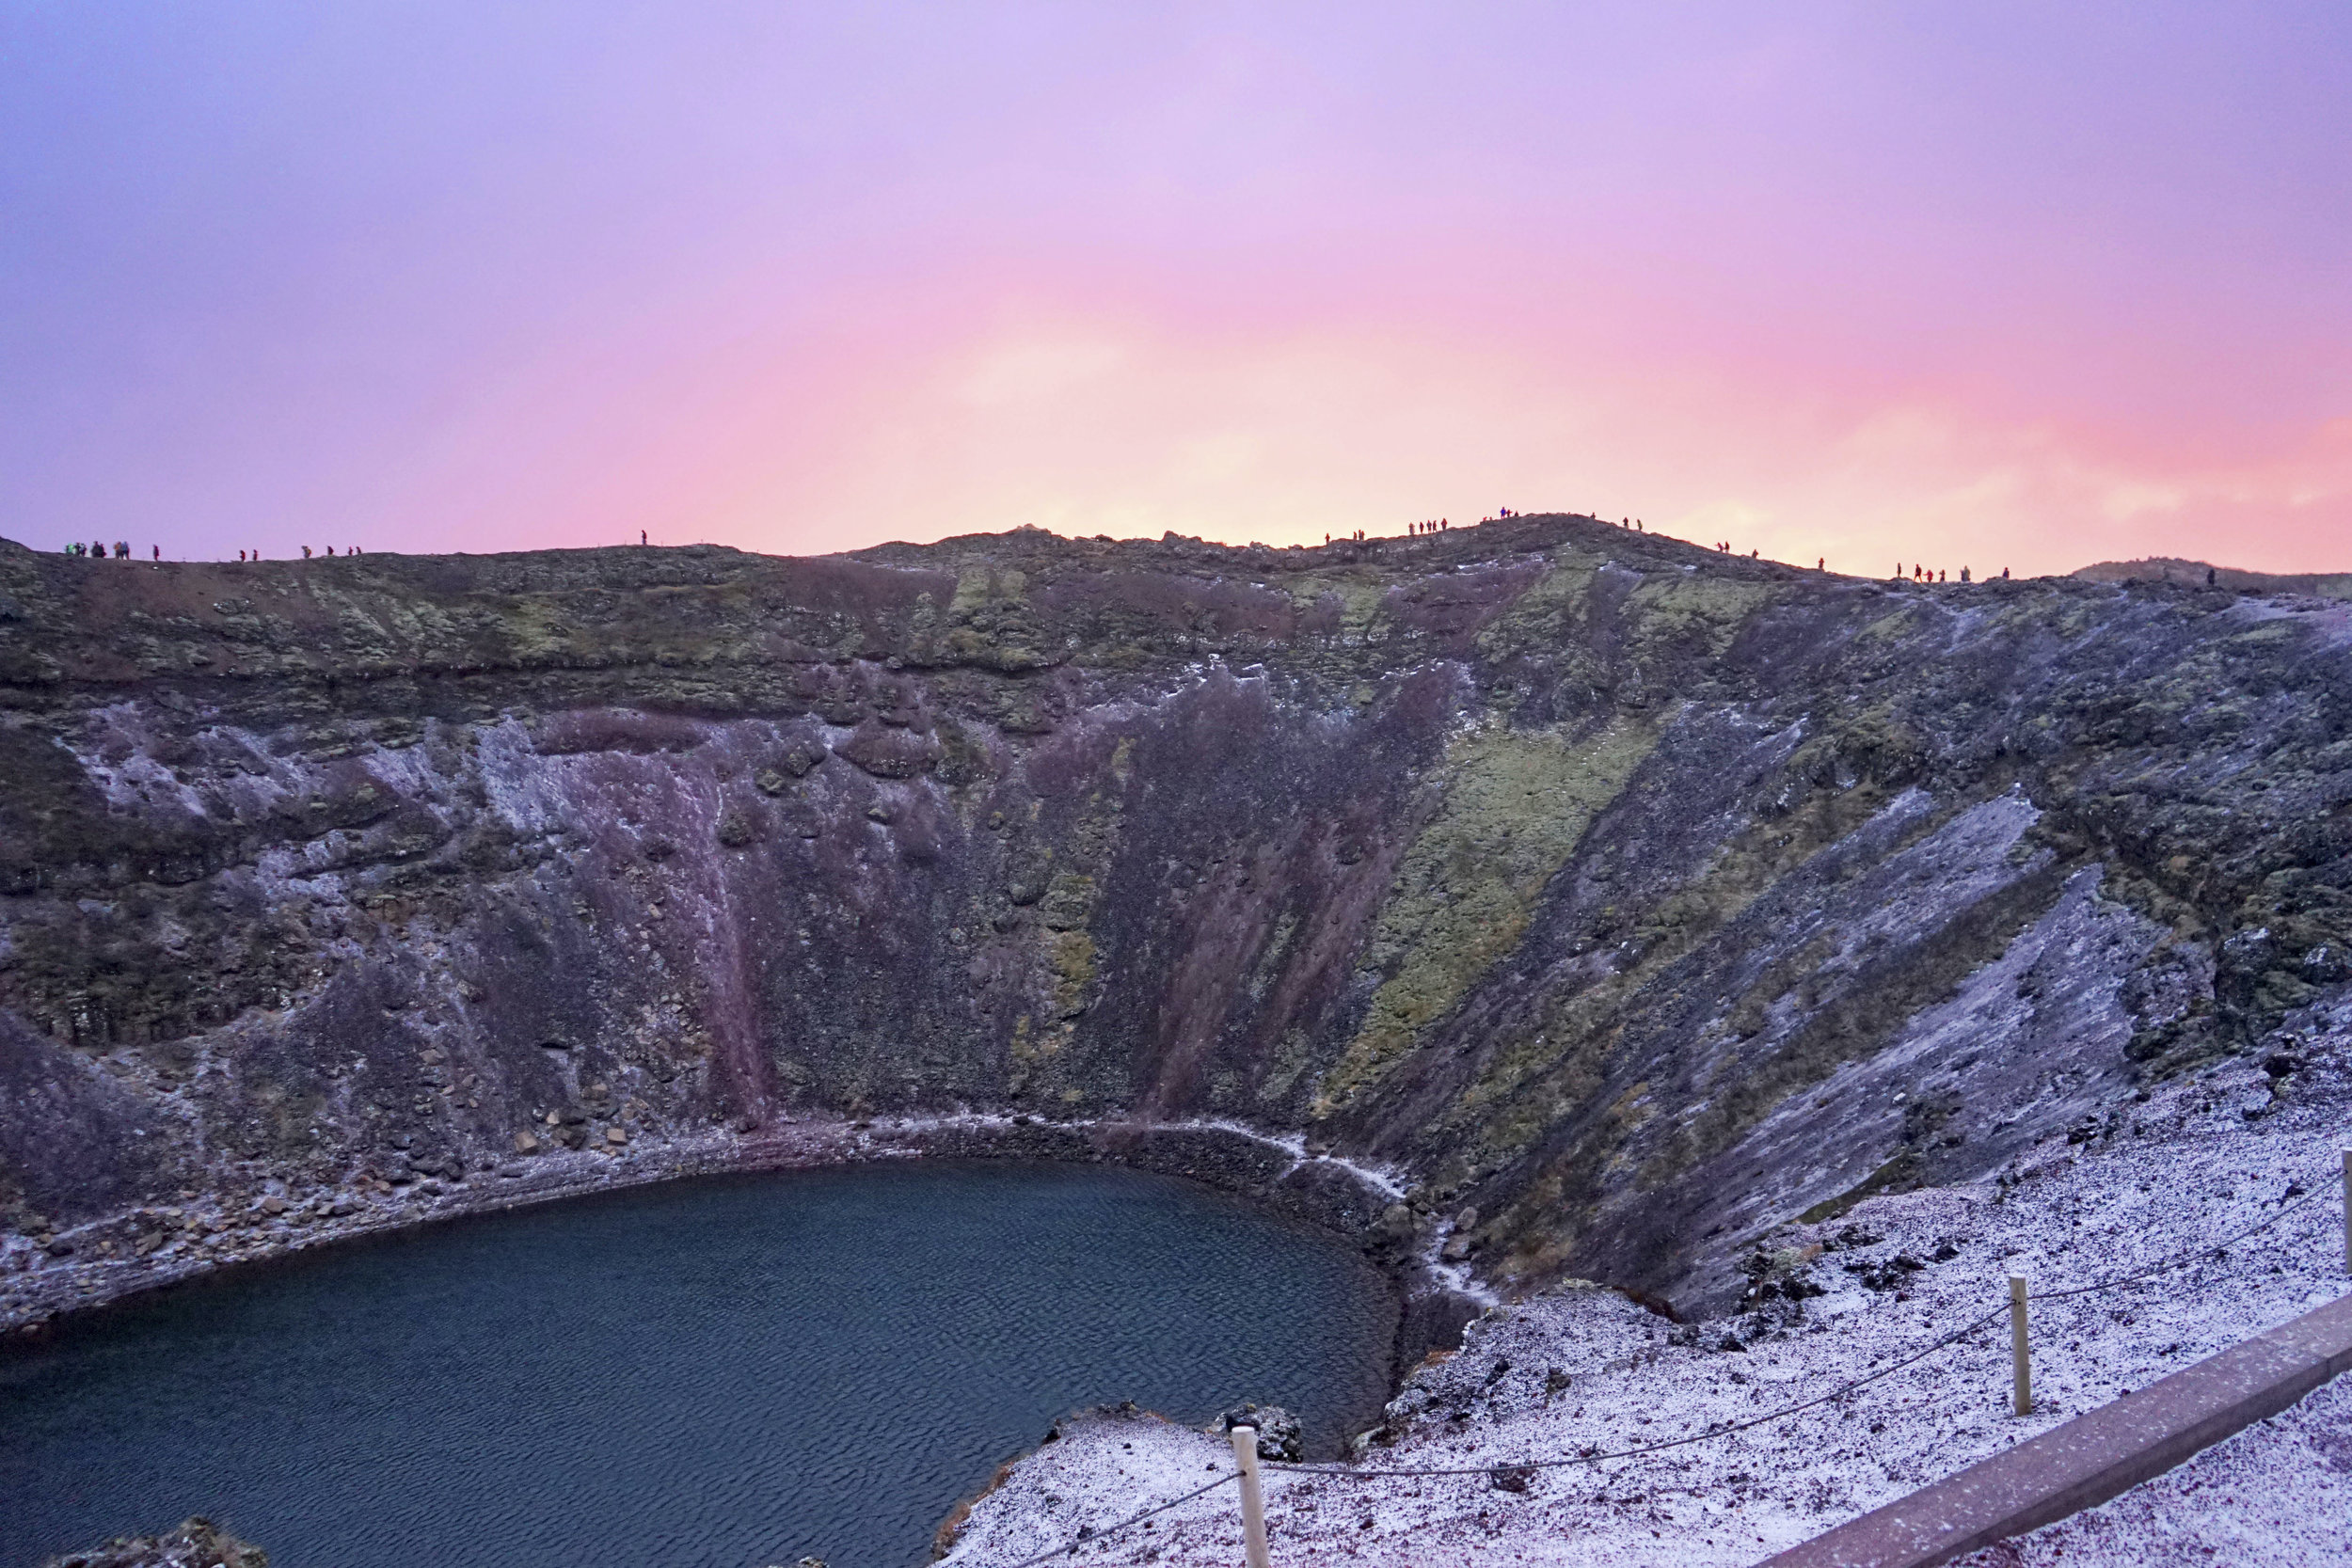
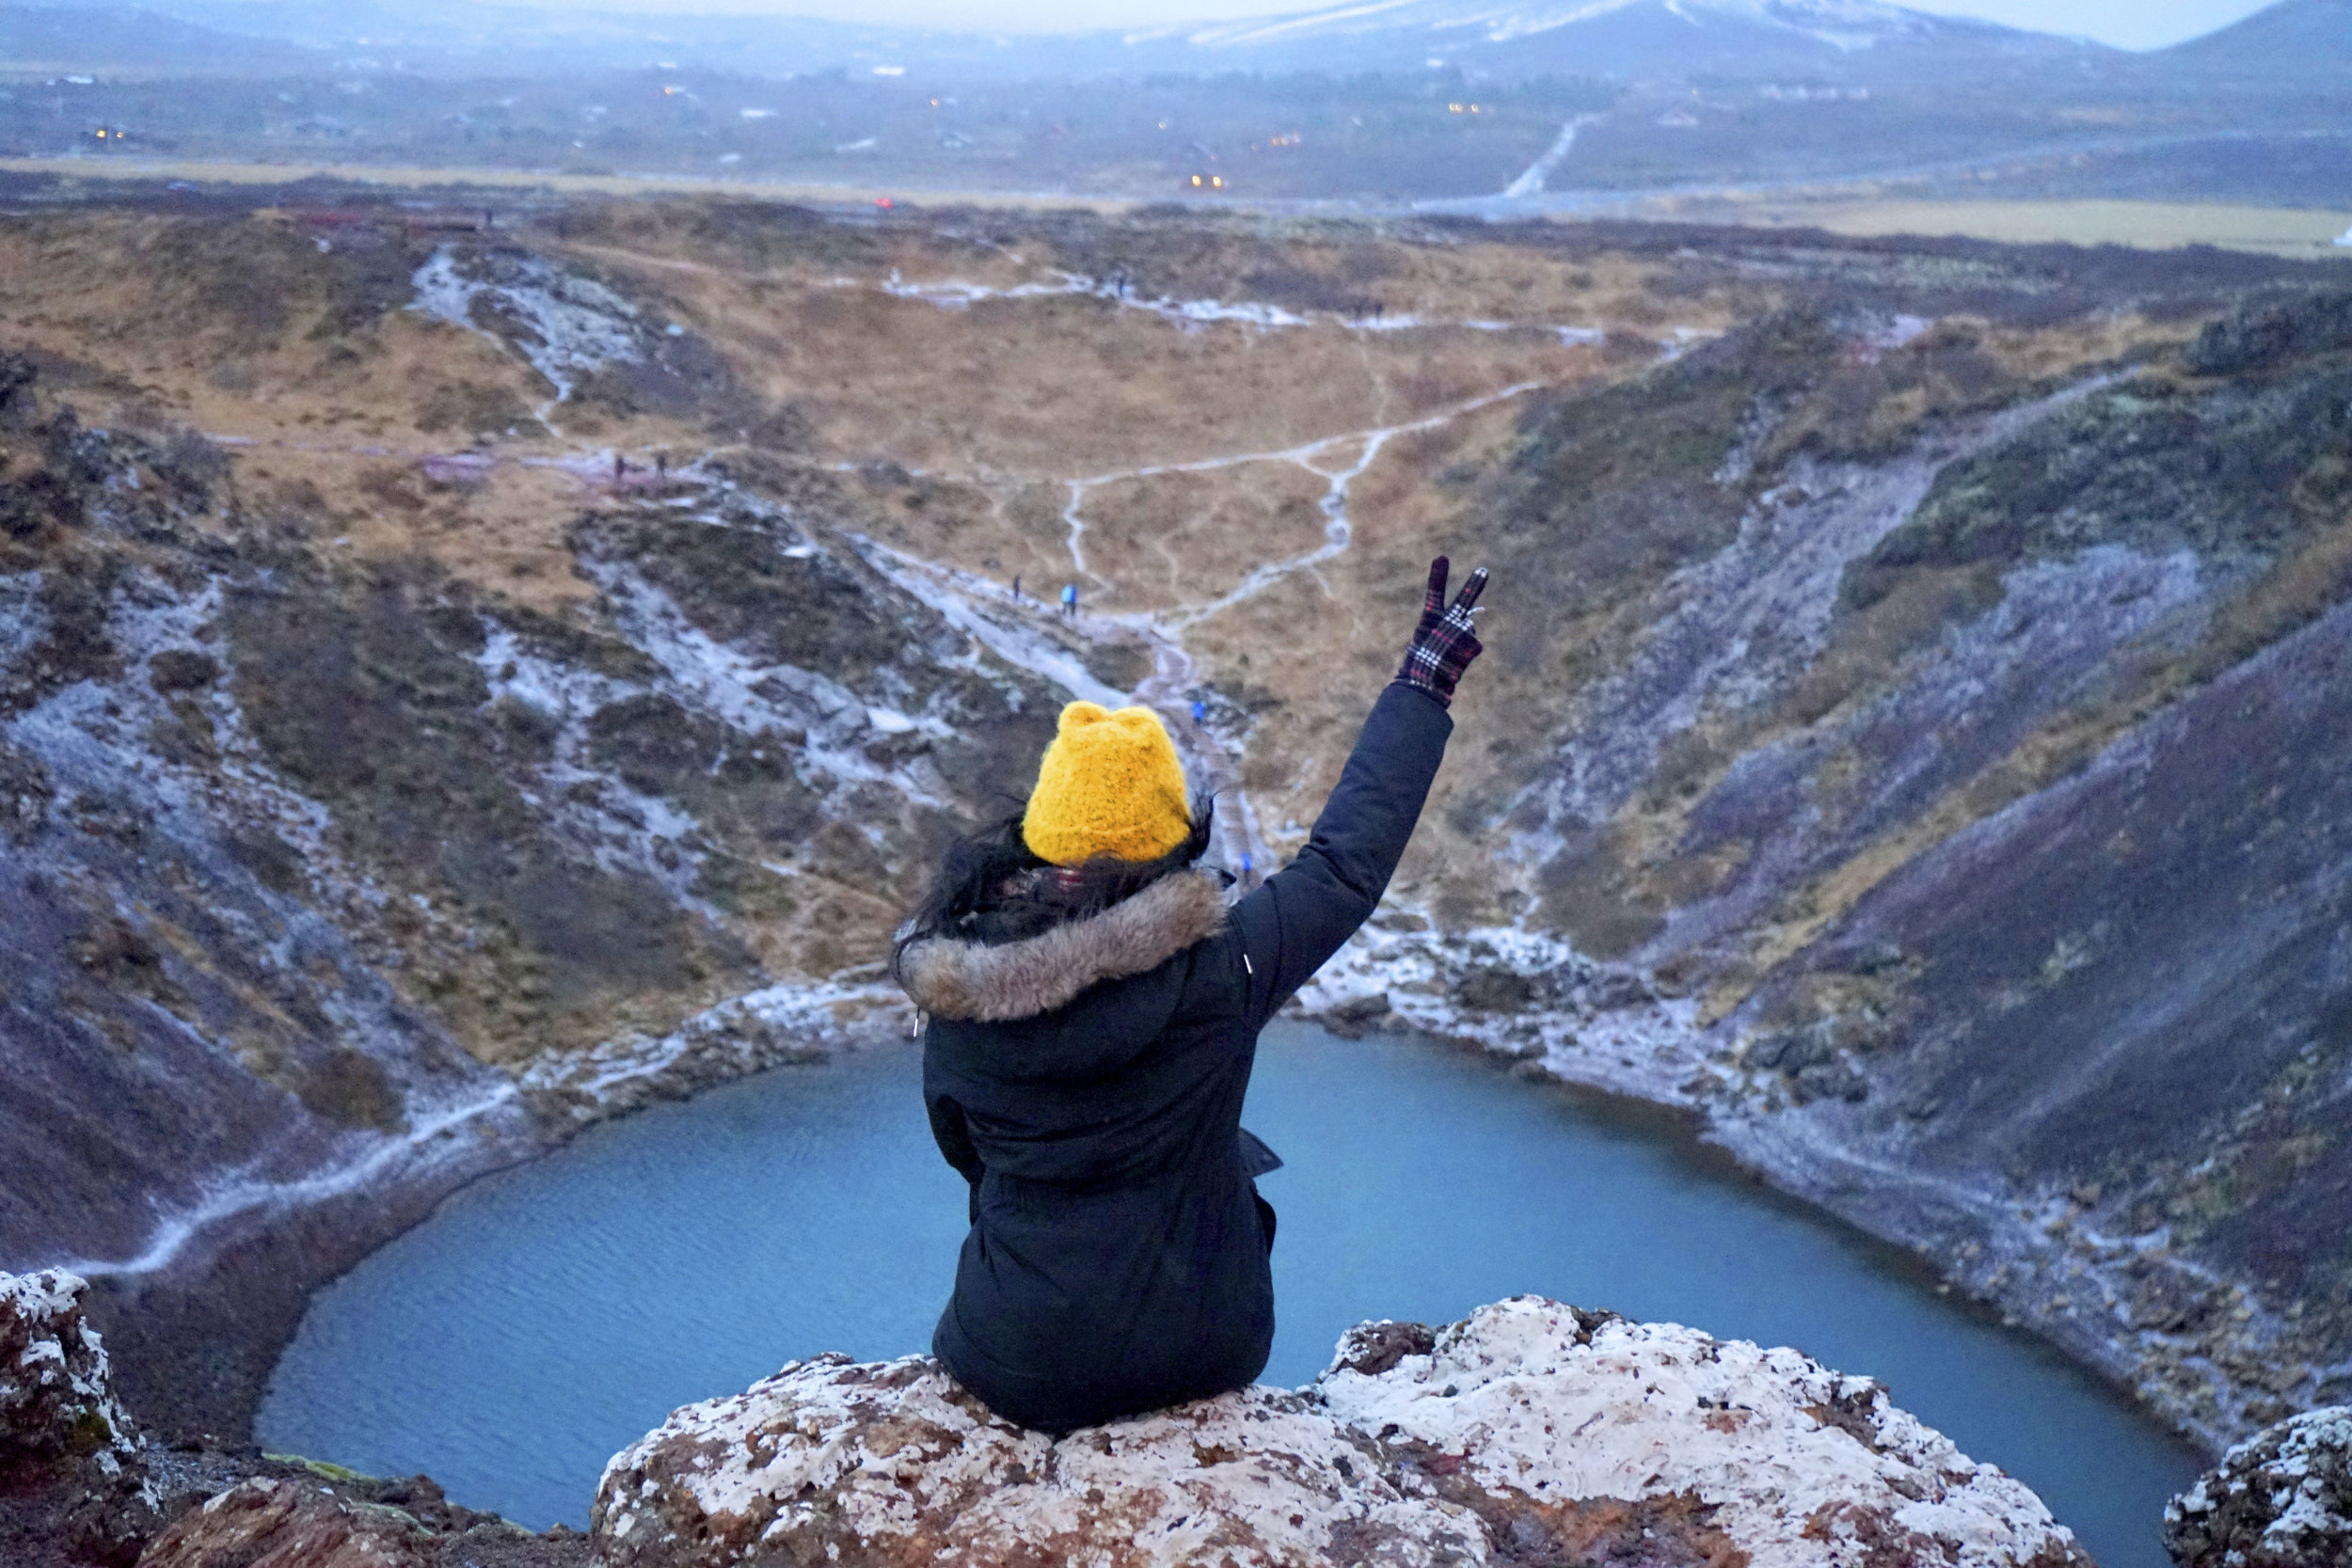
Stop 1: Kerid Crater
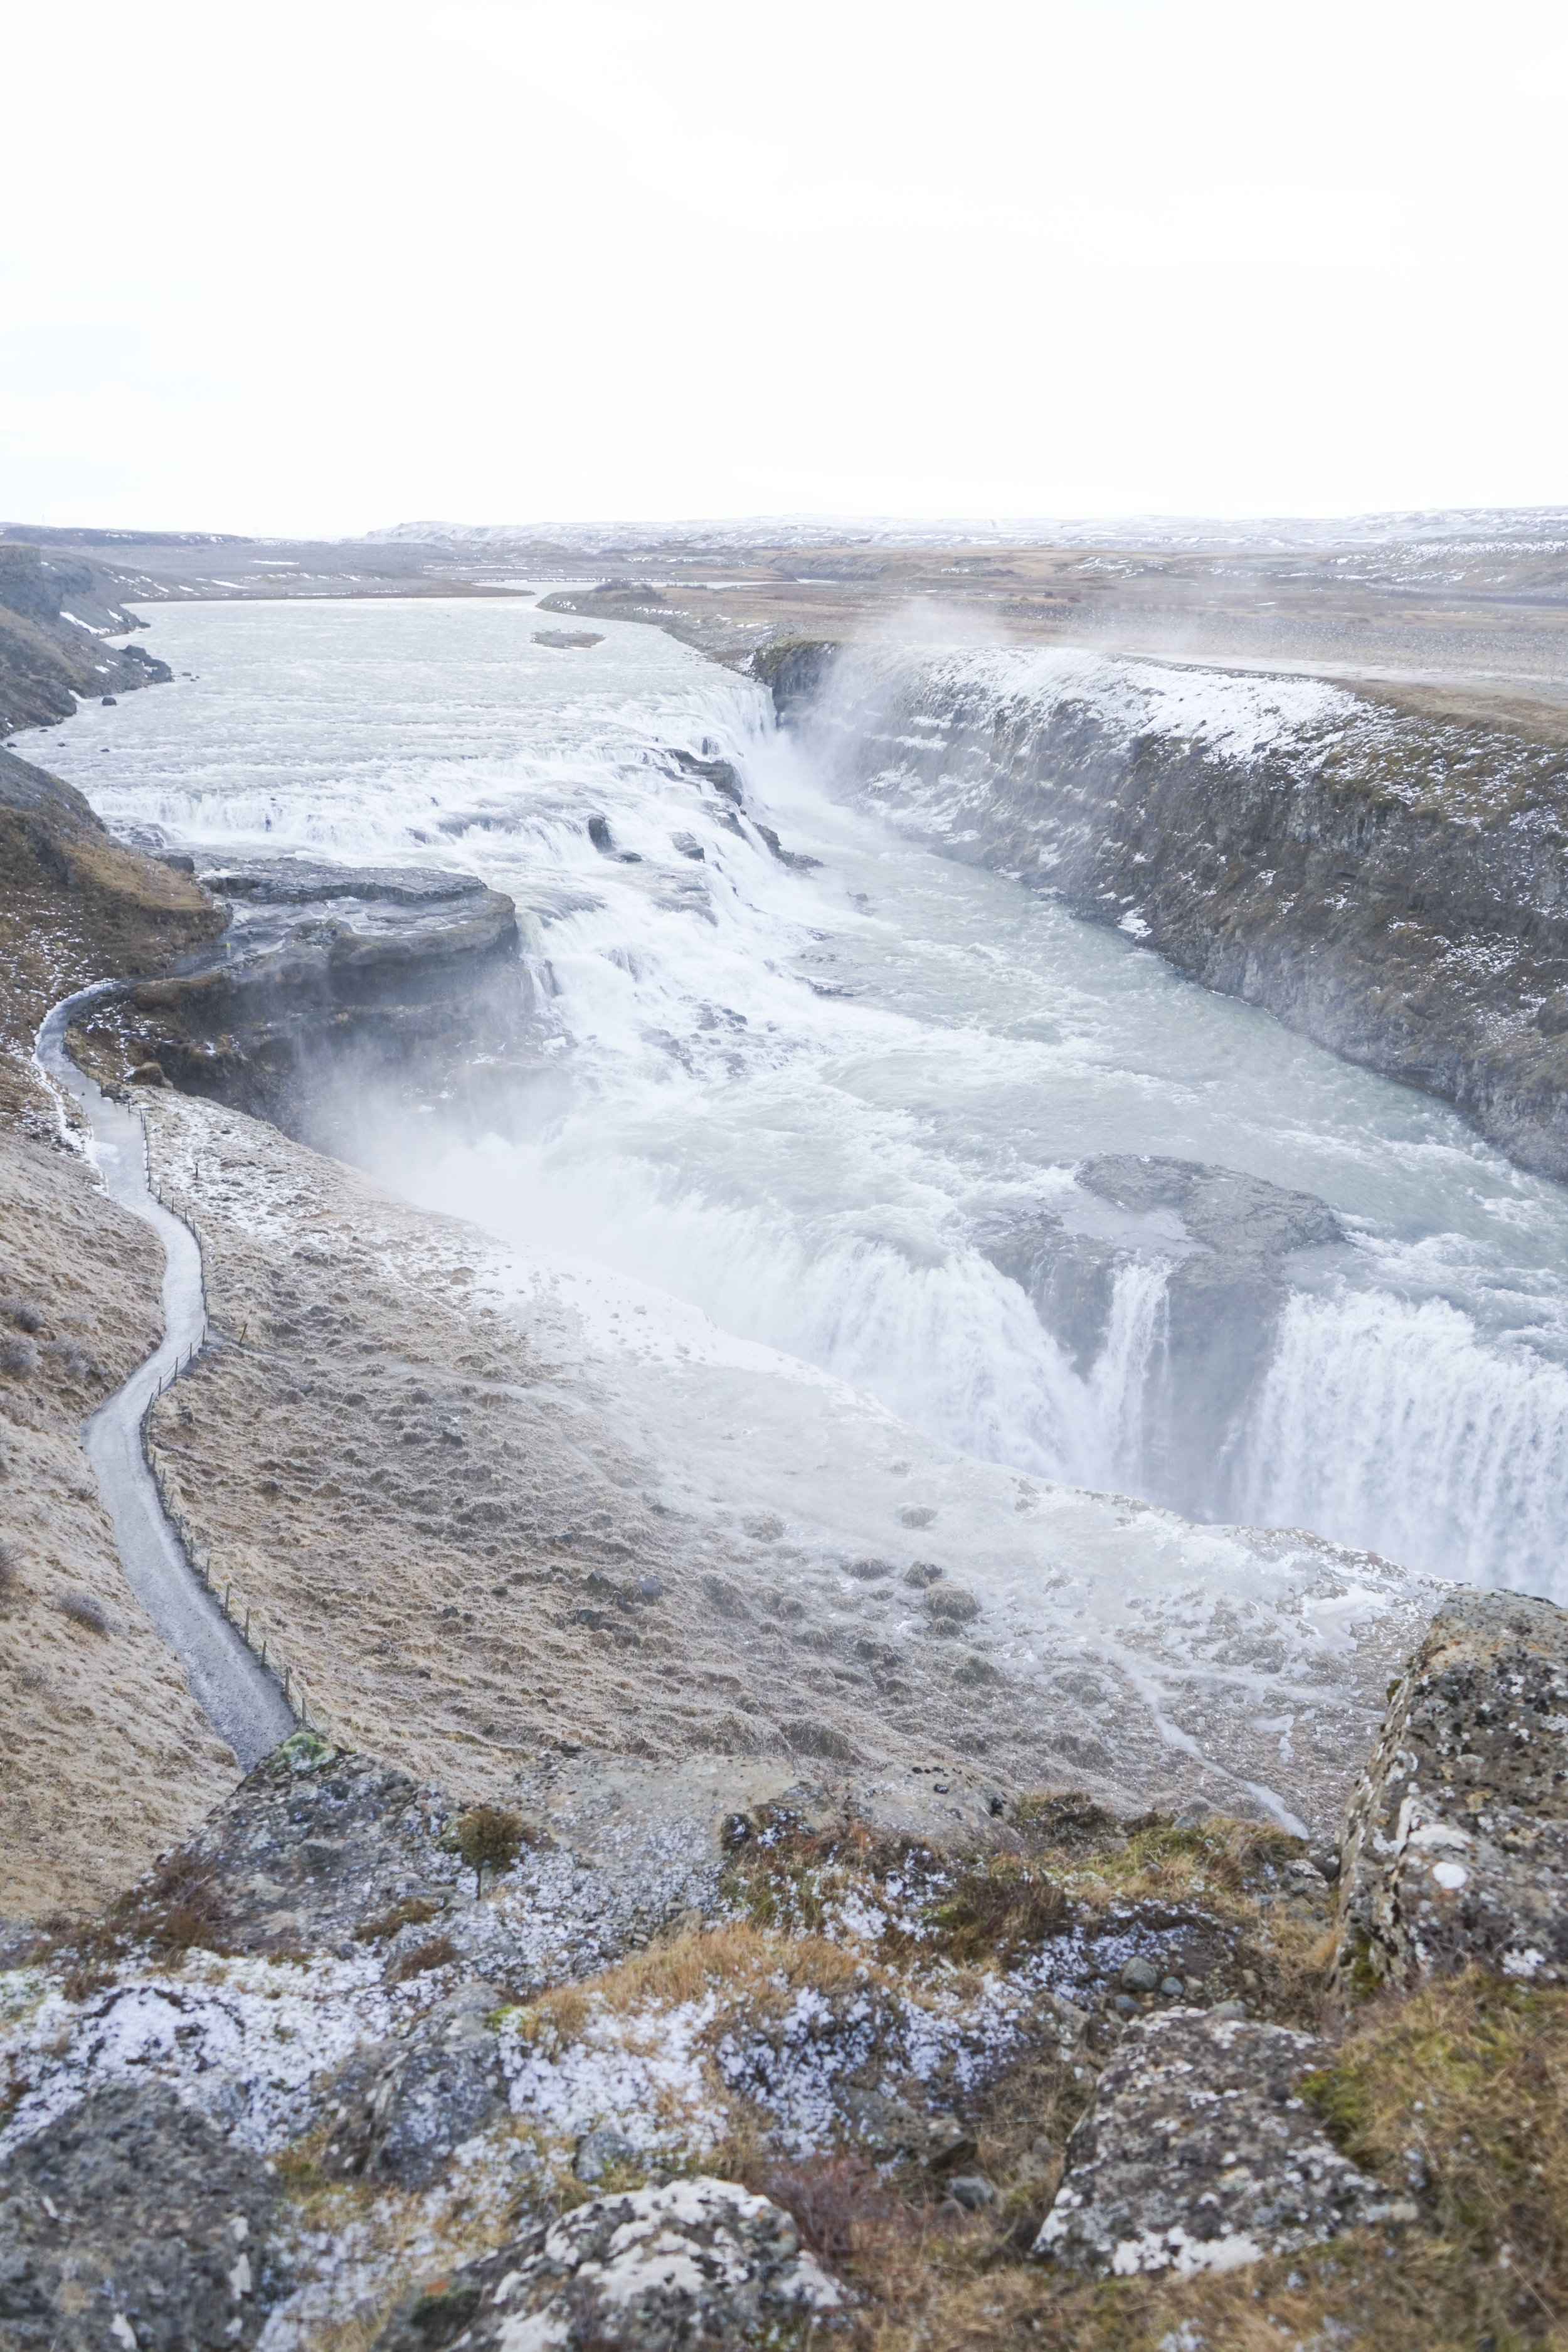
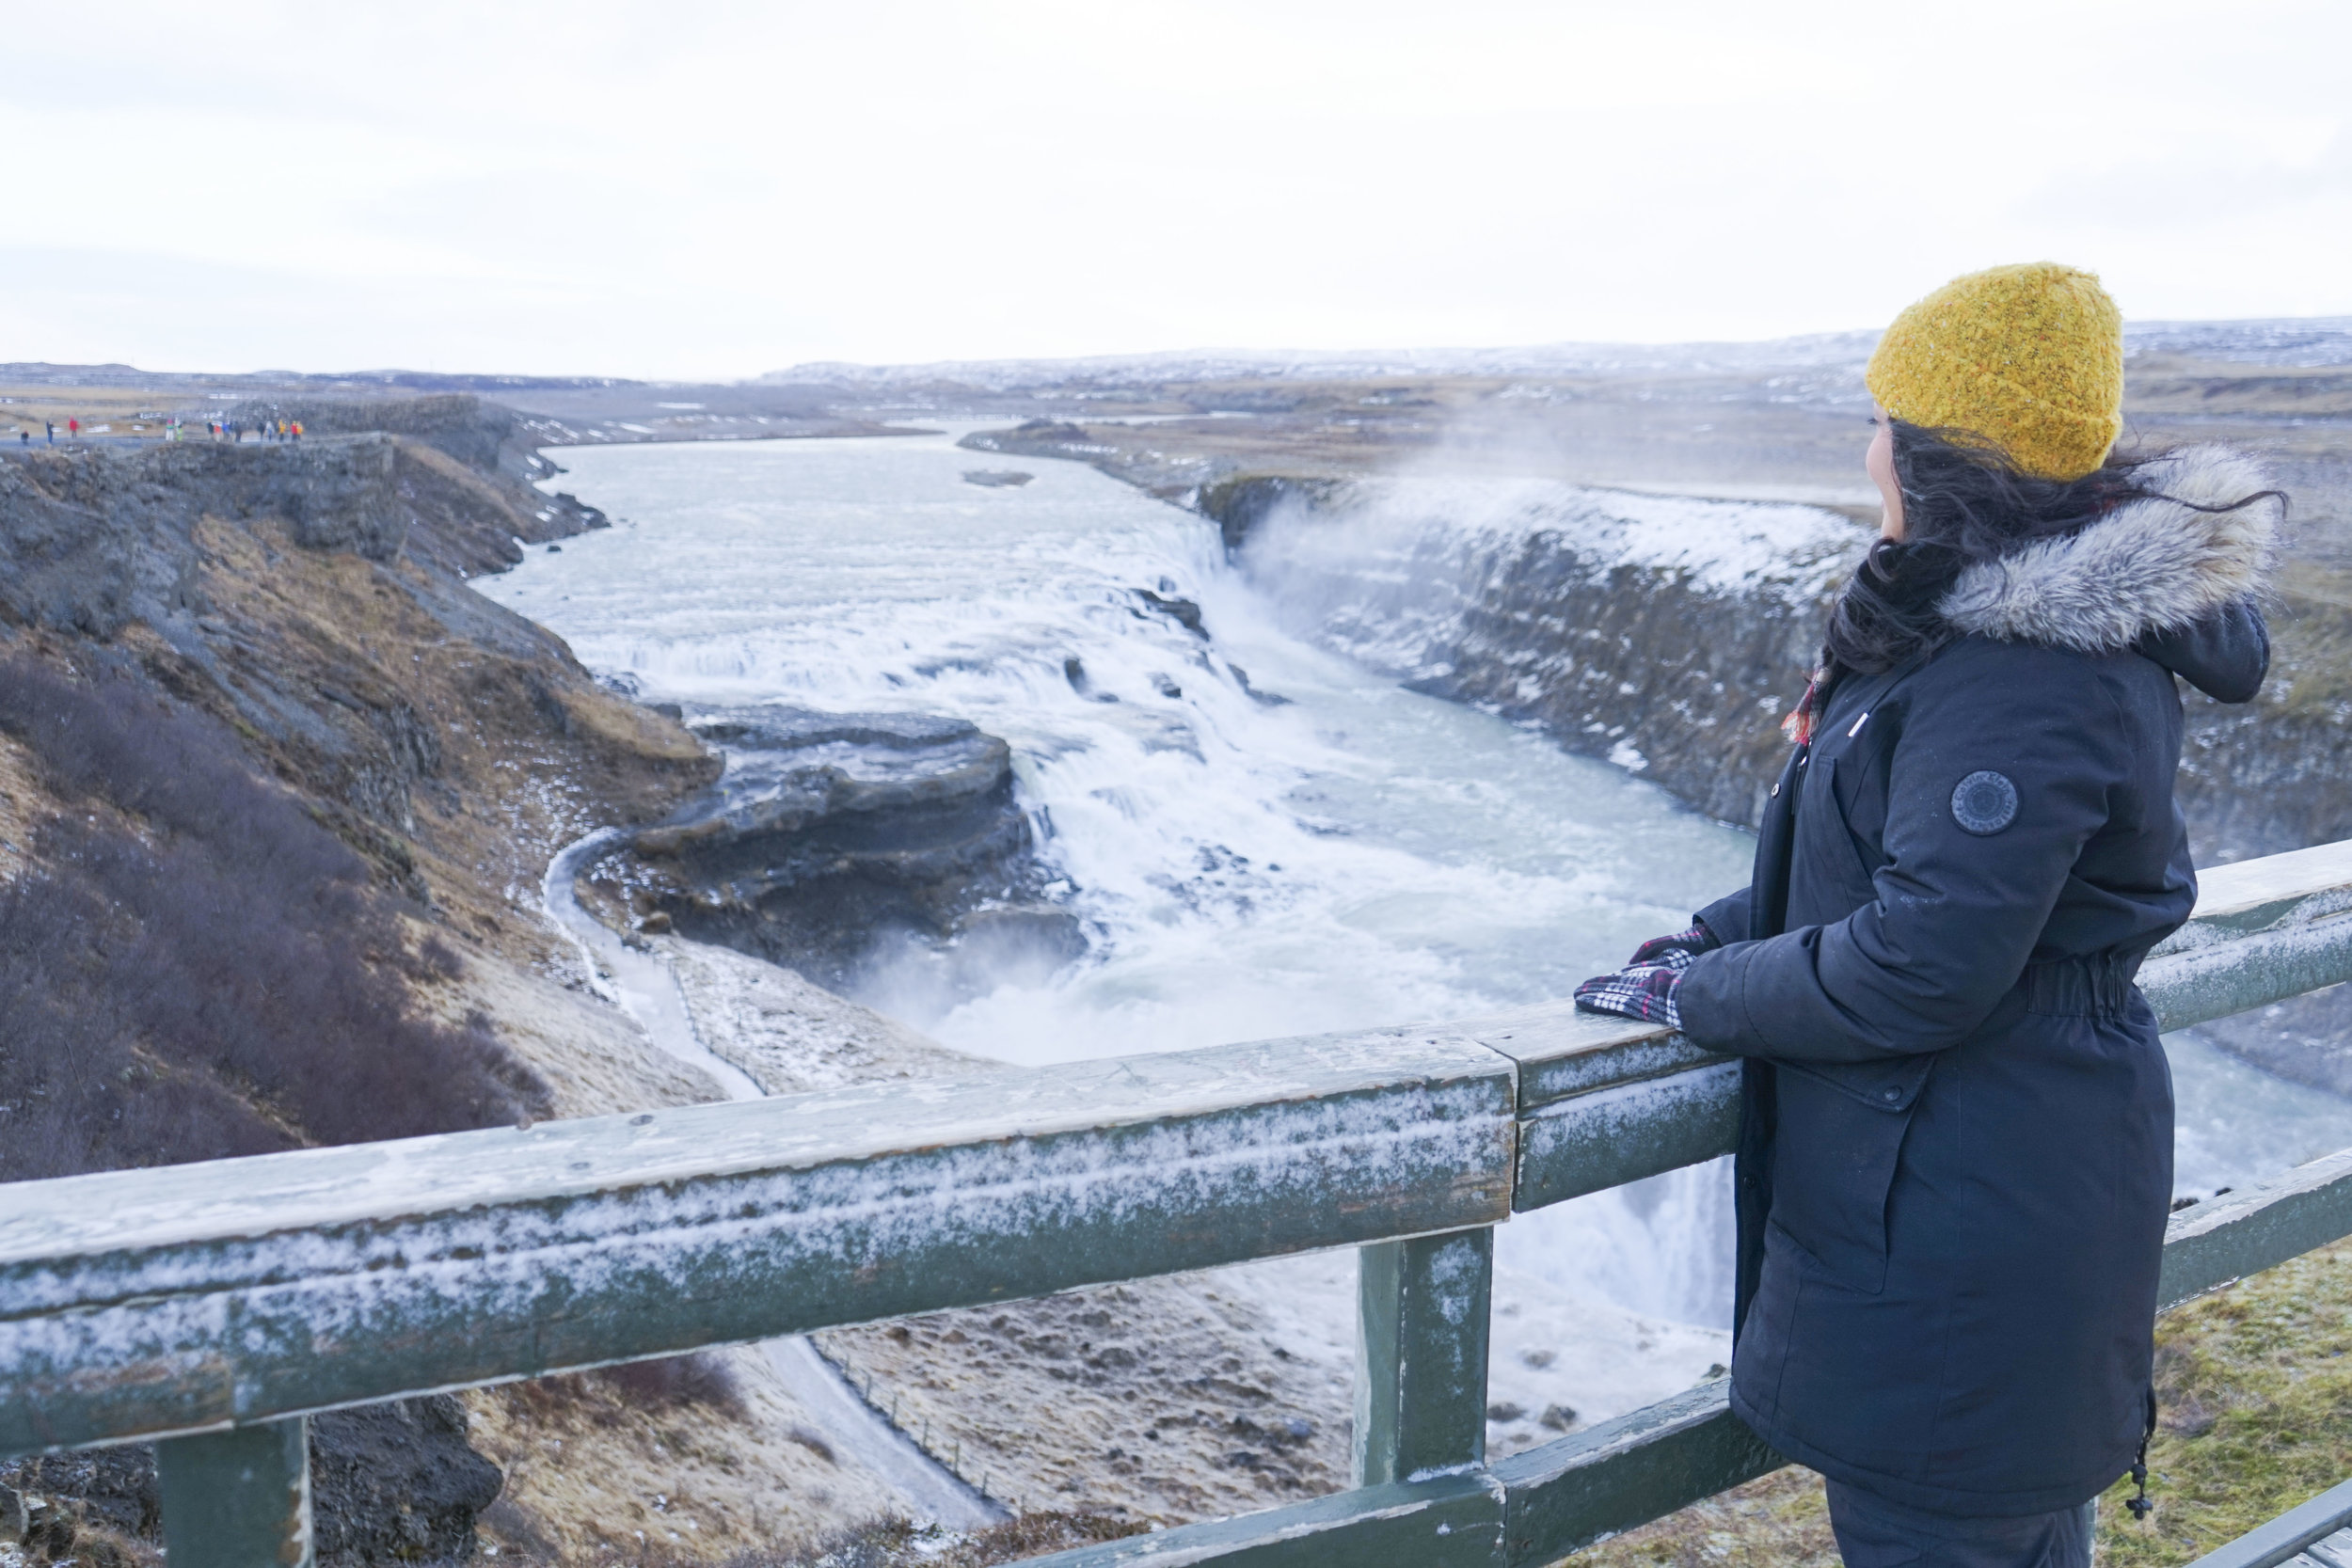
Stop 2: Gullfoss Falls- Waterfall
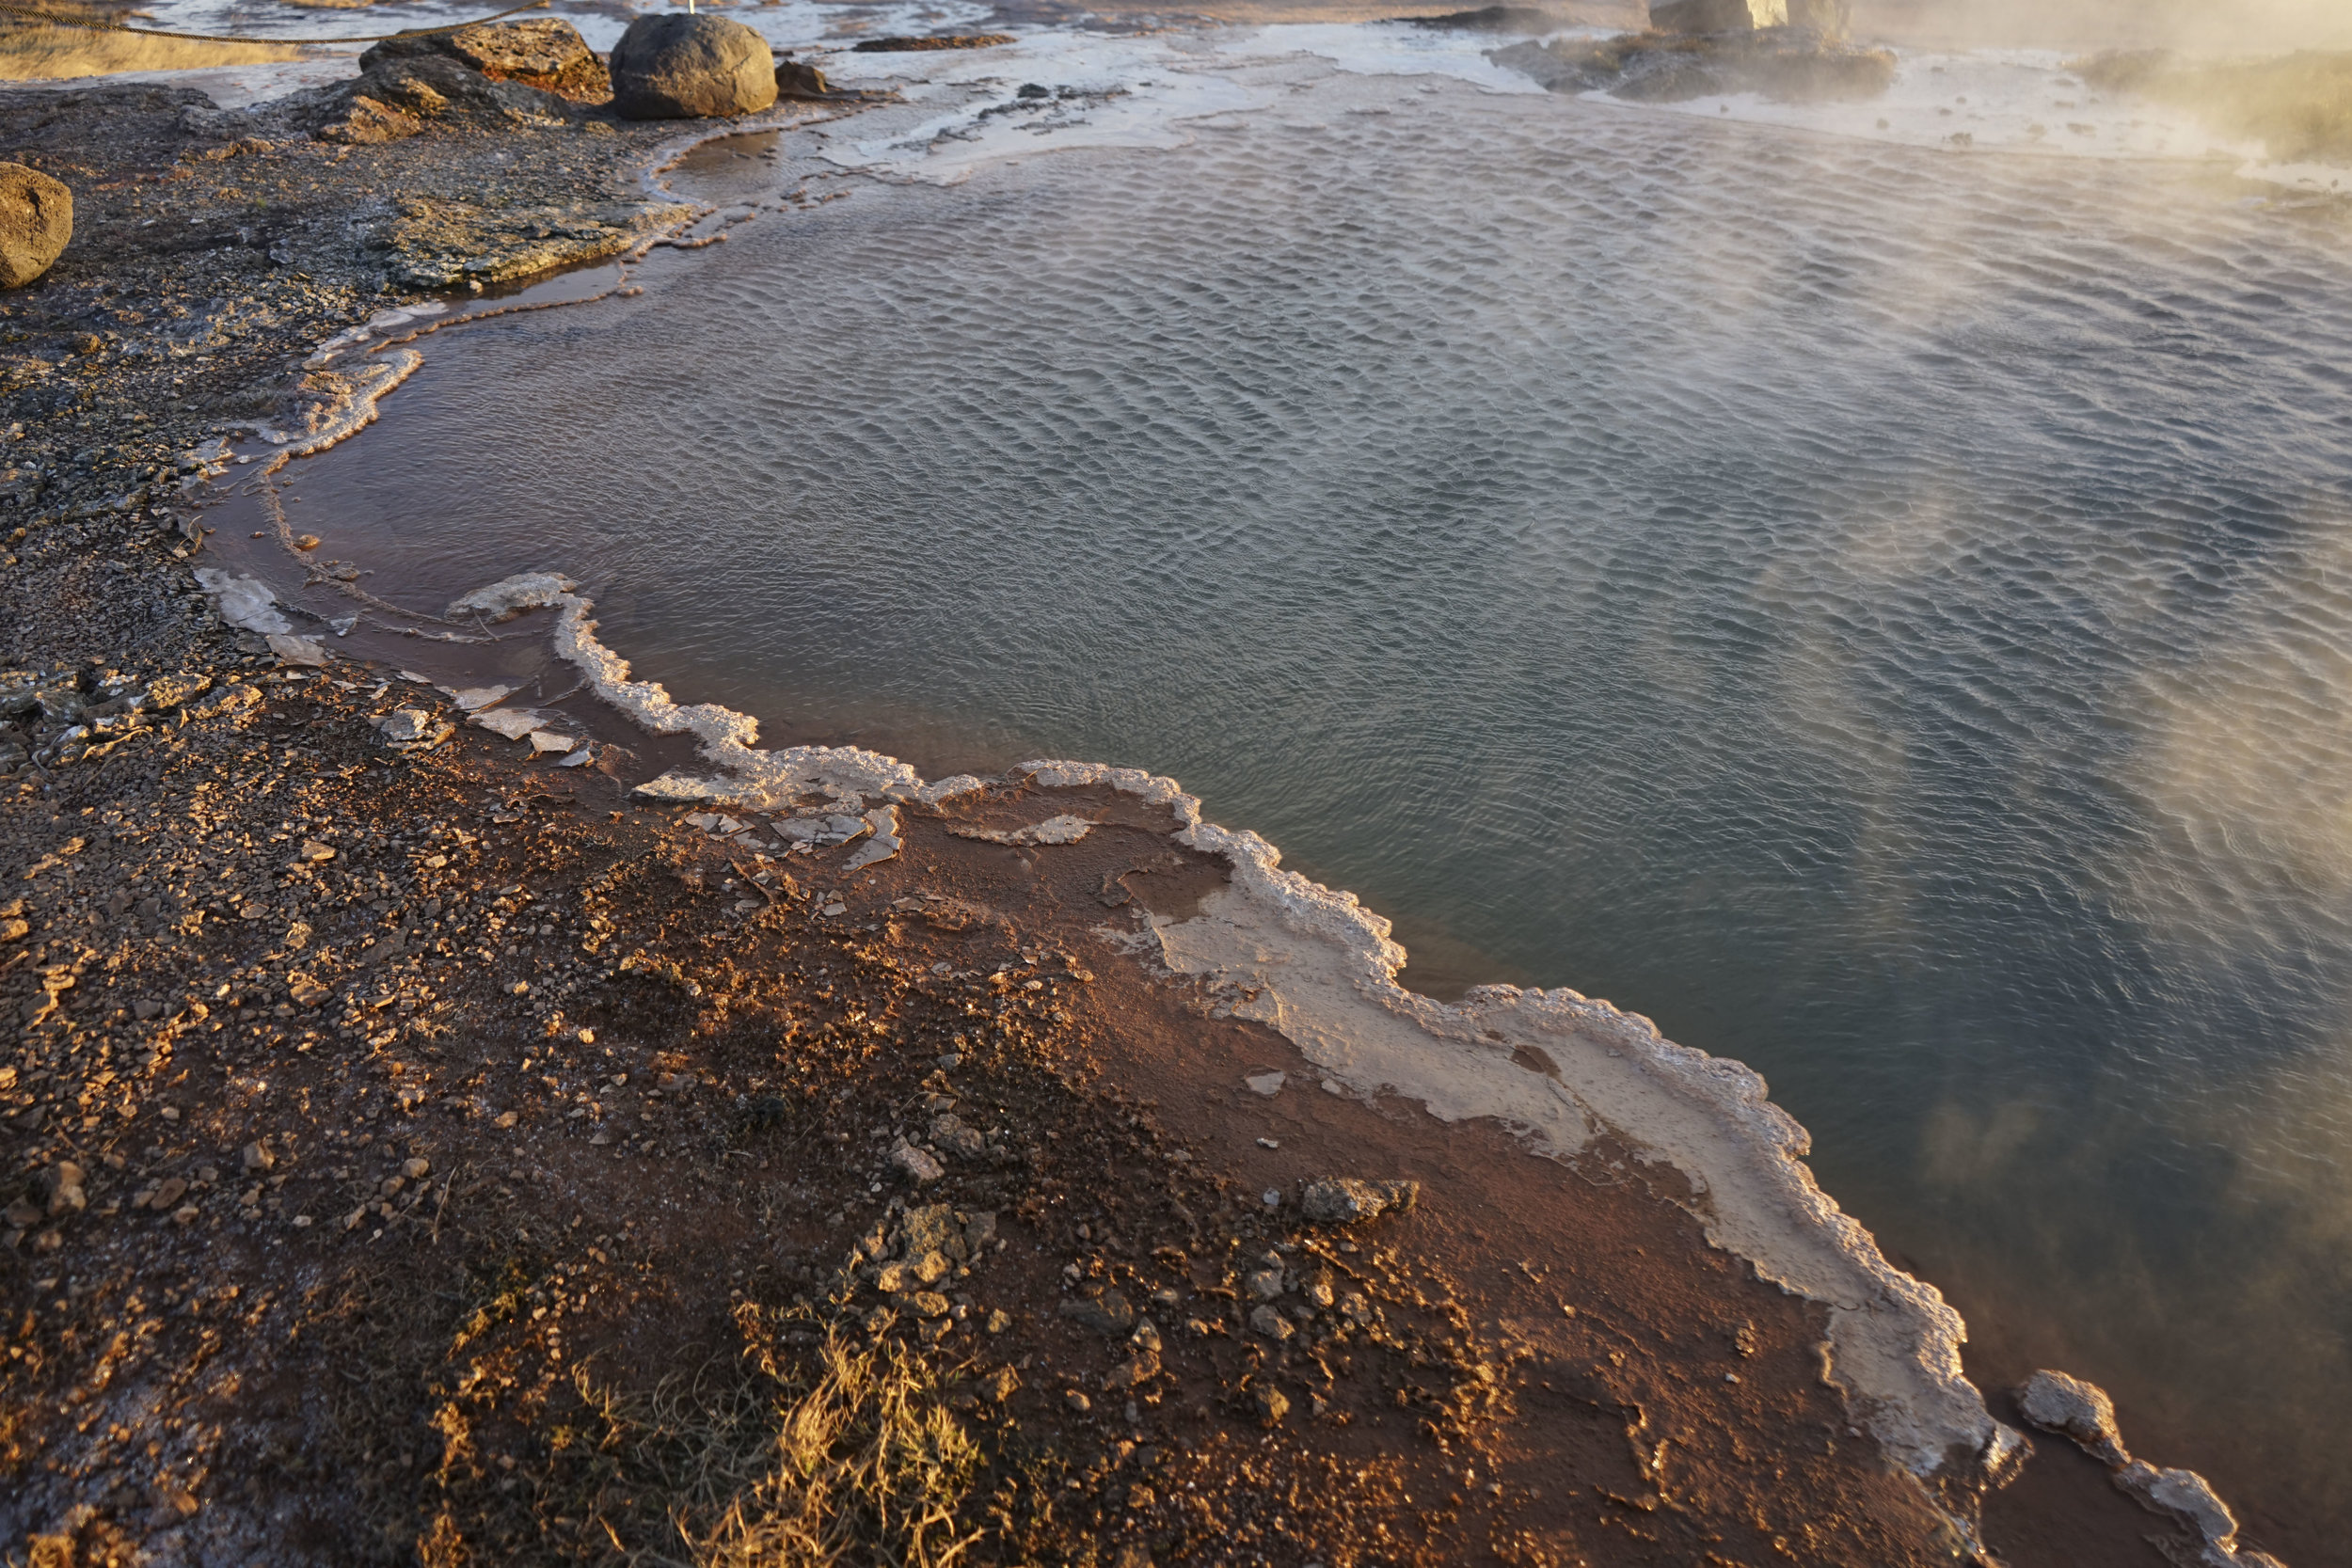
Stop 3: Haukadalur- Geysir
Stop 4: Bruarfoss- Waterfall (did not picture)
Stop 5: Thingvellir National Park
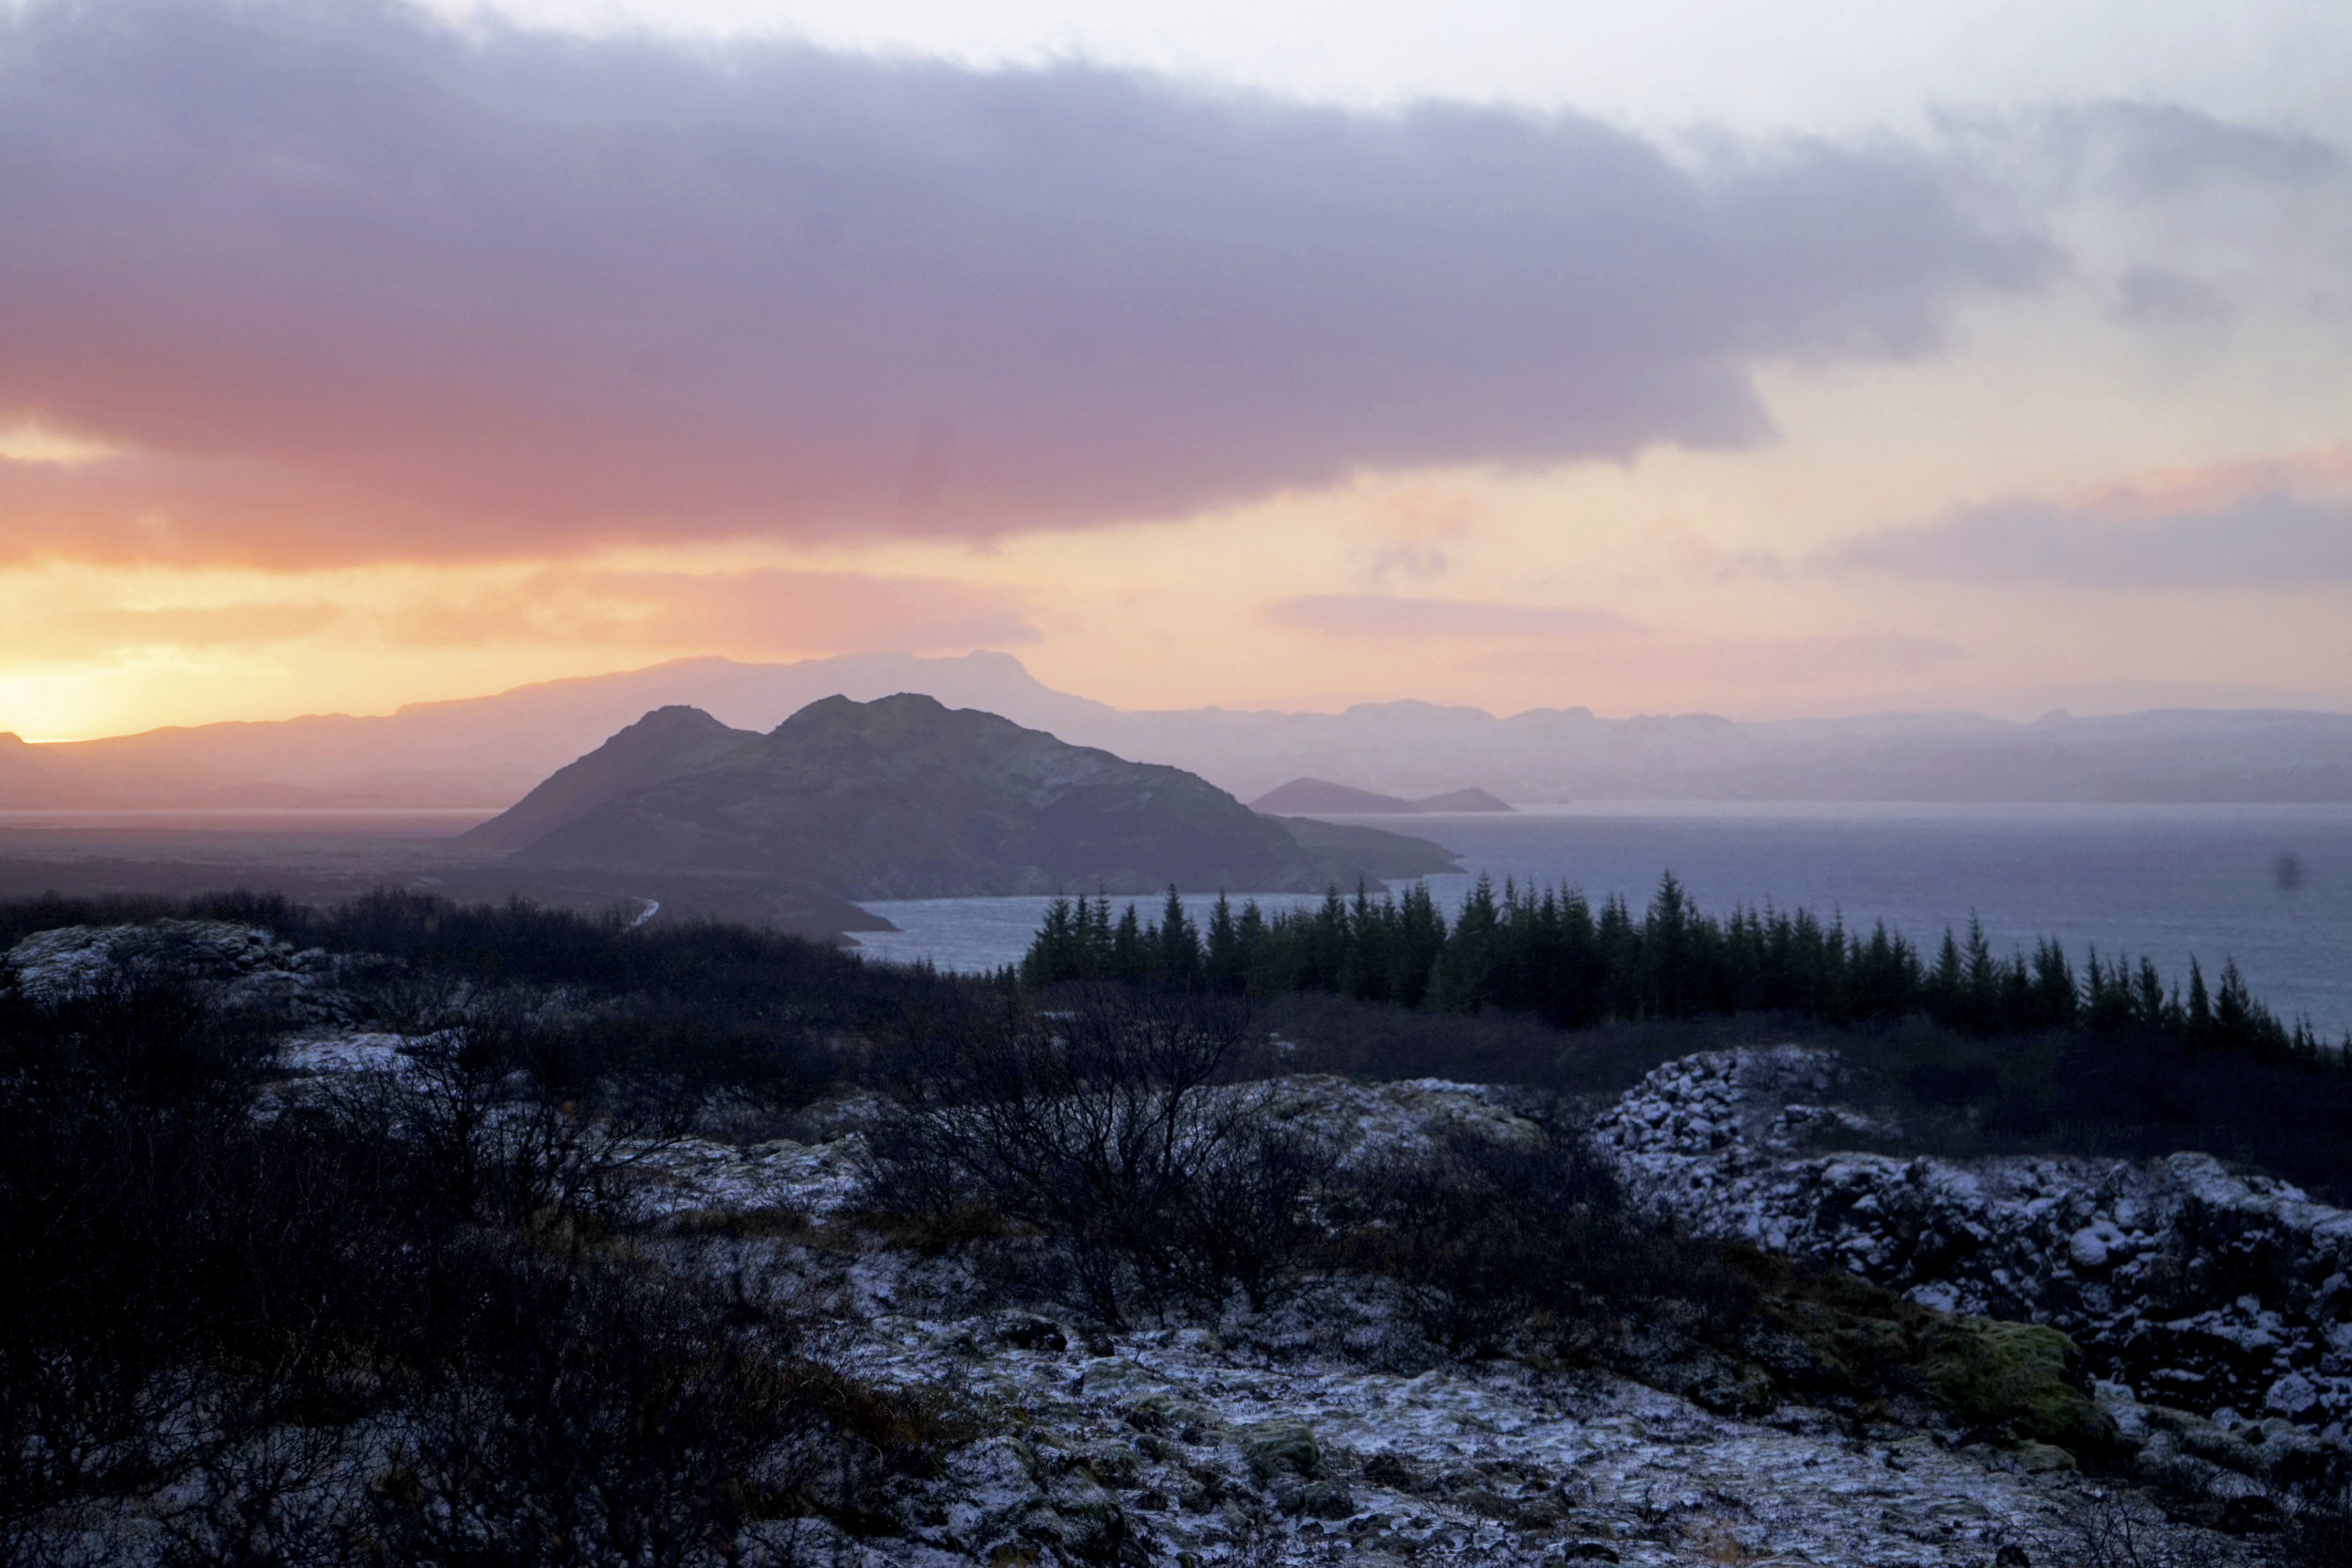
Kerid Crater
We were so lucky with the weather on day 2! We stopped at the Keri’s Crater around 11am and got so unbelievably lucky to be woken up to the most gorgeous sunrise. It was nothing but cotton candy pink and purple skies for miles on end. This crater is a very interesting landmark. It was my first time seeing anything like this too.
See my Iceland Google maps with all the location pins HERE


Gullfoss Falls
Another famous waterfall in Iceland and this one I not to be missed! This waterfall was definitely the biggest one that we saw! You can go on a trail to the bottom as well but in December it was too icy and closed off.
This spot has a really nice cafe so it is a good stop to plan around lunch.

Haukadalur- Geysir
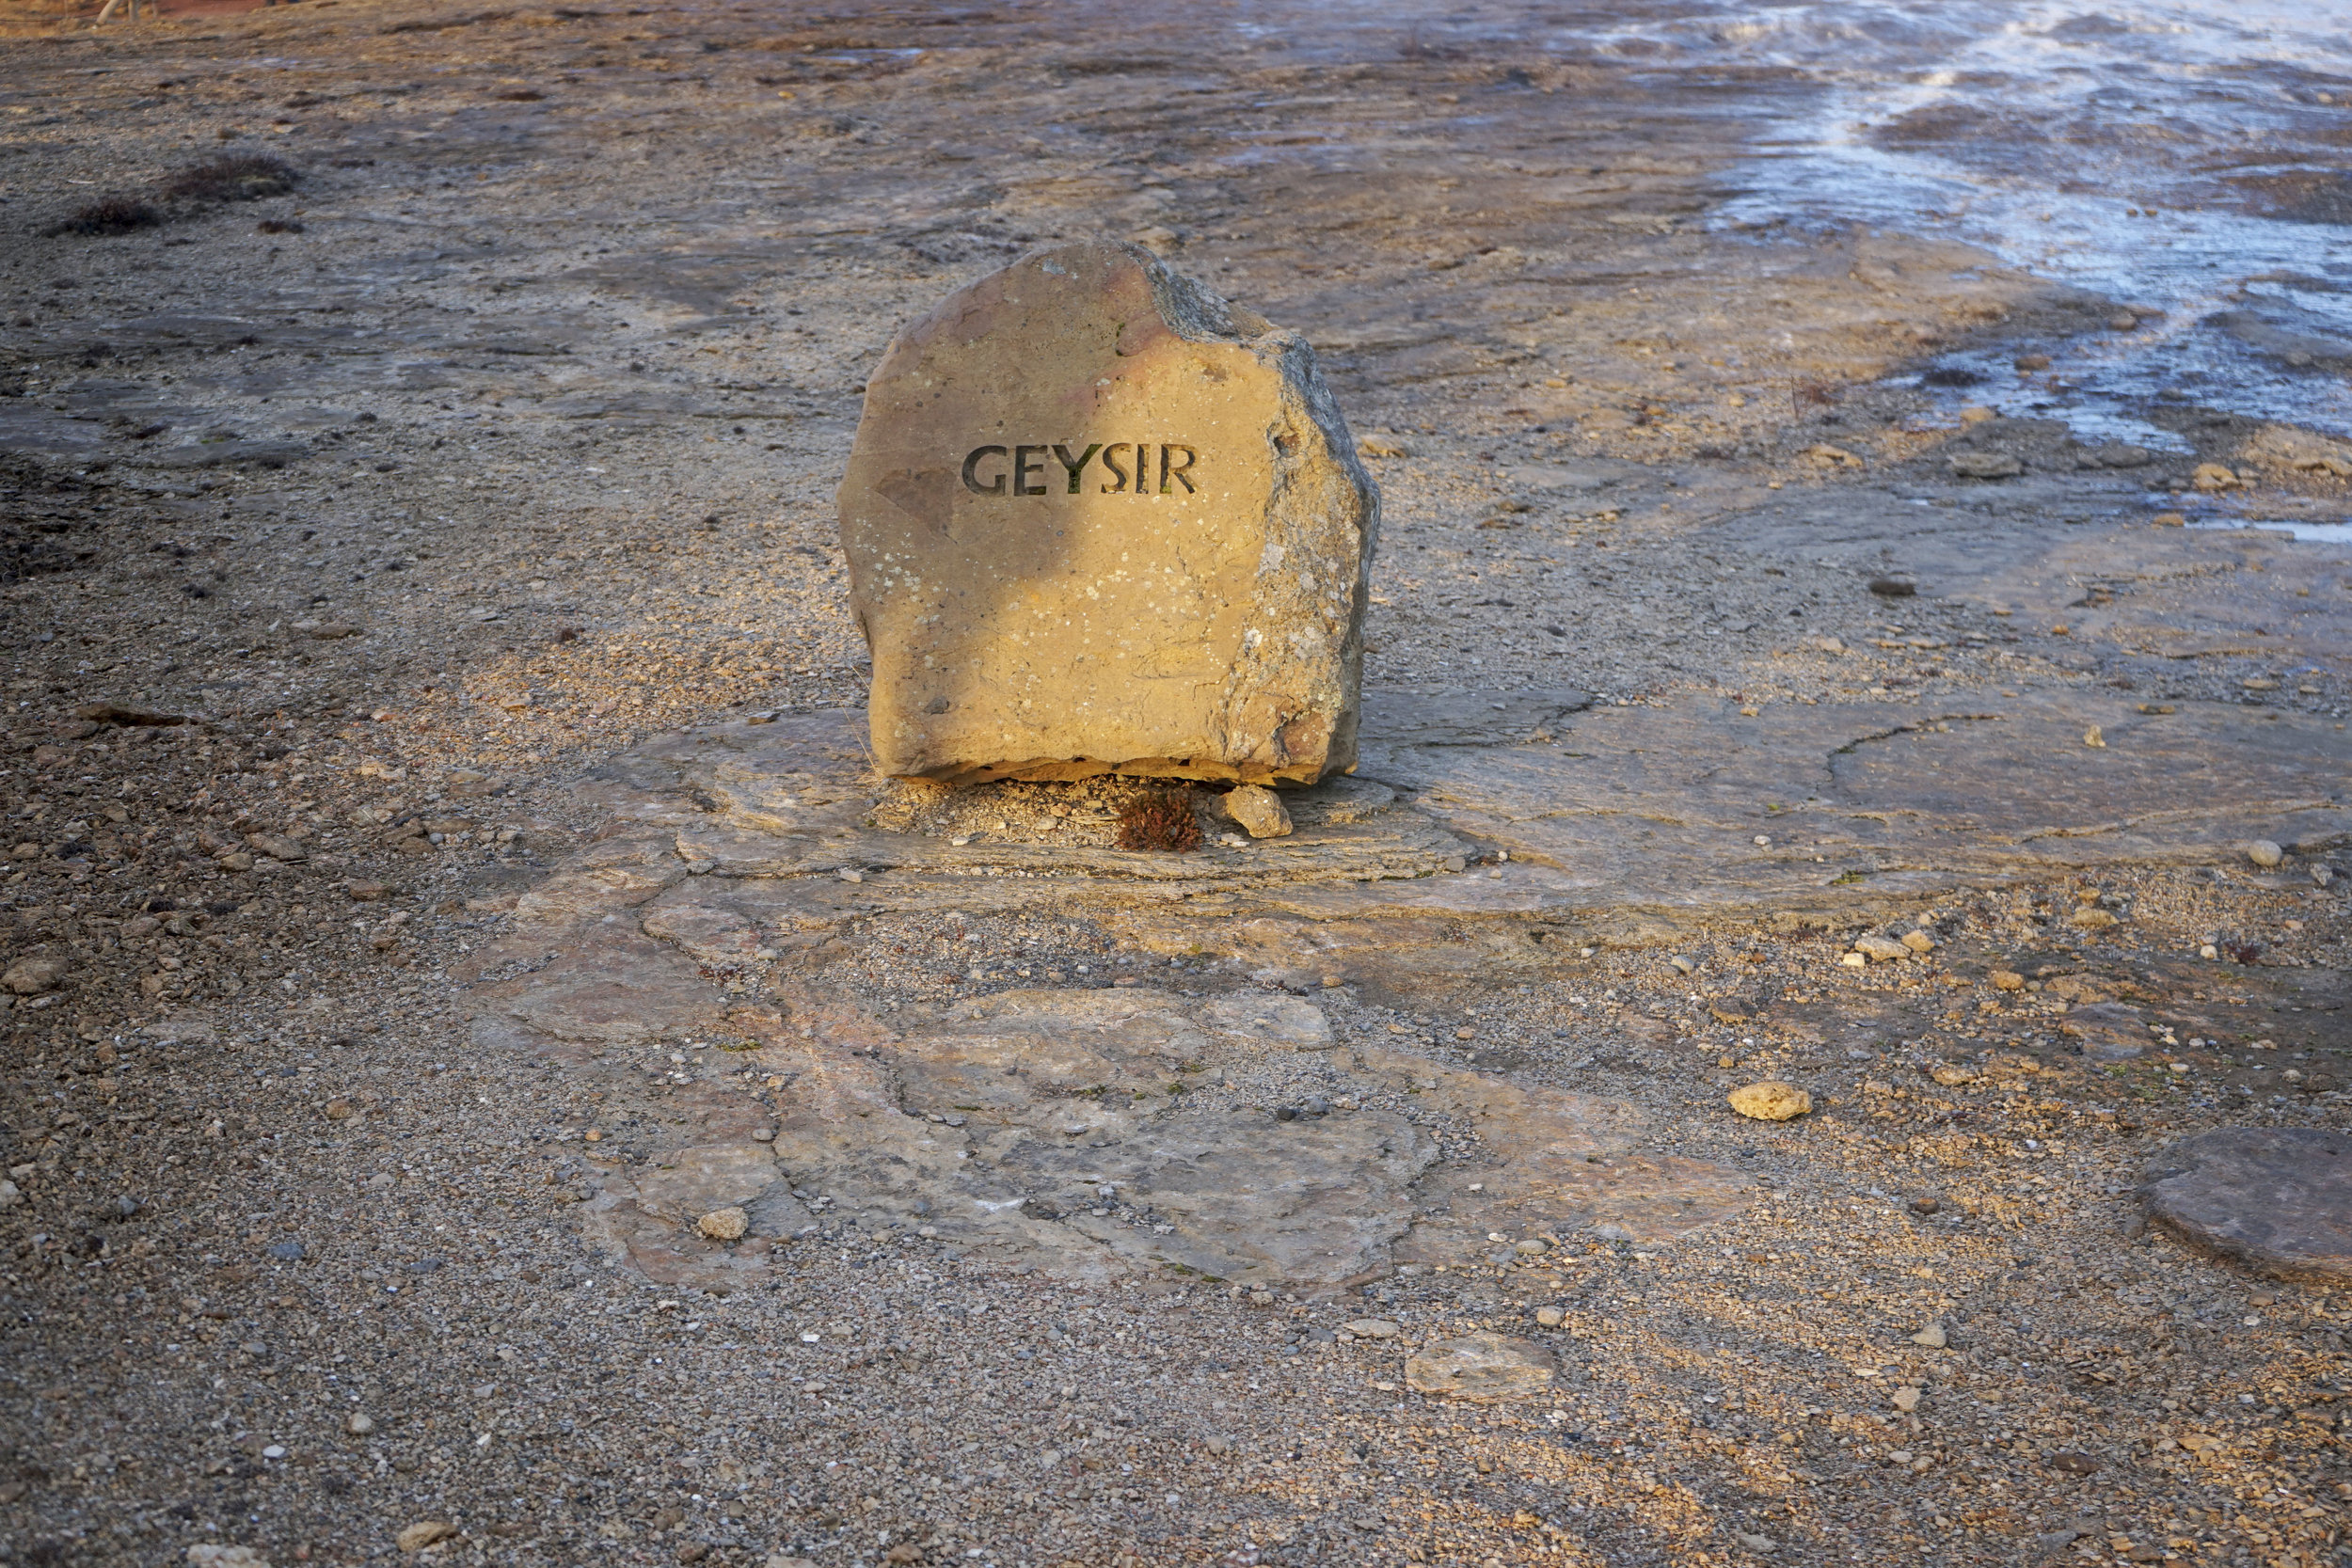
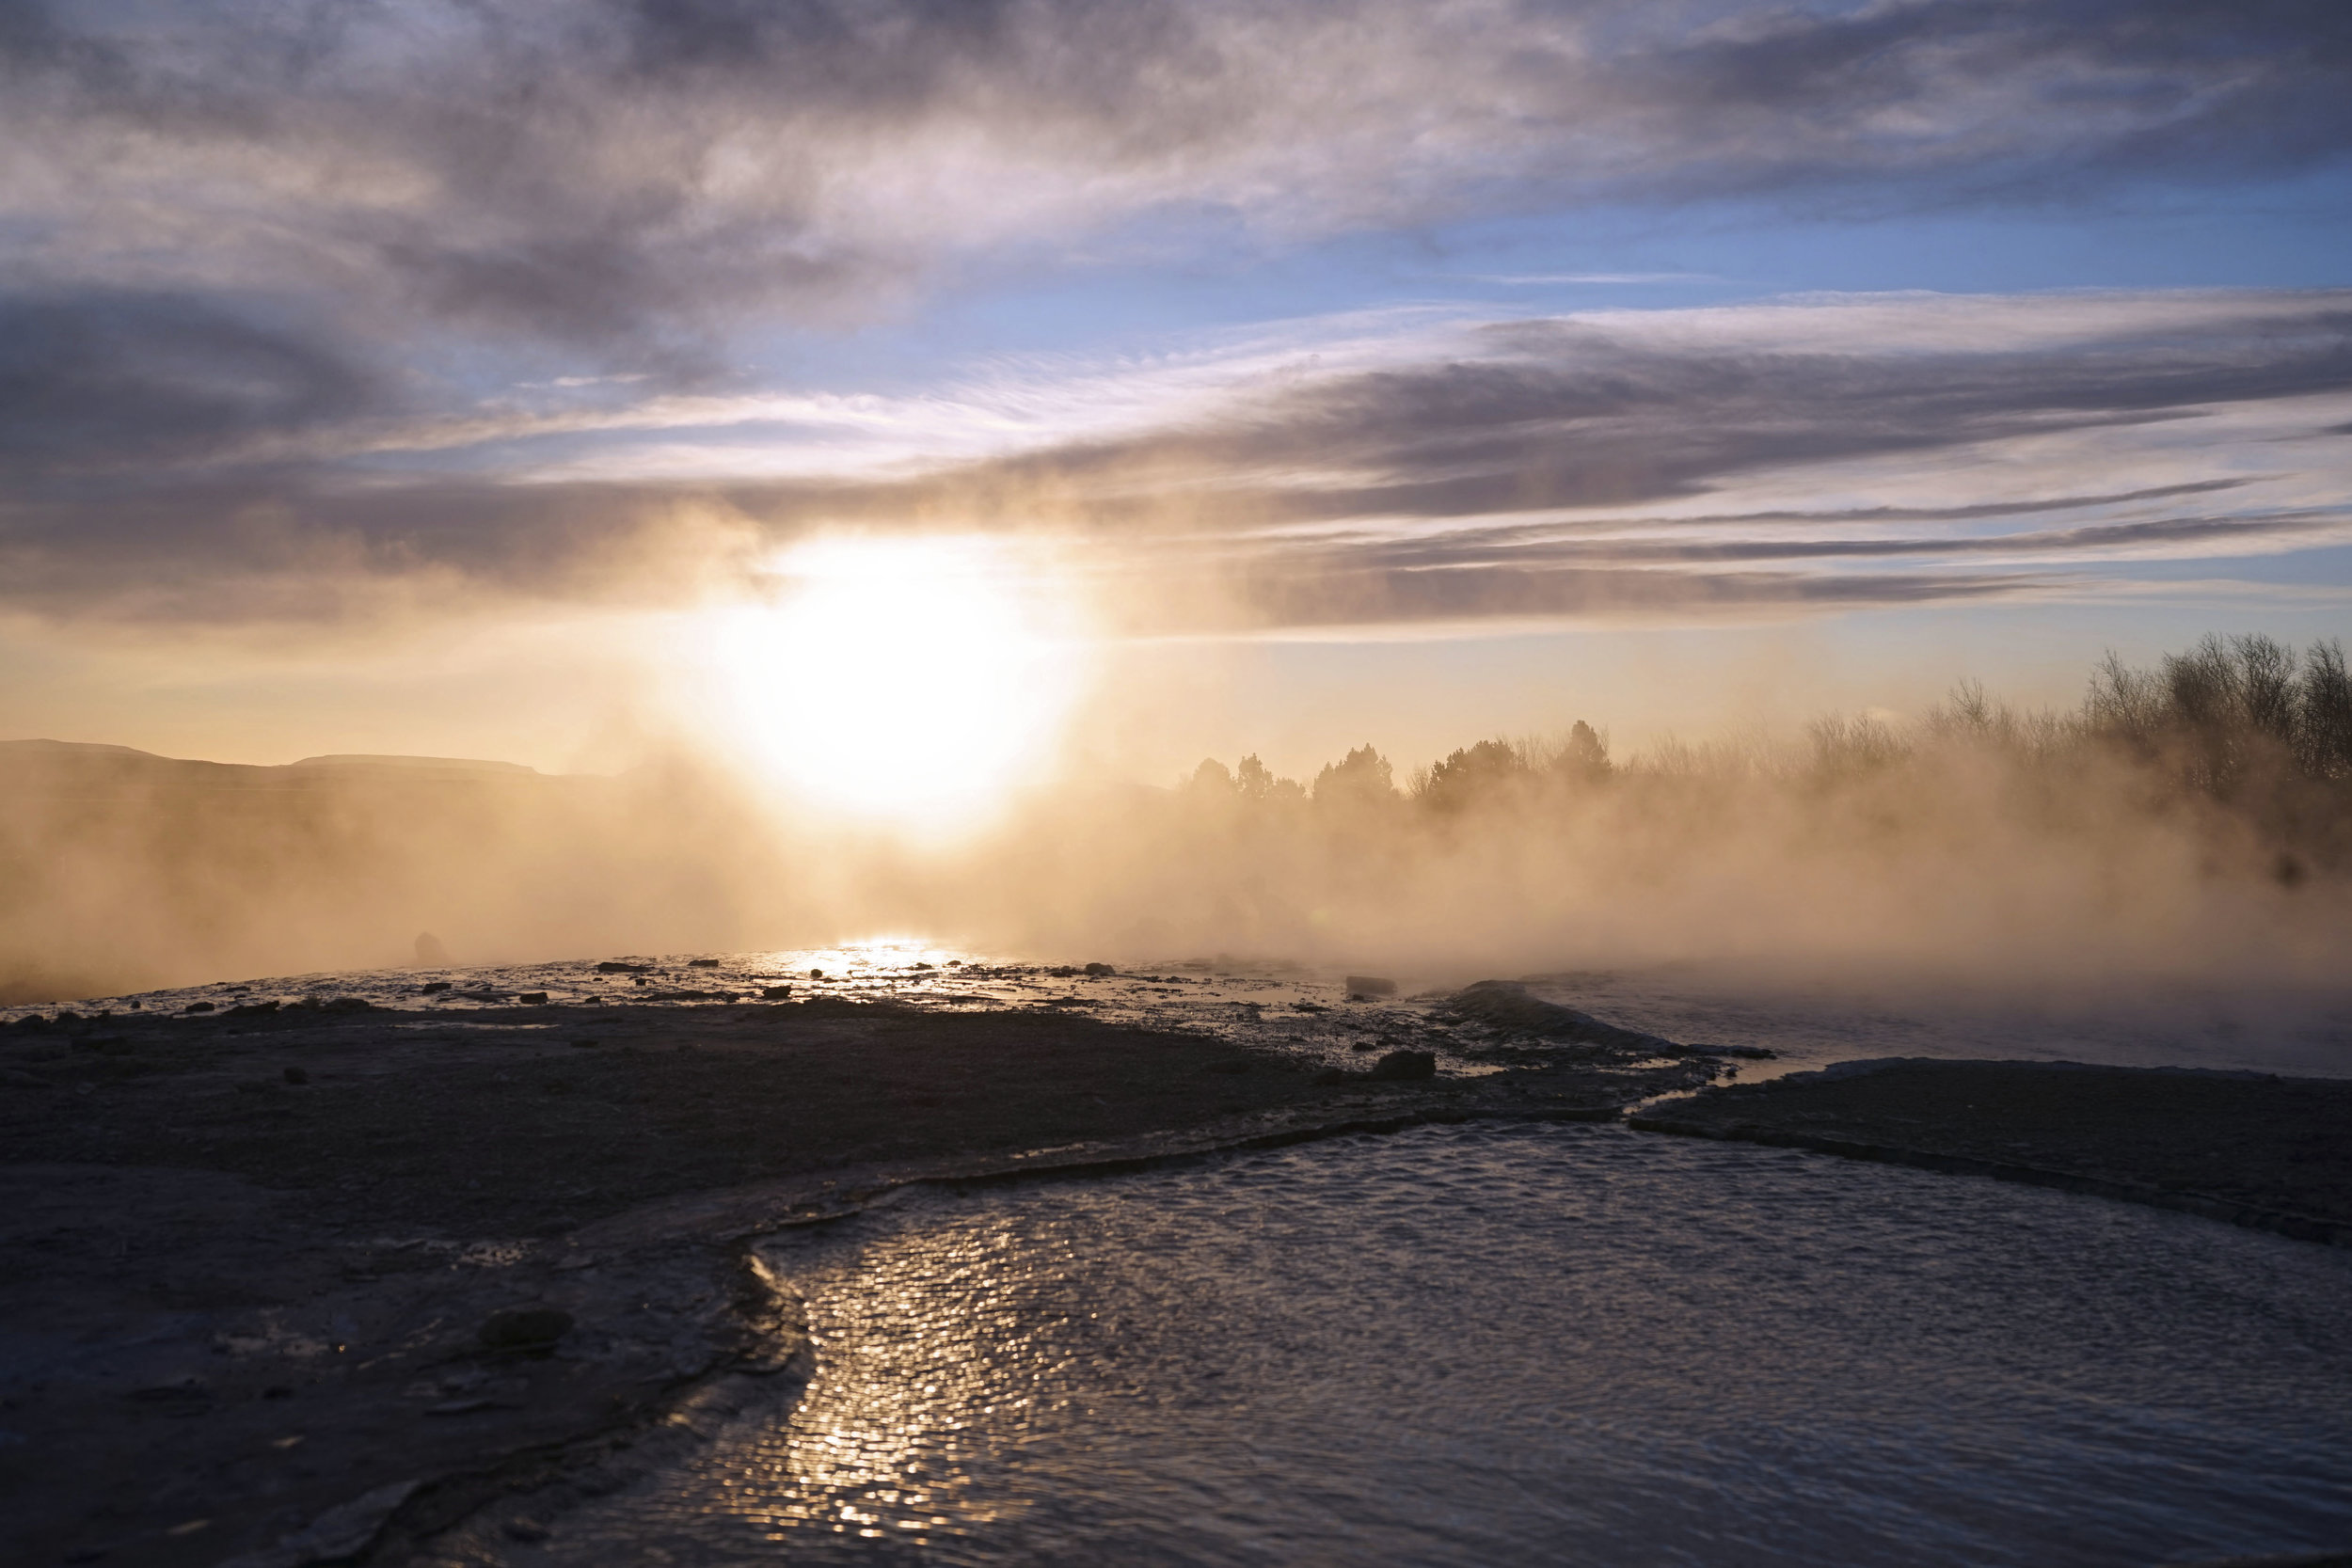

This was another natural landmark that I was seeing for the first time. The eruptions were so big which I was surprised by. The first time the geysir erupted, I actually got scared. The eruptions happen quite frequently so the chances of you seeing one is highly likely.
Note that the water smells like rotten eggs but it was still really cool to see this landmark!
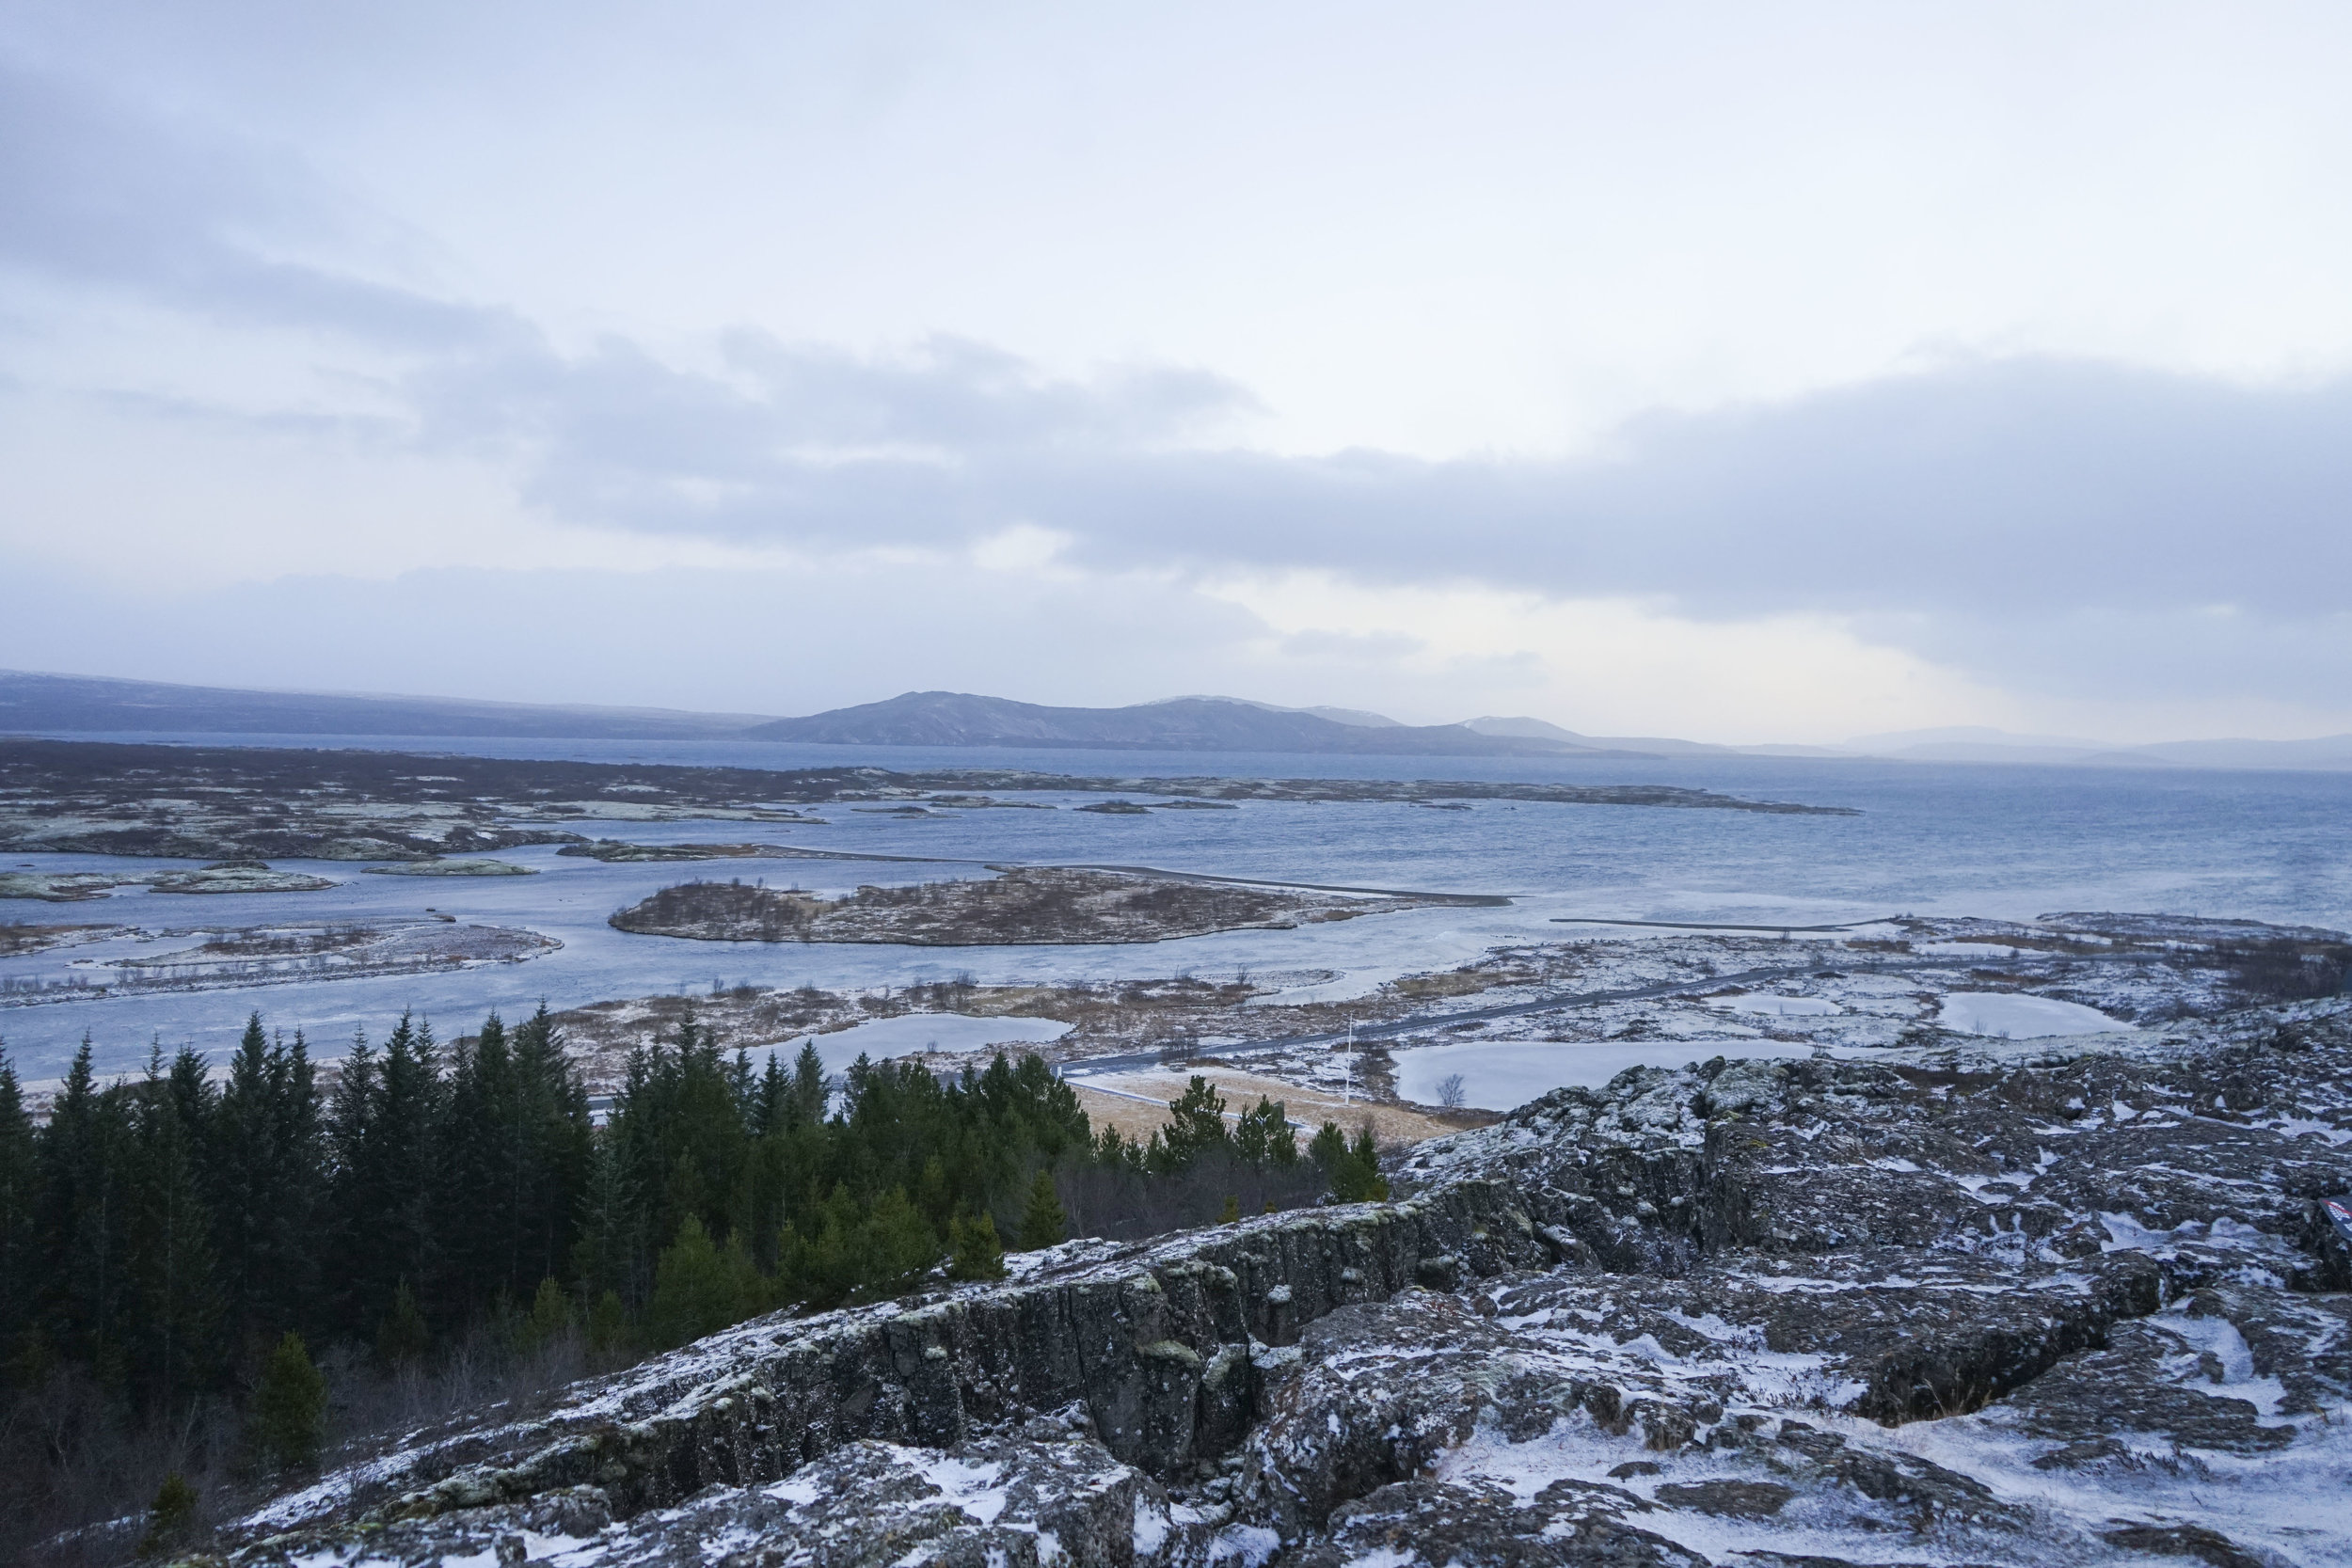
Thingvellir National Park
We were so blessed to see an incredible sunset at the Natural Park. The colors of the sky were so beautiful next to the outlines of the mountains and trees. You can end up spending hours at this park going on different trails. We opted to go for a little bit and just take in the scenery instead. In December, the trails were pretty icy so be mindful of this.
Day Trip 3: Locations close to Keflavik Airport
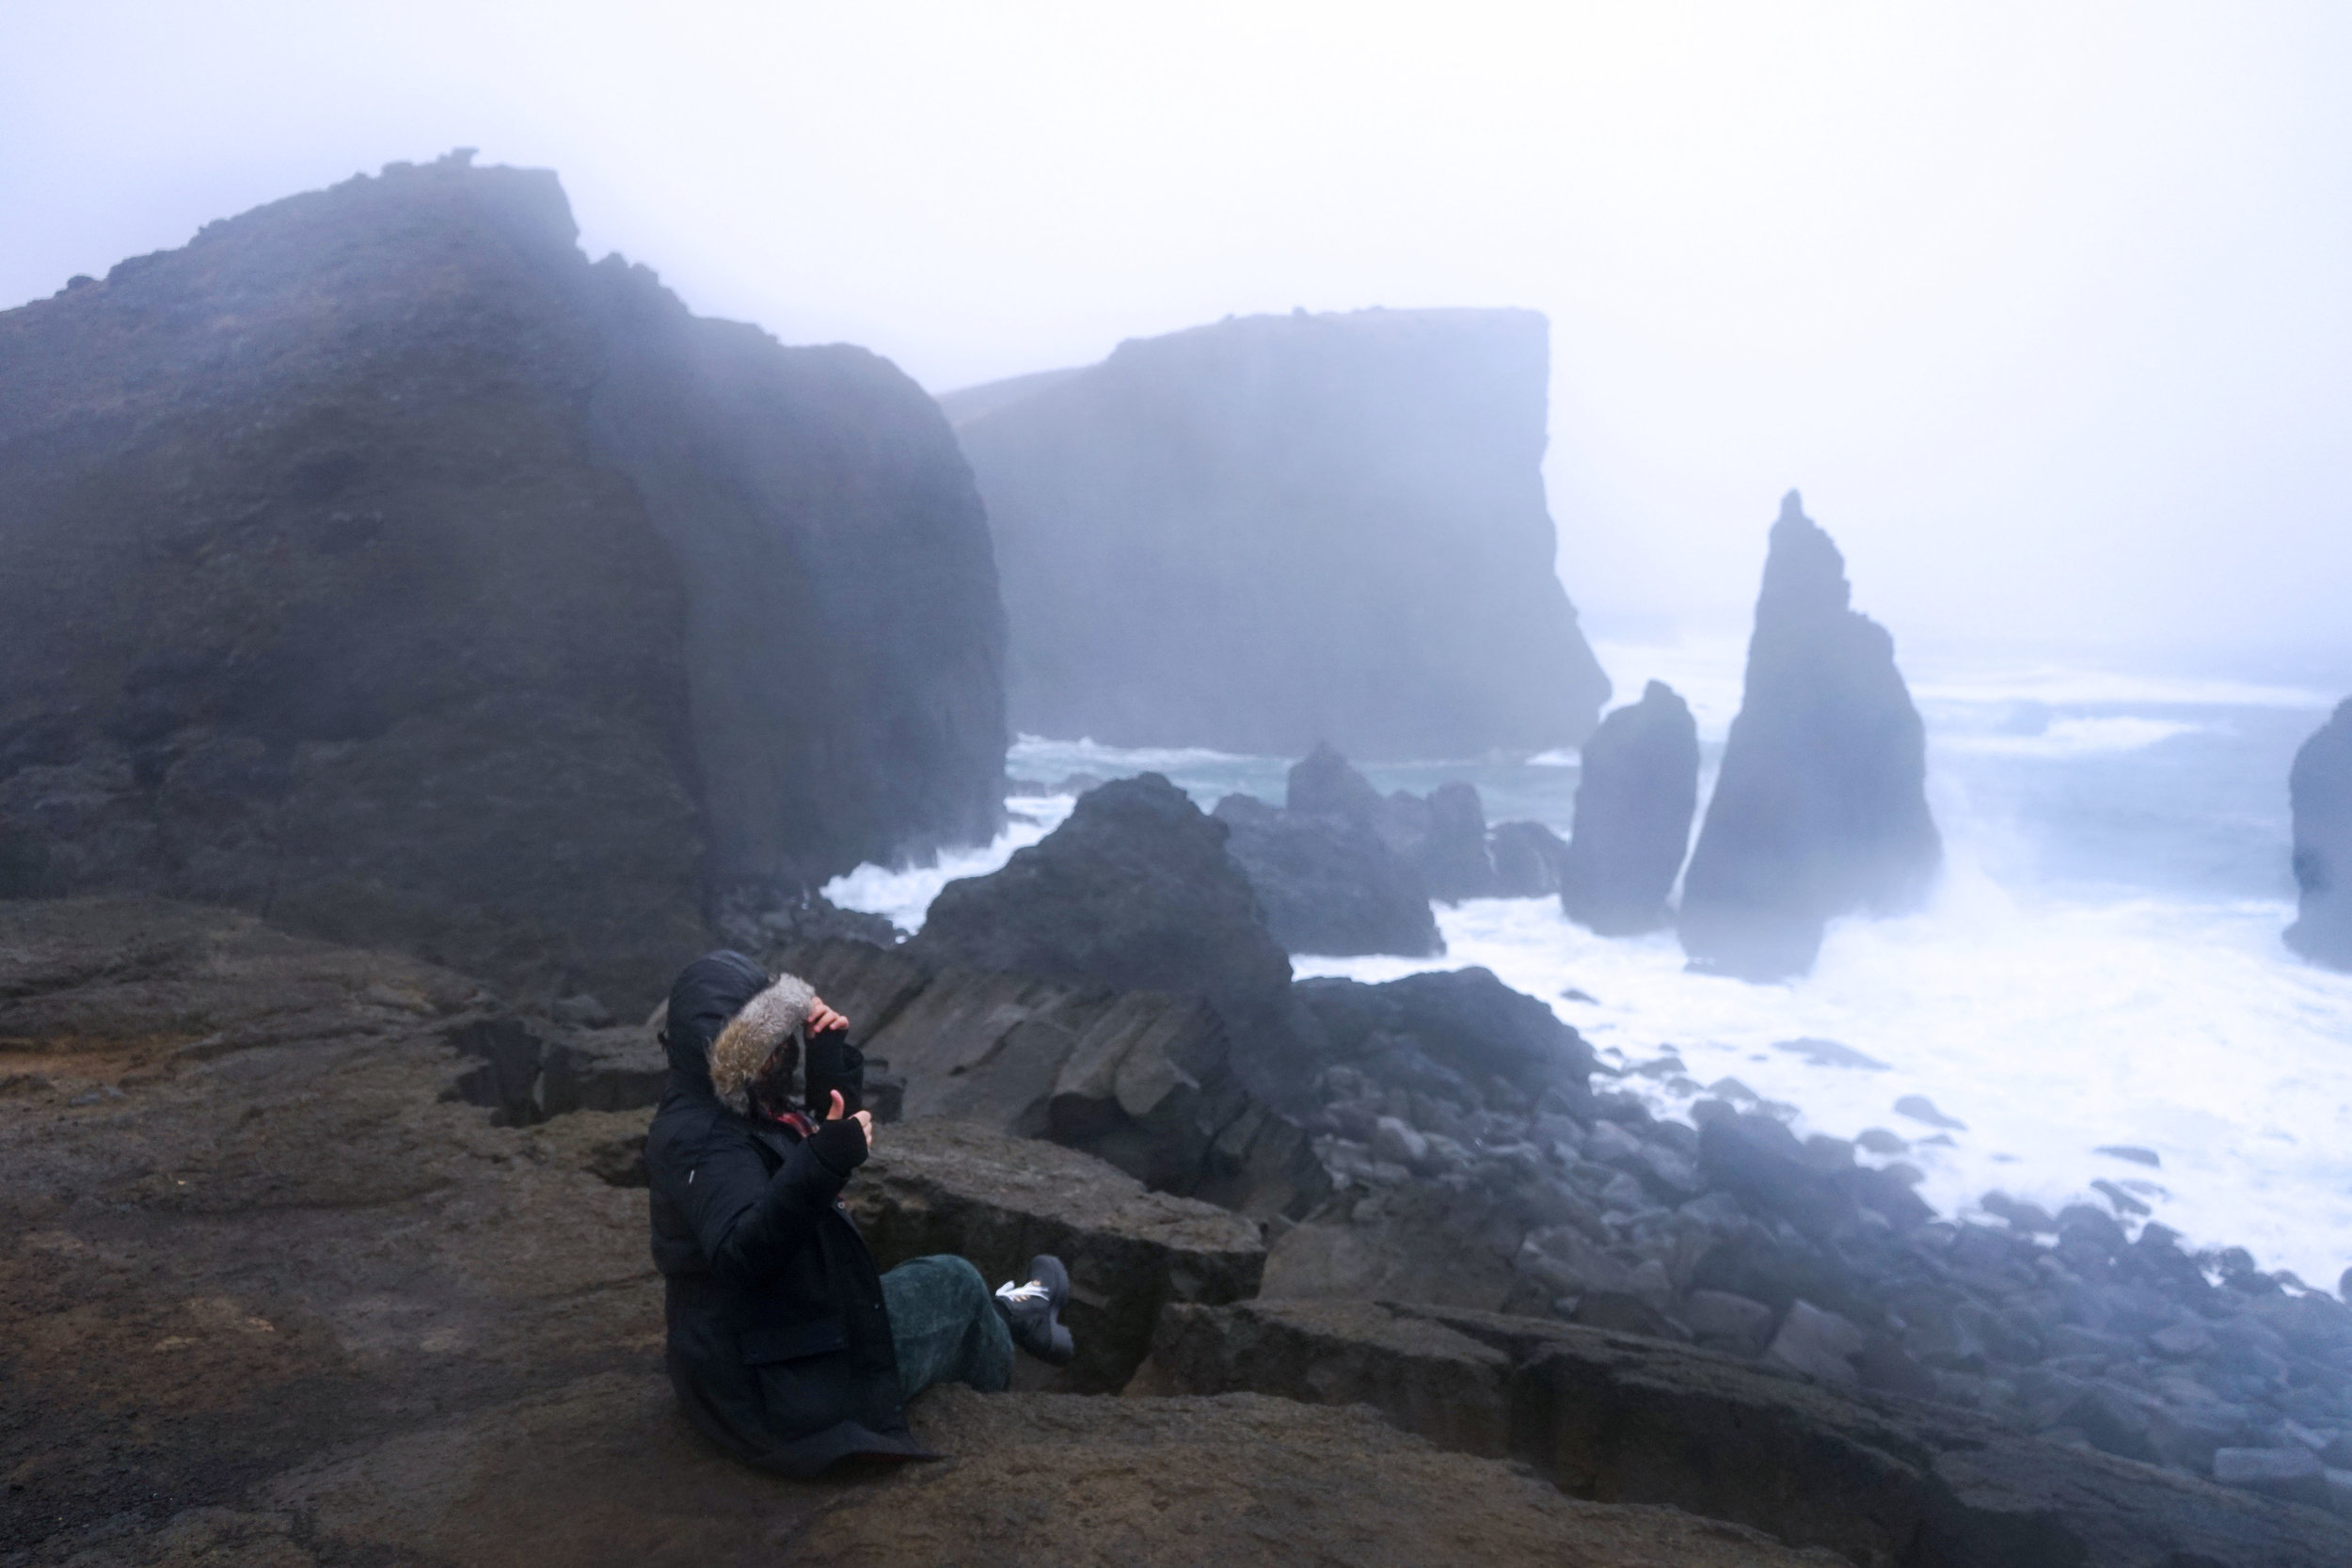
Stop 1: Hafnarberg - Sea-cliffs
Stop 2: Valahnúkamöl- Sea cliffs
Stop 3: Blue Lagoon
For the last leg of the trip, we decided to stay by the airport since the blue lagoon is right by it. Iceland is filled with so many amazing natural areas that we found a few stops to checkout before heading back to the US. Right along the water, there were beautiful cliffs surrounded by gushing waves. The water along the coast were wild! There is a very high chance you will get wet. Still worth checking out the views though. This part of Iceland was also very quite and didn’t have any tourists.
See my Iceland Google maps with all the location pins HERE


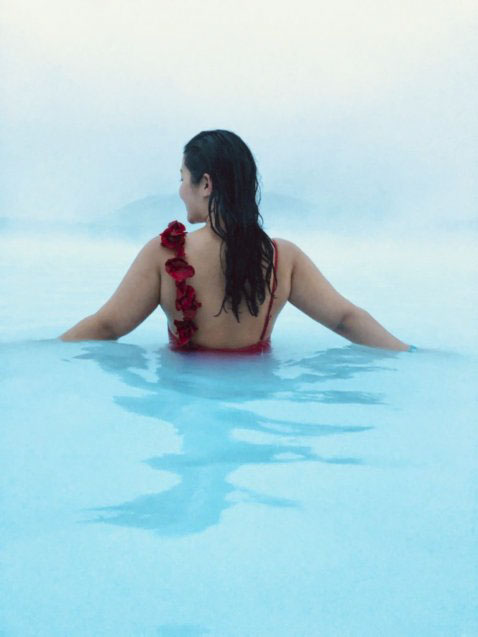
The Blue Lagoon
The Blue Lagoon was one thing that I just had to do when visiting Iceland! It looked exactly like it did in all the pictures I saw online too! The water was incredibly blue, it felt nice and warm, and the views from the lagoon were stunning! However, it was really cold getting in and out of the lagoon (I ran as fast as I could getting in and out). We got the basic package which included a drink and mud masks. I recommend this package because it gave the full blue lagoon experience without breaking the bank. You won’t want to spend more than 2 hours at the lagoon because your head/ top half will get cold and you’ll begin to prune. Another thing to remember is to heavily condition your hair before entering the lagoon- leave the conditioner in your hair too! Even though I conditioned my hair, it was still very dry/ straw like after the lagoon. It took about two washes to get it feeling back to normal.
Ending note- you have to visit the lagoon as it is definitely an experience you will never forget!

Things I Did Not Know But Wish I Had:
The water in Iceland does not smell the best. It smells like rotten eggs (not exaggerating). We stayed in an Air BnB and it was pretty gross. The water was perfectly clean, just did not smell the best. However, when we stayed at a hotel, it did not smell as bad. Not sure why, but just be prepared.
There are a lot of roundabouts! I guess it keeps drivers in check from not going too fast. Started to get a bit annoying but keep your eyes peeled. They also have a yellow light which comes on before the green light to get you prepared to go.
During the winter, there are only about 4-5 hours of daylight. This meant we had to get a very early start to each day! Photos were great to take during the daylight but as it got darker, photos were harder to take. I didn’t realize how dark it was going to be- even during the daylight hours, because it was cloudy, things seemed quite dark!
Food is quite expensive but relative to New York prices. Be prepared to spend an average of $15 for lunch and $25 for dinner.
Be prepared to experience all different kinds of weather and for the weather to change in a matter of minutes. The weather would change of heavy winds to rain to sleet in span of 5 minutes. Crazy!
Also, be prepared to get soaked! If it calls for rain and you are visiting waterfalls, wear all of your waterproof gear. My waterproof parka got soaked through (don’t know how) but be ready to get wet. It was worth it though.